DocuThinker-AI-App
DocuThinker - AI-Powered Document Analysis and Summarization App
Welcome to DocuThinker! This is a full-stack application that integrates an AI-powered document processing backend, blue/green & canary deployment on an AWS infrastructure, and a React-based frontend. The app allows users to upload documents for summarization, generate key insights, chat with an AI, and do even more with the document’s content. 🚀
![]()
📚 Table of Contents
- 📖 Overview
- 🚀 Live Deployments
- ✨ Features
- 🗄️ Storage & Data Model
- ⚙️ Technologies
- 🖼️ User Interface
- 📂 Complete File Structure
- 🛠️ Getting Started
- 📋 API Endpoints
- 🤖 AI/ML Agentic Platform
- 📄 Multi-Format Upload & Extraction
- 🧩 Beads Task Coordination
- 🧰 GraphQL Integration
- 📱 Mobile App
- 📦 Containerization
- 🚧 Deployment
- ⚖️ Load Balancing & Caching
- 🔗 Jenkins Integration
- 🛠️ GitHub Actions Integration
- 🧪 Testing
- 🚢 Kubernetes Integration
- ⚛️ VS Code Extension
- 🔧 Contributing
- 📝 License
- 📚 Additional Documentation
- 👨💻 Author
📖 Overview
The DocuThinker app is designed to provide users with a simple, AI-powered document management tool. Users can upload a wide range of file types — PDFs, Word documents, Markdown, HTML, CSV/TSV, JSON, plain text, and dozens of code/config formats — and receive summaries, key insights, and discussion points. Additionally, users can chat with an AI using the document’s content for further clarification.
DocuThinker is built on the FERN-Stack architecture — Firebase, Express, React, and Node.js. The backend is a Node.js + Express API that uses Firebase Admin for authentication and Cloud Firestore for metadata, Supabase Storage for original files and offloaded document content, Google Gemini for all AI features, and Redis for caching. The frontend is built with React 18 and Material-UI, providing a responsive and user-friendly interface. Original uploaded files (PDF/DOCX) are streamed directly from the browser to a private Supabase bucket using a backend-minted signed upload URL, so large files bypass the serverless request-body limit entirely. See the Storage & Data Model section below for the full picture.
graph LR
    U[Client's Browser] -->|HTTPS| N[NGINX - SSL, Routing, Caching]
N -->|static calls| A[React Frontend]
N -->|/api/* proxy| B[Express Backend]
A -->|REST API calls| N
A -->|"direct file upload (signed URL)"| SB[Supabase Storage]

B --> C[Firebase Auth]
B --> D[Firestore - metadata + subcollections]
B --> SB
B --> F[Redis Cache]
B --> G[Google Gemini AI]
B --> P[Passkeys / WebAuthn]

A --> H[Material-UI]
A --> I[React Router]
A --> SB
Feel free to explore the app, upload documents, and interact with the AI! For architecture details, setup instructions, and more, please refer to the sections below, as well as the ARCHITECTURE.md file.
🚀 Live Deployments
[!TIP] Access the live app at https://docuthinker.vercel.app/ by clicking on the link or copying it into your browser! 🚀
We have deployed the entire app on Vercel and AWS. You can access the live app here.
- Frontend: Deployed on Vercel. Access the live frontend here.
- Backup Frontend: We have a backup of the frontend on Netlify. You can access the backup app here.
- Backend: Deployed on Vercel. You can access the live backend here. This will take you to the Swagger API documentation that allows you to test the API endpoints directly from the browser.
- Backup Backend API: Deployed on Render. You can access the backup backend here.
- Optional AWS Deployment: If you wish to deploy the backend on AWS, you can use the provided CloudFormation and CDK scripts in the
aws/directory. It’s a one-click deployment using AWS Fargate.
- AI/ML Services: Deployed on AWS, which are then used by the backend for document processing and analysis. To use the AI/ML services, simply visit the backend URL here.
[!IMPORTANT] The backend server may take a few seconds to wake up if it has been inactive for a while. The first API call may take a bit longer to respond. Subsequent calls should be faster as the server warms up.
✨ Features
DocuThinker offers a wide range of features to help users manage and analyze their documents effectively. Here are some of the key features of the app:
- Multi-Format Upload & Summarization: Upload PDF, Word (
.docx), Markdown (.md/.markdown), HTML (.html/.htm), CSV/TSV, JSON, plain text (.txt/.log), and a broad set of code/config files (.xml .yaml/.yml .js/.jsx/.mjs/.ts/.tsx .py .java .c/.cpp .h .cs .go .rs .rb .php .sql .sh .css/.scss/.less .ini/.toml/.conf/.env .kt .swift .r .lua .pl) for AI-generated summaries. Text extraction happens client-side in the browser (see Multi-Format Upload & Extraction), and the AI always receives clean, plain text. Original files are uploaded directly from the browser to a private Supabase bucket via a signed upload URL, so large files bypass the serverless request-body limit. - Animated Upload Experience: A hero header with supported-format chips, a drag-active dropzone, and a multi-step animated progress flow (Reading → Storing → Analyzing → Ready) with a gradient shimmer bar and pulsing step indicators, then a smooth reveal into the results.
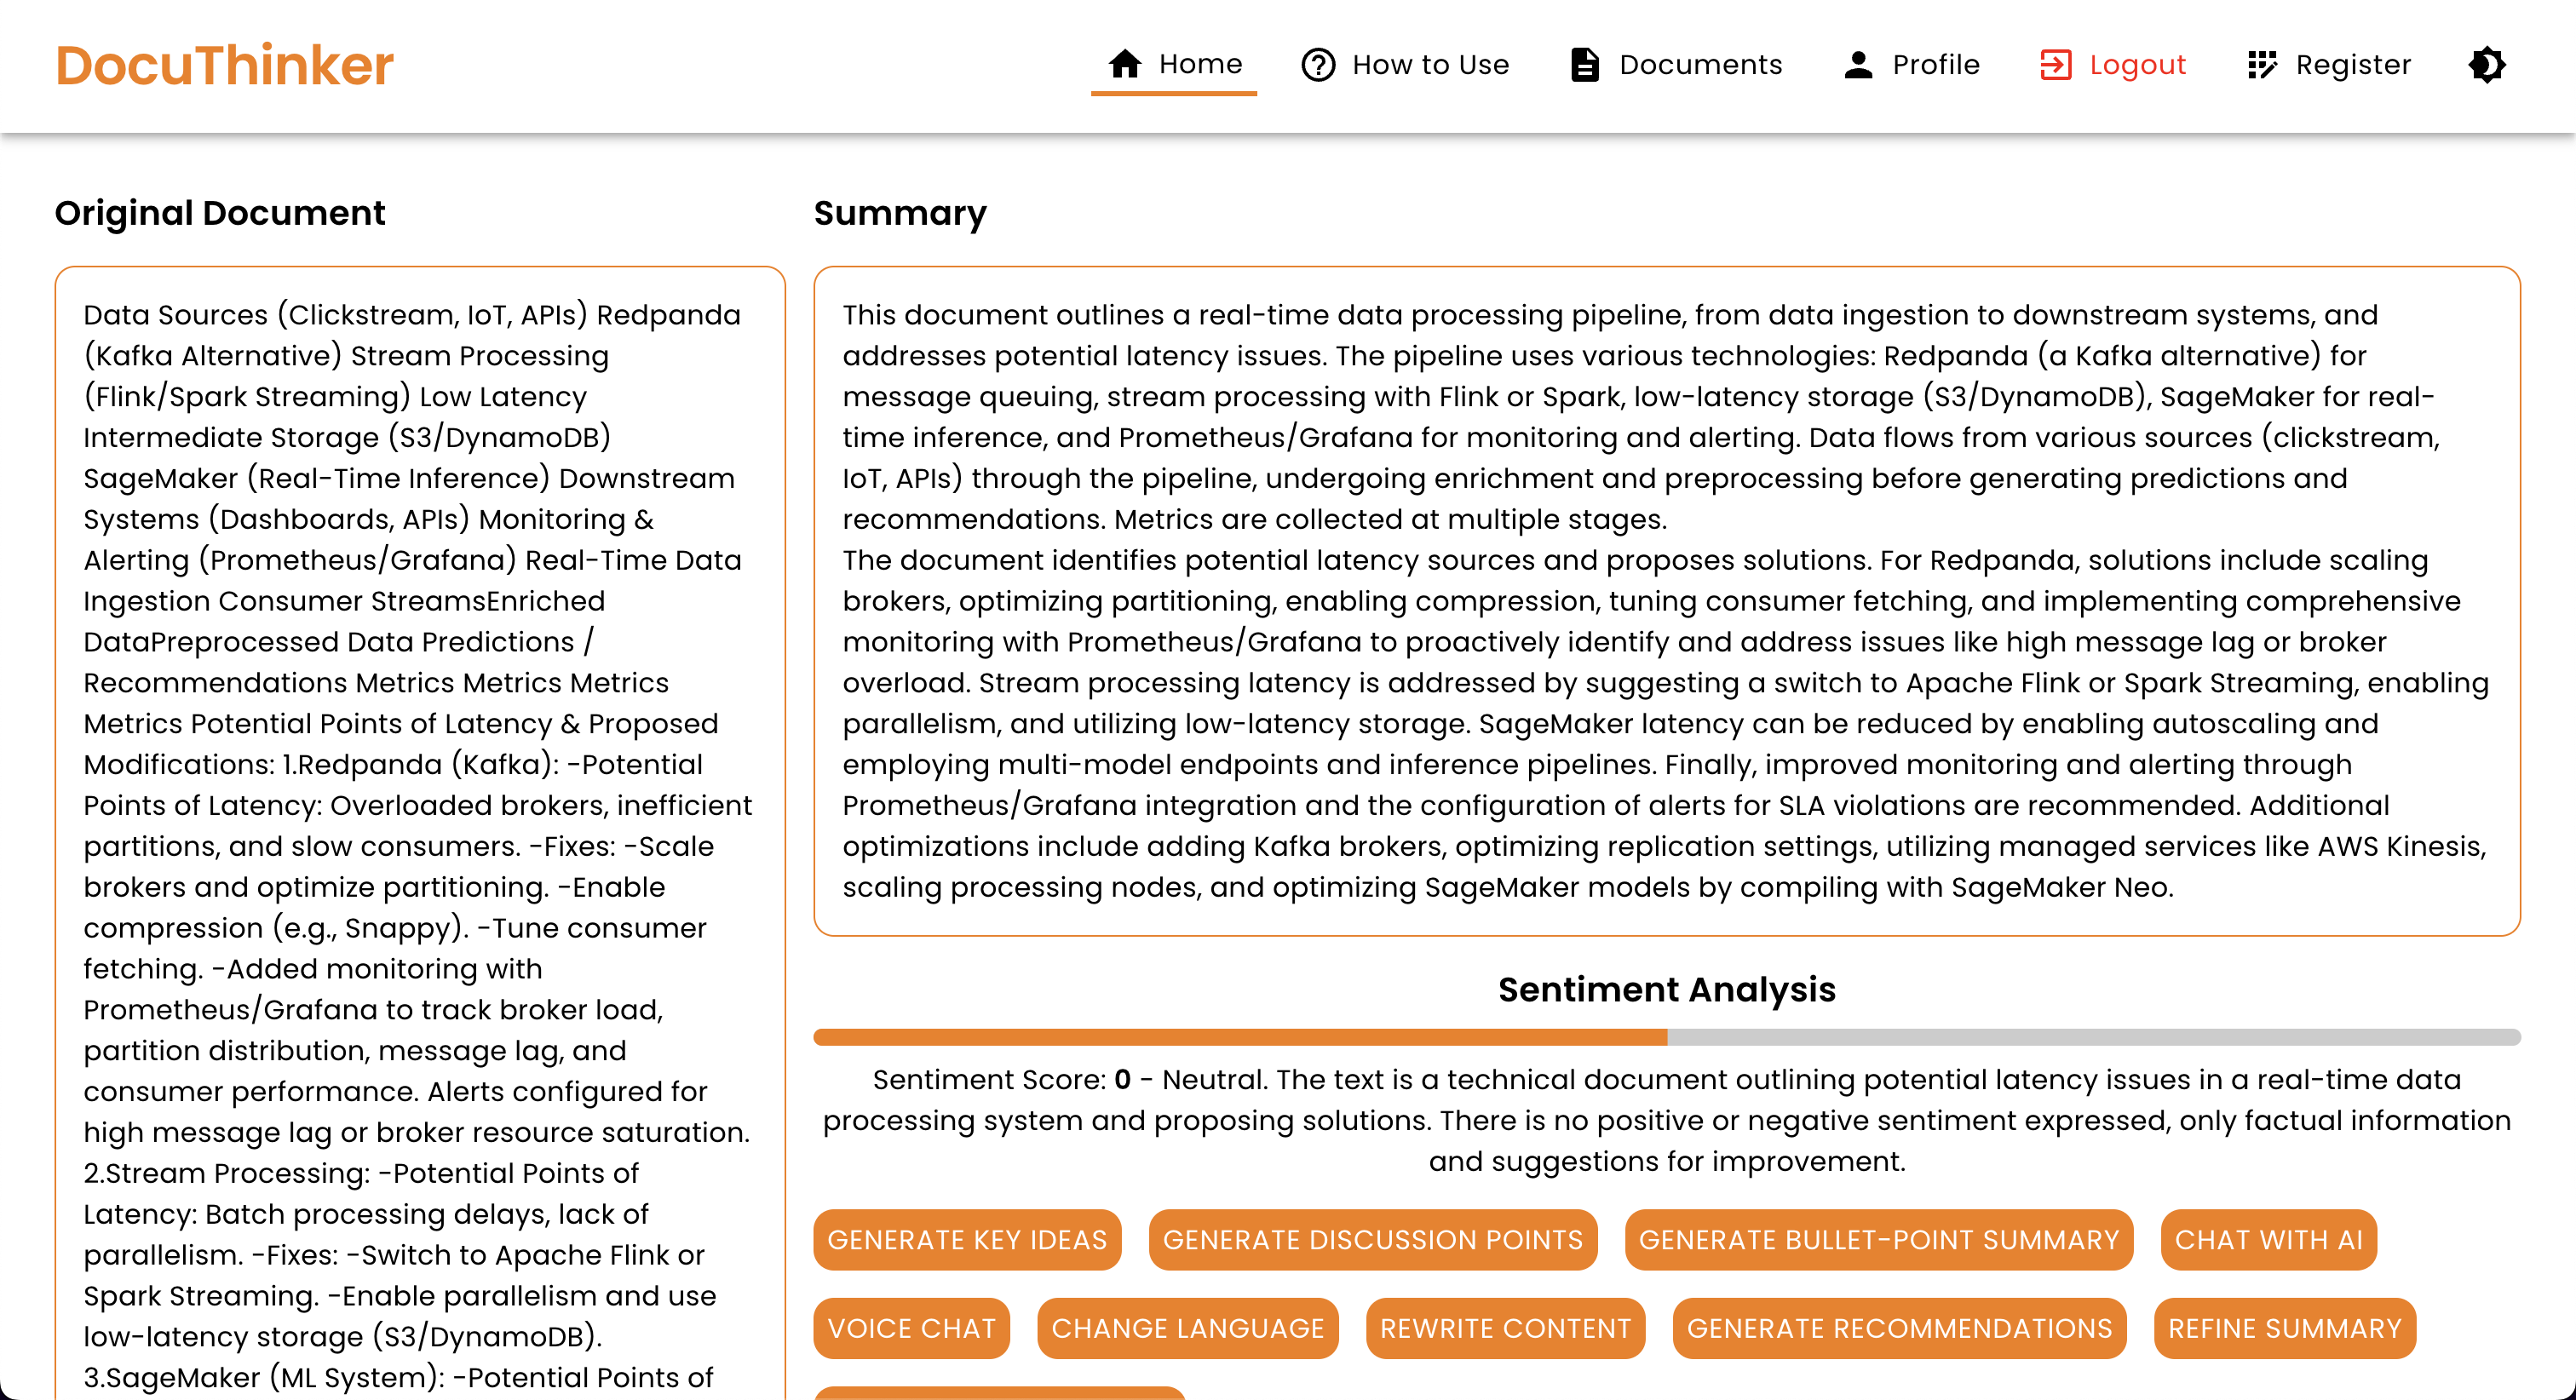
- Rich Original-Document Viewer: View the real document alongside its summary, each type rendered in its best form — PDFs in a native
<iframe>of the signed URL (true pages, zoom, scroll), DOCX as mammoth HTML, Markdown via react-markdown, HTML sanitized with DOMPurify, CSV/TSV as a table, JSON/code as monospace, and plain text as pre-wrapped text. Works for live uploads and re-opened history alike. -
Drag-Resizable Result Columns: The Original Summary panes on the results view are split by a draggable divider (double-click to reset), with a full-screen drag overlay that keeps resizing smooth even over the PDF iframe. - Text-Selection Action Menu: Select any text in the results view to get an inline menu — Copy / Summarize / Rewrite / Ask Chat / Search web — each scoped to your selection. Native text selection is styled orange app-wide.
- Key Insights & Discussion Points: Generate important ideas and topics for discussion from your documents.
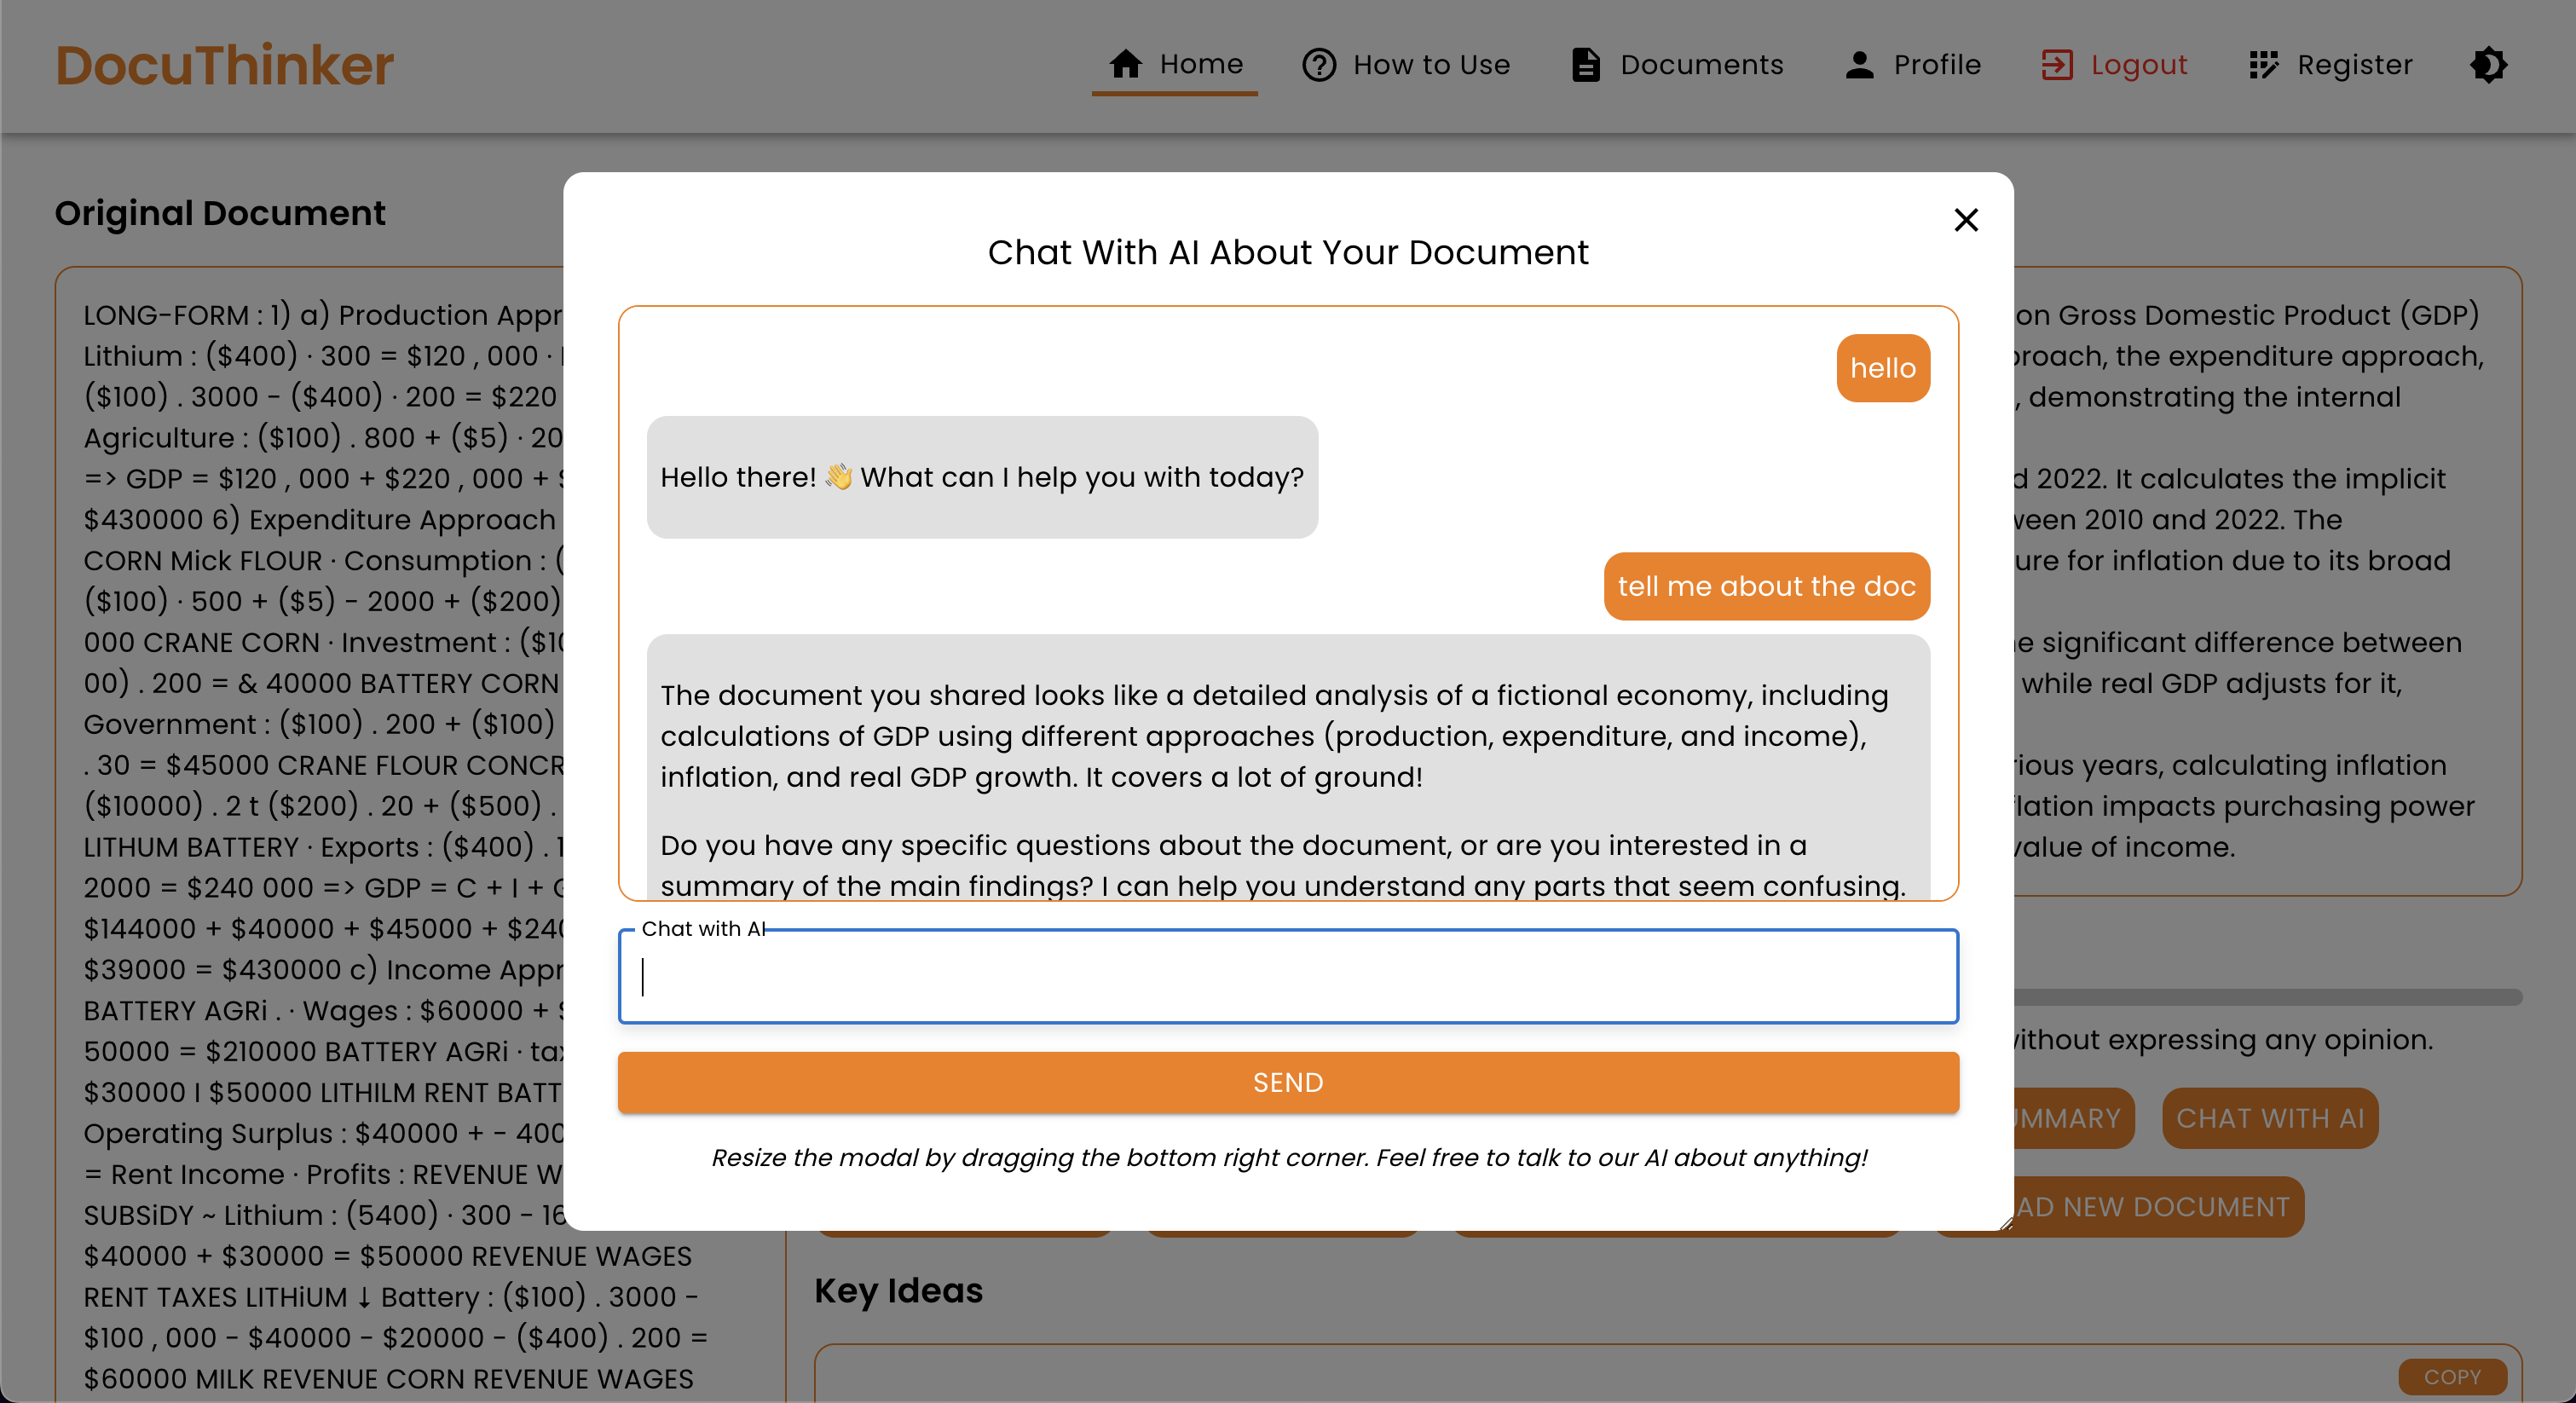
- AI Chat Integration: Chat with an AI using your document’s original context. The assistant opens with a friendly greeting when the conversation is empty, and the document title and today’s date are passed to the AI as context across summaries, sentiment, chat, and other operations.
- Voice Chat with AI: Chat with an AI using voice commands for a more interactive experience.
- Sentiment Analysis: Analyze the sentiment of your document text for emotional insights, with results cached per-document in
localStorageso the meter loads instantly on return visits. - Multiple Language Support: Summarize documents in different languages for global users.
- Content Rewriting: Rewrite or rephrase document text based on a specific style or tone.
- Actionable Recommendations: Get actionable recommendations based on your document content.
- Bullet Point Summaries: Generate bullet point summaries for quick insights and understanding.
- Document Categorization: Categorize documents based on their content for easy organization.
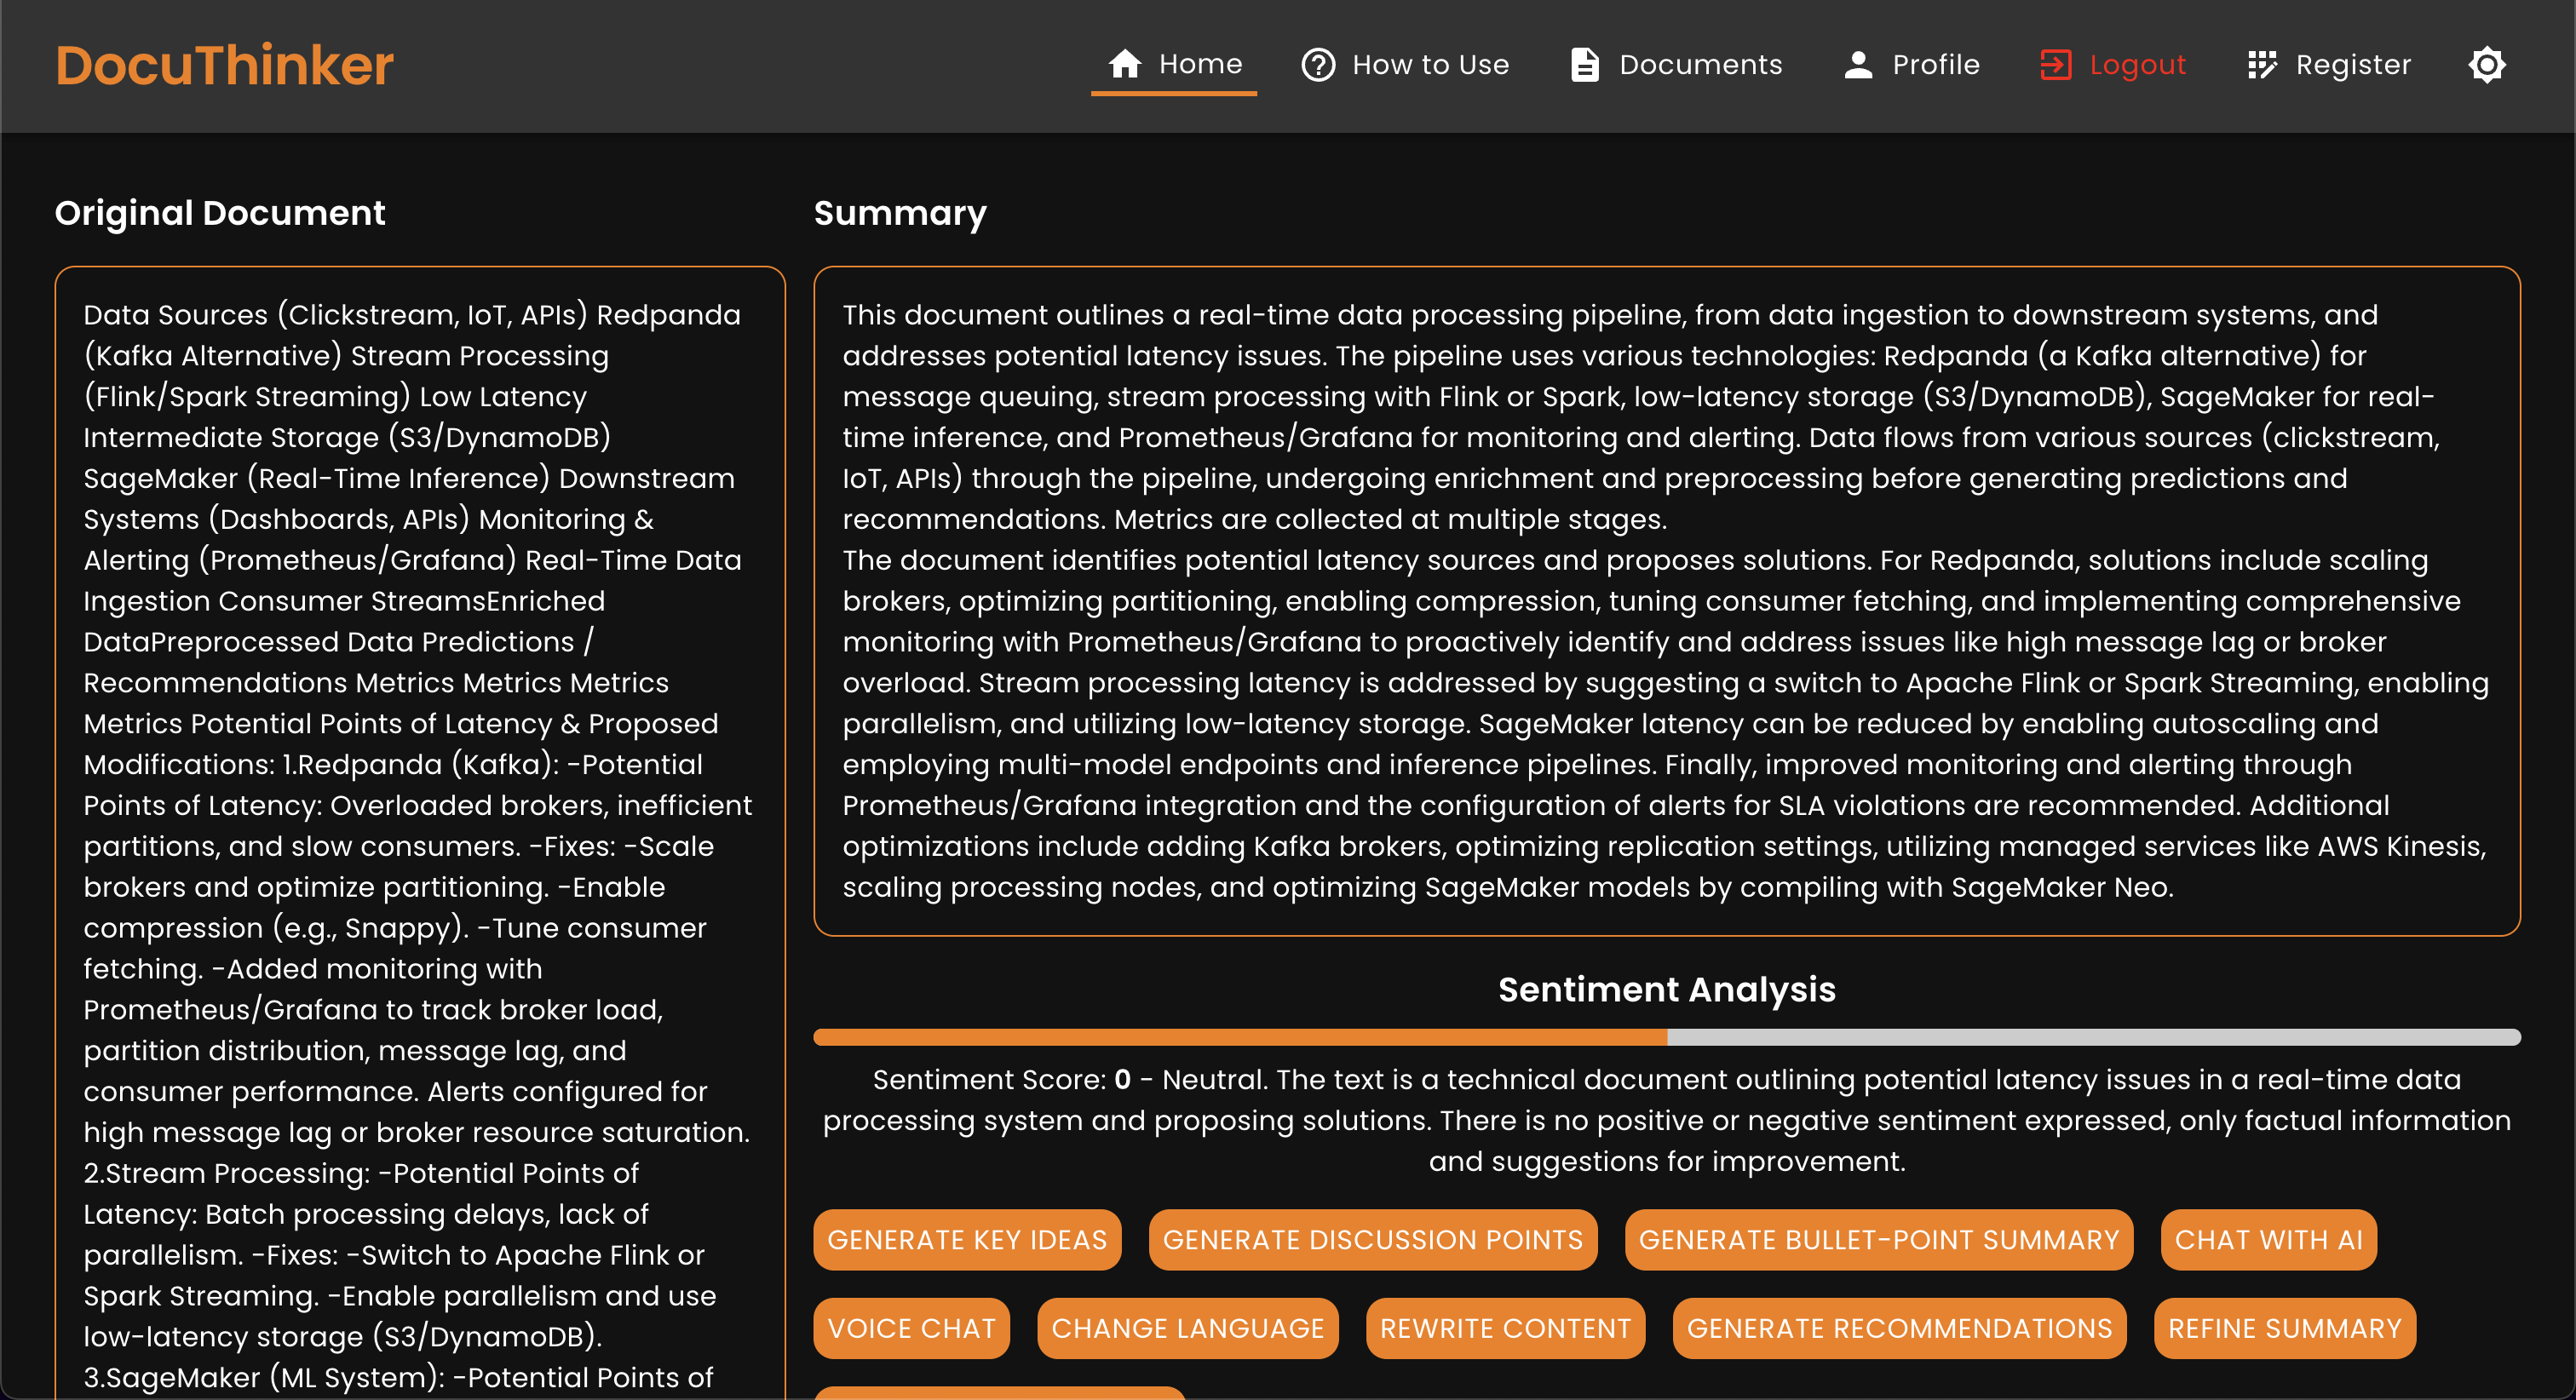
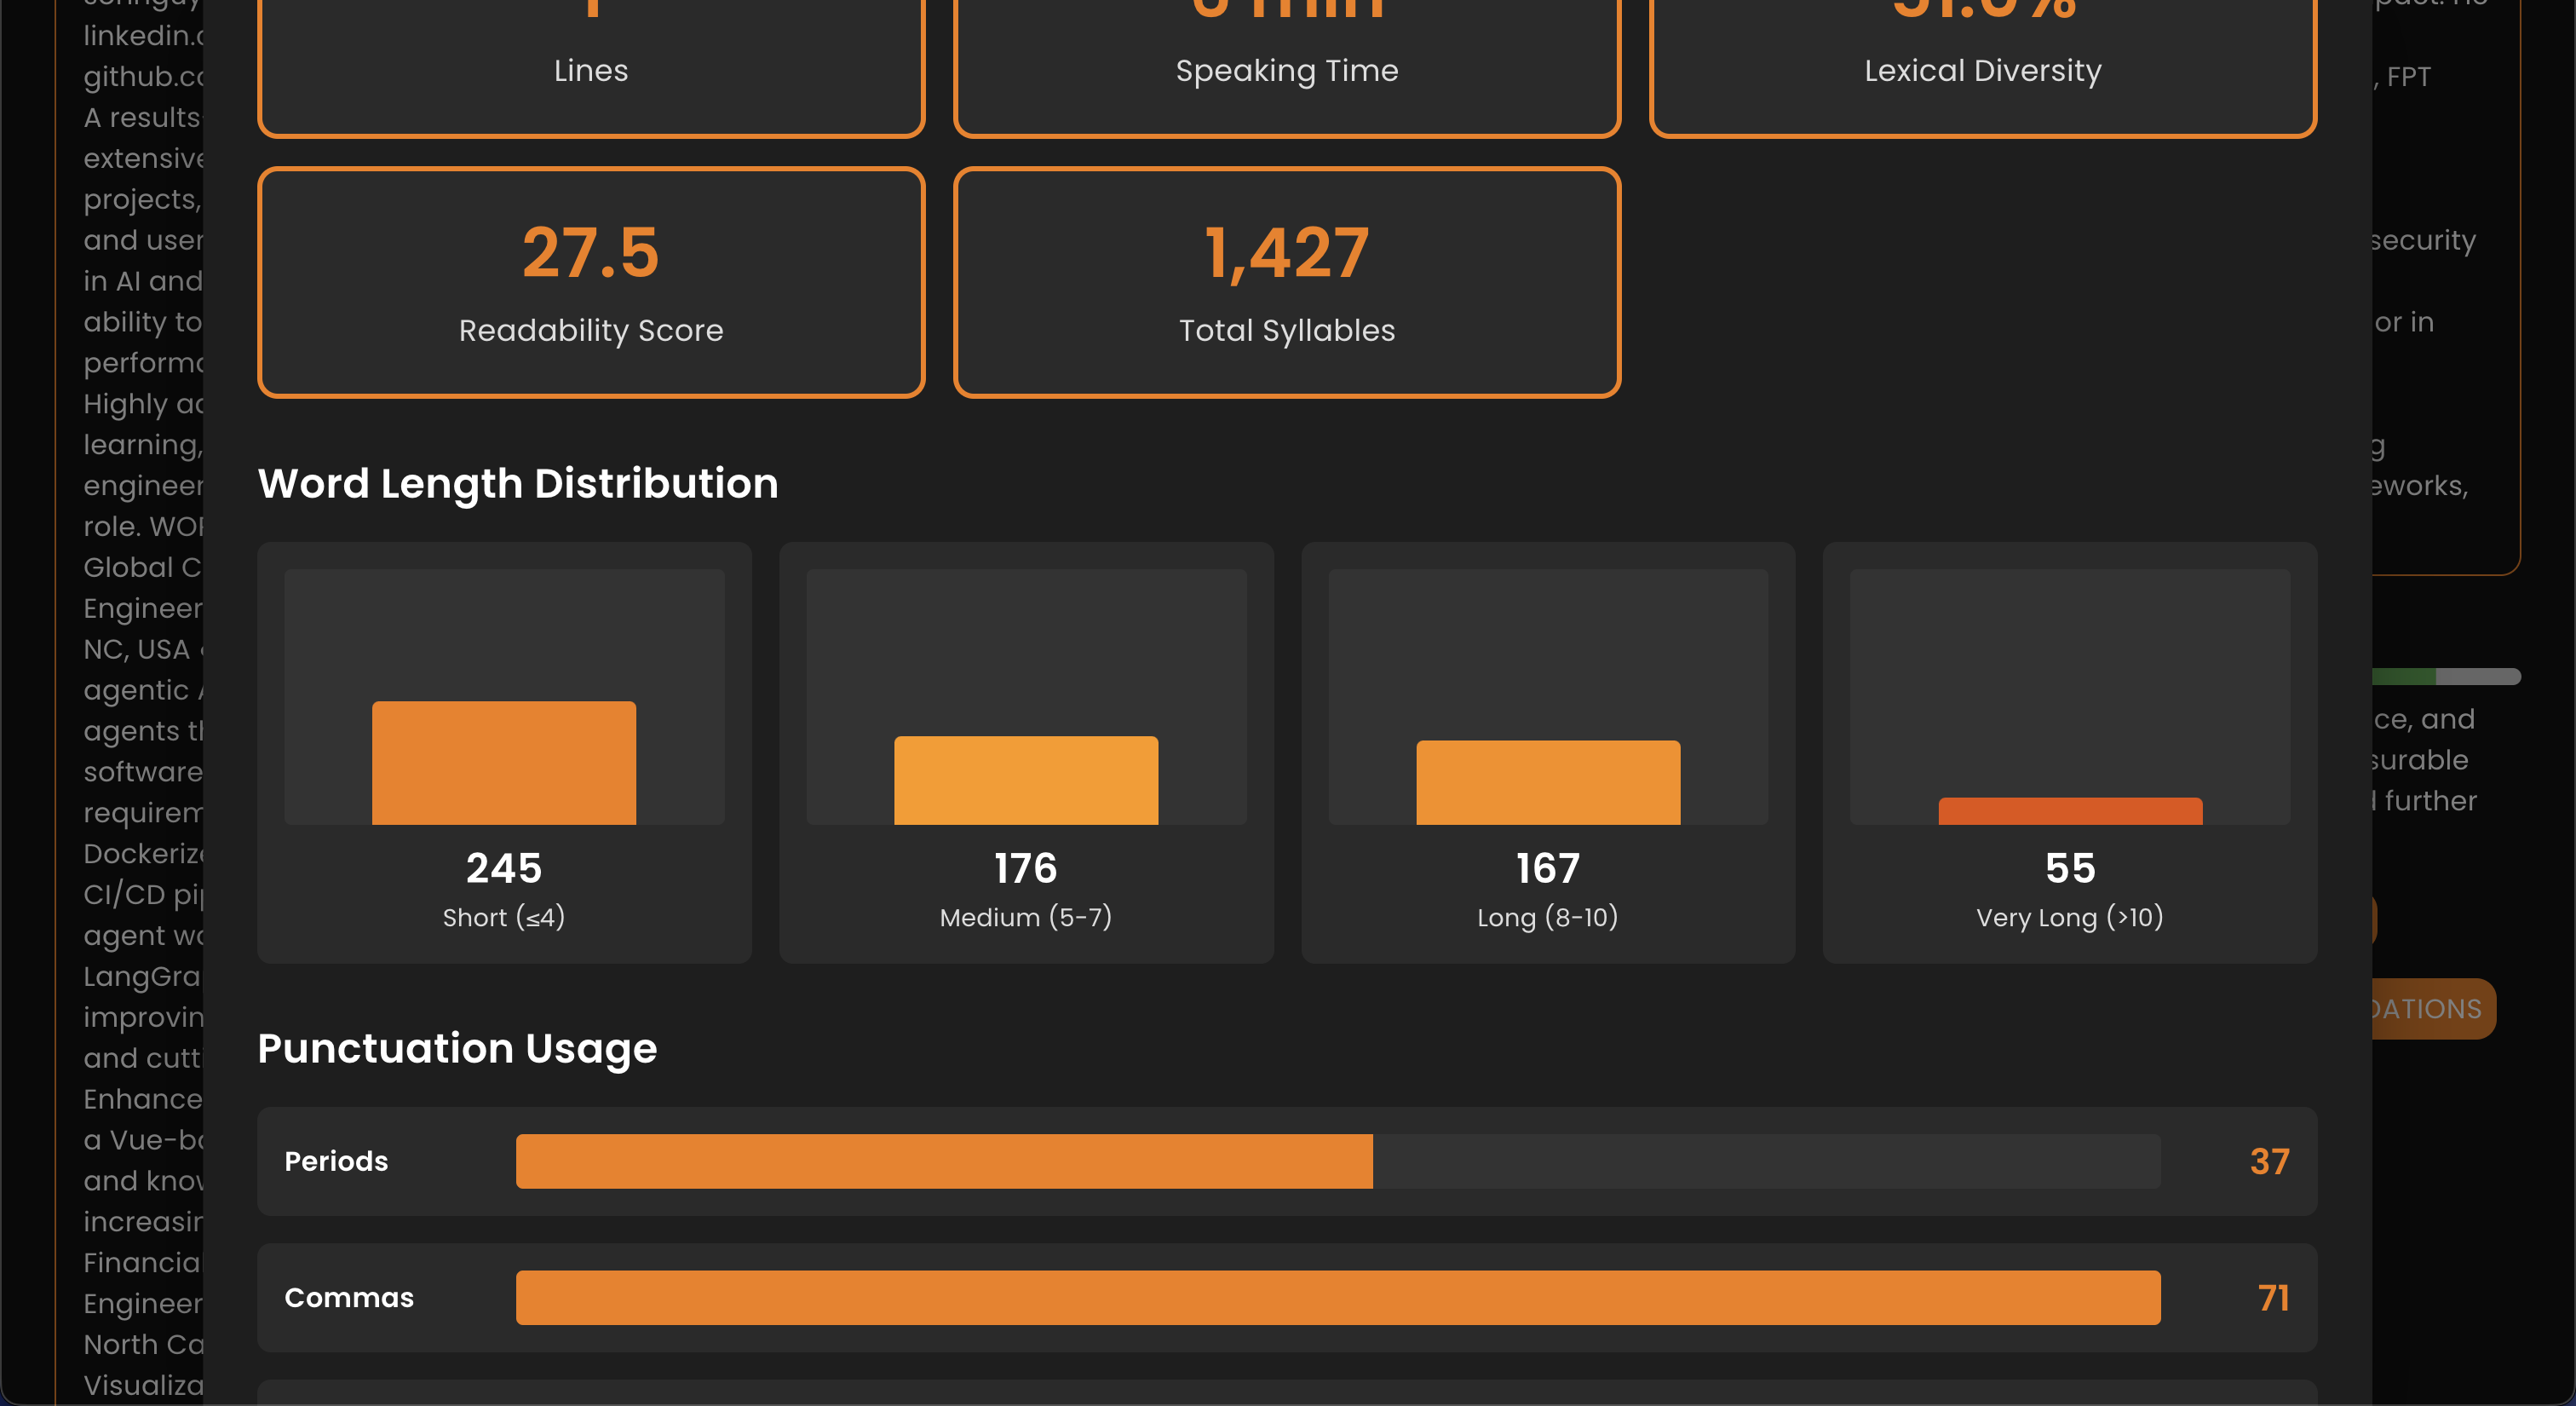
- Document Analytics: An interactive, charts-powered analytics modal with a Flesch reading-ease readability gauge, most-frequent-word bars, word-length distribution, structure metrics (characters, lines, average word/sentence length, syllables), and a punctuation breakdown — all with animated counters.
- Profile Management: Update your profile information, social media links, and theme settings.
- User Authentication: Secure registration, login, and password reset functionality.
- Passwordless Sign-In (Passkeys / WebAuthn): Register multiple passkeys and sign in with your fingerprint, face, or device PIN — no password required. A post-sign-up prompt invites users to enroll, and a dedicated Passkeys page lets them add, rename, and delete keys.
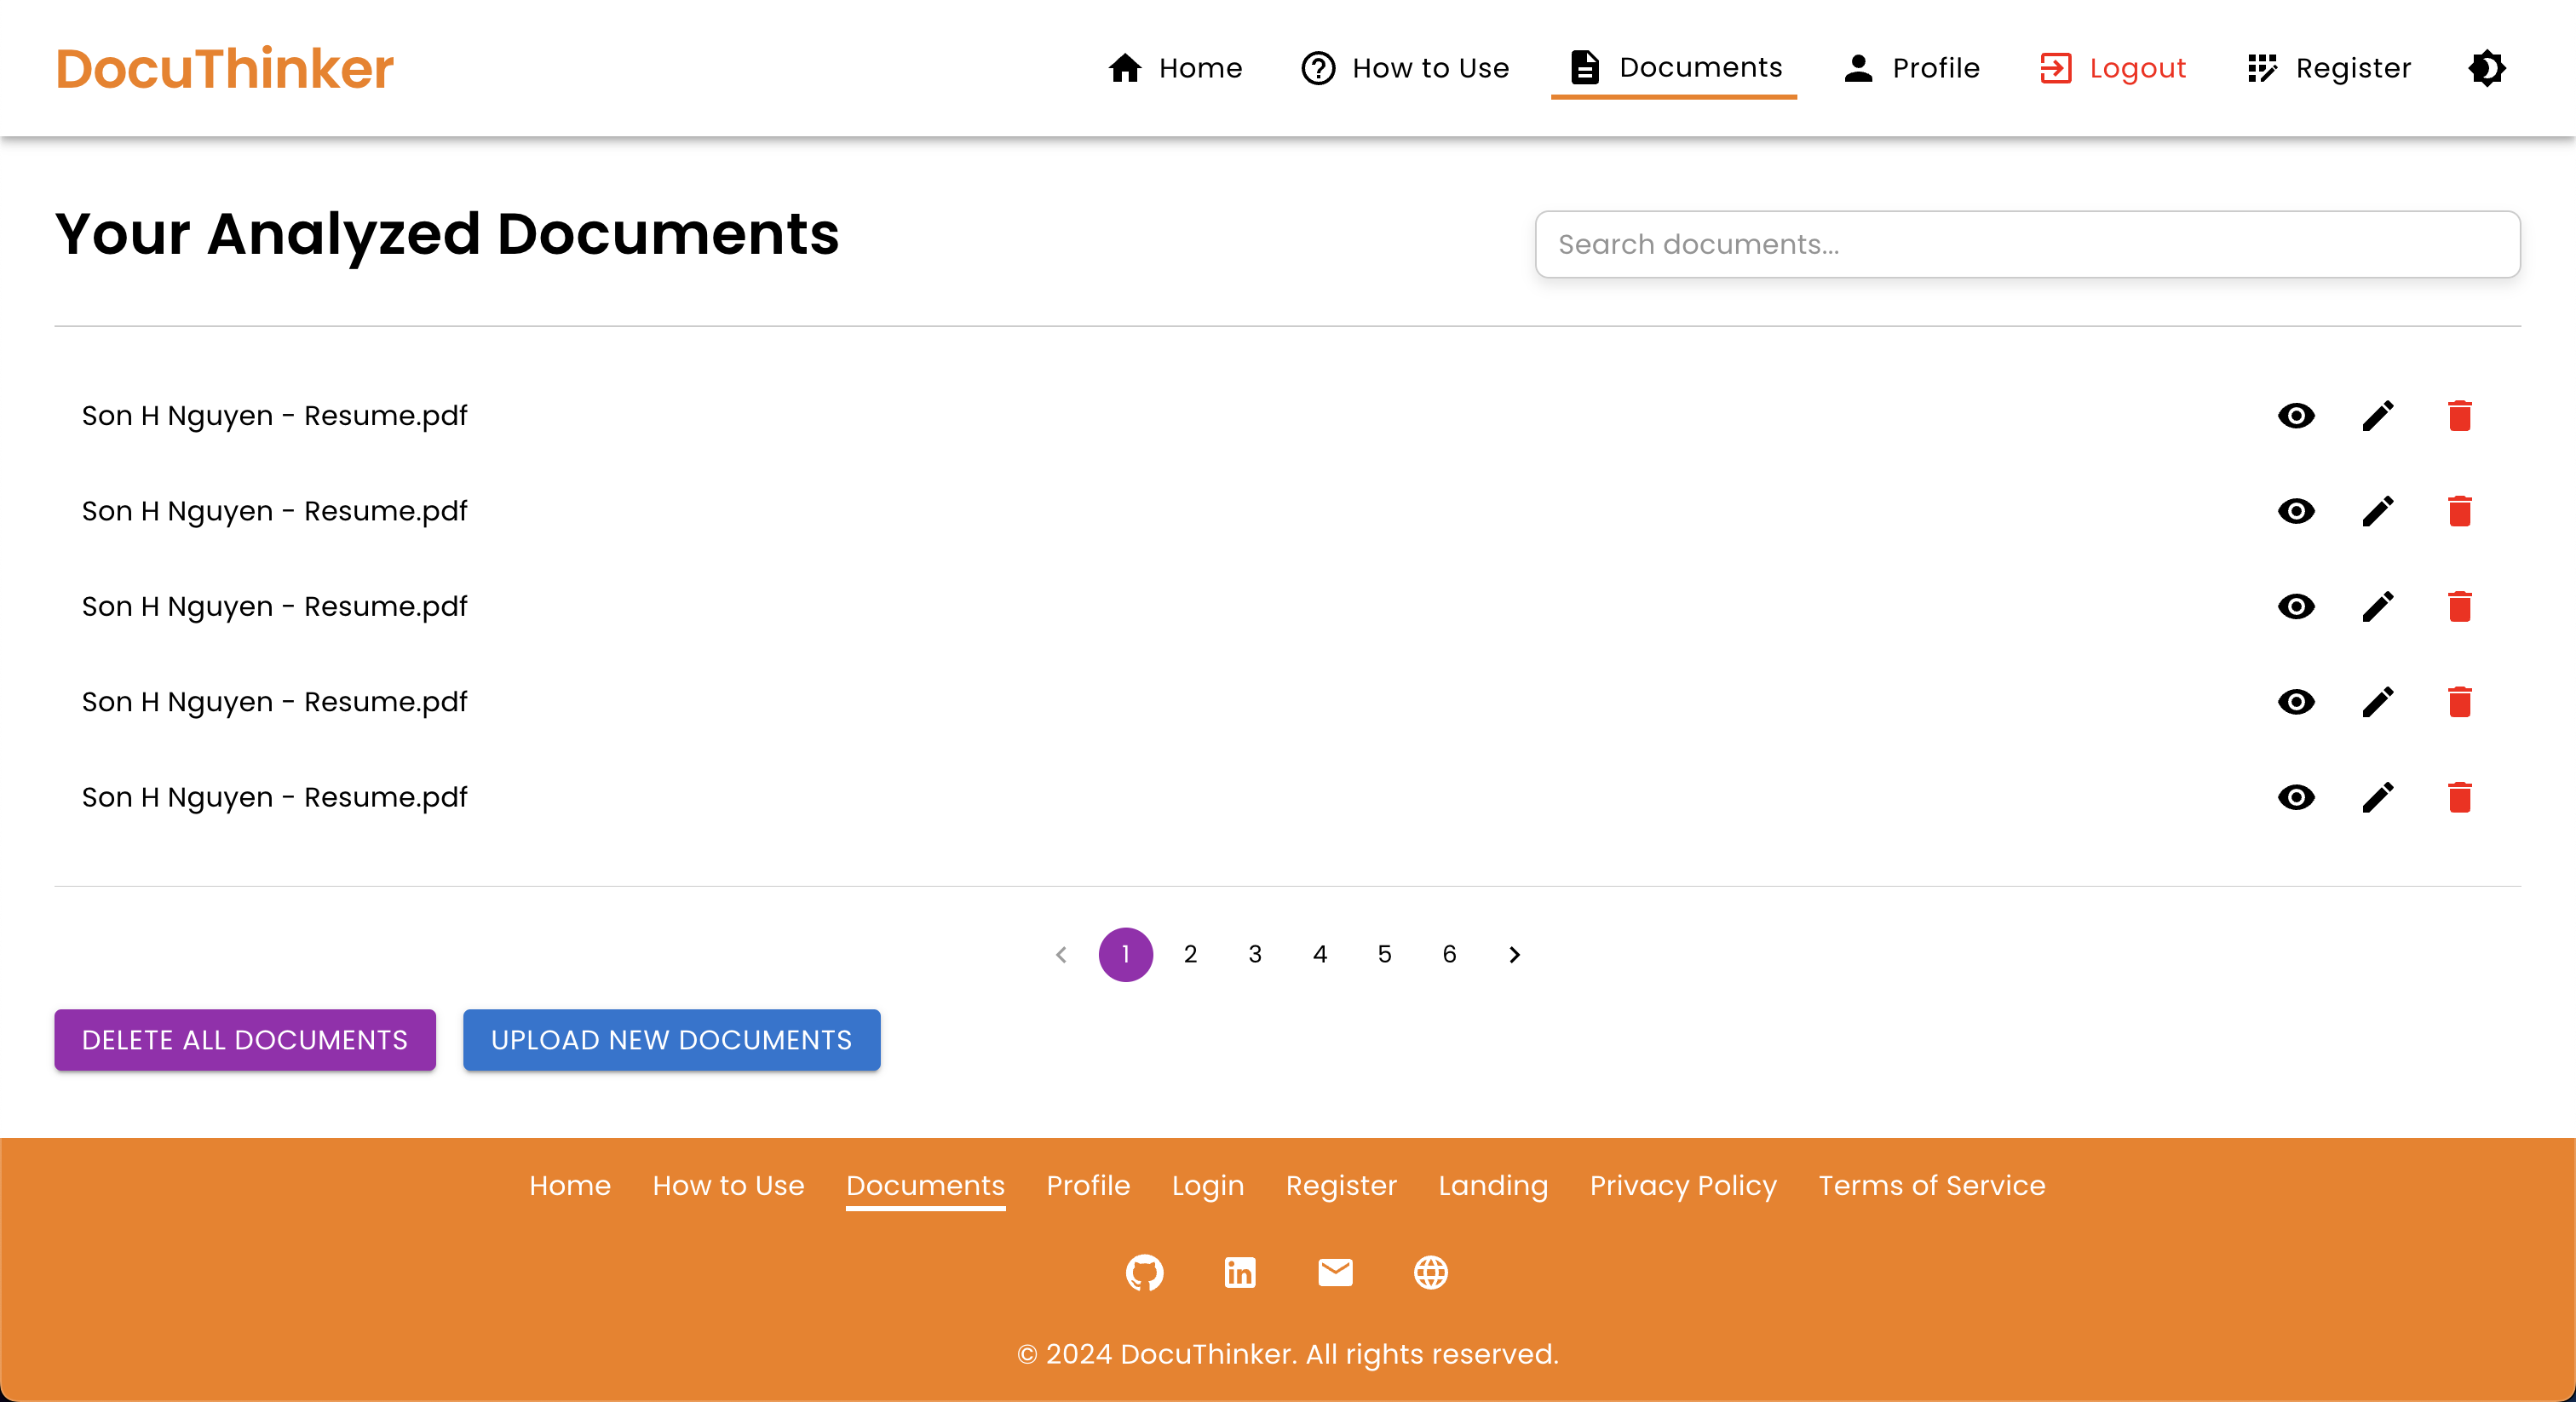
- Document History & Library Search: View all uploaded documents and their details. The Documents page offers instant client-side search (title / summary), sort (newest / oldest / title A–Z / Z–A), and a type filter (PDF / Word / Markdown / HTML / CSV / JSON / Text), with per-document type icons and chips plus a loading spinner while a document opens.
- Unlimited Document Library: Documents are stored one-per-record in a per-user Firestore subcollection, removing the old 1 MB-per-user array ceiling — effectively unlimited documents per user.
- Mobile App Integration: React Native mobile app for on-the-go document management.
- Dark Mode Support: Toggle between light and dark themes for better accessibility, with polished, dark-mode-aware redesigns across Login / Register / Forgot-password, the Navbar, Profile, Passkeys, the 404, Privacy / Terms, and the Google Drive picker (which now also accepts the new text formats).
- API Documentation: Swagger (OpenAPI) documentation for all API endpoints.
- Authentication Middleware: Secure routes with JWT and Firebase authentication middleware.
- Containerization: Dockerized the app with Docker & K8s for easy deployment and scaling.
- Continuous Integration: Automated testing and deployment with GitHub Actions & Jenkins.
- Load Balancing & Caching: NGINX for load balancing and Redis for caching.
- Zero Downtime Deployment: Blue/Green & Canary deployment strategies on AWS.
- and many more!
📄 Multi-Format Upload & Extraction
DocuThinker accepts far more than PDF and Word. Text extraction runs entirely client-side in the UploadModal component before anything leaves the browser, so the AI always receives clean, plain text while the viewer keeps a rich representation for display.
| Format | Extracted for the AI | Rendered in the viewer |
|---|---|---|
PDF (.pdf) |
Text via pdf.js with line/paragraph reconstruction | Native <iframe> of the signed Supabase URL |
Word (.docx) |
Plain text via mammoth (extractRawText) |
Structured HTML via mammoth.convertToHtml |
Markdown (.md, .markdown) |
Raw Markdown | Rendered with react-markdown |
HTML (.html, .htm) |
Tags stripped to plain text | Raw HTML sanitized with DOMPurify |
CSV / TSV (.csv, .tsv) |
Parsed rows | Parsed into an HTML table |
JSON (.json) |
Pretty-printed text | Pretty-printed monospace block |
Code / config (.xml .yaml/.yml .js/.jsx/.mjs .ts/.tsx .py .java .c/.cpp .h .cs .go .rs .rb .php .sql .sh .css/.scss/.less .ini/.toml/.conf/.env .kt .swift .r .lua .pl) |
File contents as text | Monospace code block |
Plain text (.txt, .log) |
File contents as text | Pre-wrapped text |
The same extracted { originalText, originalHtml } pair powers both the AI summary and the Rich Original-Document Viewer, and is offloaded to Supabase Storage as described below.
⚙️ Technologies
DocuThinker is built with 120+ technologies spanning frontend, backend, AI/ML, mobile, infrastructure, and DevOps. Below is the complete technology stack.
- Frontend (Web):
- React 18.3: JavaScript library for building user interfaces.
- Material-UI (MUI) 6: React component library for UI development.
- Tailwind CSS: Utility-first CSS framework for rapid styling.
- Emotion: CSS-in-JS styling engine (used by MUI).
- Three.js: WebGL 3D engine powering the landing page’s procedural scene.
- React Three Fiber (
@react-three/fiber): React renderer for Three.js — declarative scene graph for the landing hero. - Drei (
@react-three/drei): R3F helpers (Float,RoundedBox,MeshDistortMaterial,Environment,Lightformer,Sparkles) used to build the scene without binary assets. - Axios: Promise-based HTTP client for API requests.
- React Router DOM 6: Declarative client-side routing.
- Context API: Built-in React state management.
- React Markdown / remark-gfm / rehype-katex / remark-math: Markdown rendering with GitHub Flavored Markdown and LaTeX math.
- KaTeX: Fast LaTeX math typesetting.
- Marked: Markdown parser and compiler.
- pdfjs-dist: PDF rendering and viewing in the browser.
- Mammoth: DOCX-to-HTML document conversion (renders Word docs in the original-document viewer).
- Supabase JS (
@supabase/supabase-js): Direct browser-to-bucket upload of original files via signed upload URL. - React Dropzone: Drag-and-drop file upload component.
- React Helmet: Document head management for SEO.
- Dropbox SDK: Dropbox file import integration.
- Google API (gapi-script / react-oauth / react-google-picker): Google Drive and Picker integration.
- mic-recorder-to-mp3: Audio recording for voice chat.
- Vercel Analytics & Speed Insights: Frontend performance telemetry.
- Web Vitals: Core Web Vitals performance metrics.
- Fontsource Poppins: Self-hosted font loading.
- UUID: Unique identifier generation.
- Craco: Create React App Configuration Override for Webpack customization.
- Webpack: Module bundler for JavaScript applications.
- Babel: JavaScript transpilation (ES2015+ to browser-compatible code).
- Buffer / Crypto-browserify / Stream-browserify: Node.js polyfills for the browser.
- Jest: JavaScript testing framework.
- React Testing Library: Component testing utilities.
- Prettier: Code formatter.
- ESLint: JavaScript/JSX linting with React plugin.
- Backend (API Server):
- Node.js 18+: JavaScript runtime for scalable network applications.
- Express 4: Web application framework for Node.js. The JSON body limit is raised to accept large extracted text/HTML, a permissive top-level CORS middleware is applied, and requests/errors are logged liberally.
- Firebase Admin SDK 12: Server-side Firebase services (Auth + Firestore).
- Firebase Authentication: Secure user authentication (custom tokens).
- Cloud Firestore: Document metadata in a per-user
documentssubcollection. - Supabase Storage (
@supabase/supabase-js): Private bucket for original files and offloaded content JSON; signed upload/download URLs minted server-side with theservice_rolekey. - Google Generative AI SDK (
@google/generative-ai): Google Gemini integration with a dynamic model list plus rotation/fallback across models to absorb 429/503 errors. The document title and today’s real date are injected into AI prompts as context, and the summary prompt now produces easy-to-read, model-decided formatting rather than forced bullets/paragraphs. - SimpleWebAuthn (
@simplewebauthn/server): Passkeys / WebAuthn registration and authentication ceremonies. - JWT (jsonwebtoken): Token-based authentication middleware.
- GraphQL / express-graphql / graphql-tools: Flexible query API for data fetching (GraphiQL enabled at
/graphql). - Redis 4: In-memory data store for caching and session management.
- Formidable / Multer: Multi-part file upload handling (through-backend fallback path).
- Mammoth: DOCX-to-HTML conversion.
- pdf-parse: PDF text extraction.
- Google APIs (googleapis): Google Drive, Docs, and Sheets integration.
- Axios: HTTP client for inter-service communication and the Gemini model-list call.
- CORS: Cross-Origin Resource Sharing middleware.
- Dotenv: Environment variable management.
- UUID: Unique identifier generation.
- Serve Favicon: Favicon middleware.
- Swagger JSDoc / Swagger UI: Interactive API documentation (
/api-docs). - Nodemon: Development auto-reload.
- Orchestrator (Agentic Architecture):
- Anthropic AI SDK 0.39: Claude model integration for the agent loop.
- Google Generative AI SDK: Gemini model integration and failover.
- Model Context Protocol (MCP) SDK 1.12: MCP server (13 tools) and client for agent interop.
- Zod 3.24: Runtime schema validation for all AI outputs (12 schemas).
- Express 4: HTTP server for orchestrator endpoints.
- Supervisor Pattern: Intent classification, task DAG decomposition, parallel dispatch.
- Agent Loop (ReAct): Iterative tool-use cycle with up to 10 rounds.
- Circuit Breaker: Per-provider fault tolerance (CLOSED / OPEN / HALF_OPEN).
- Cost Tracker: Per-request token costing with daily/monthly budget enforcement.
- Dead Letter Queue: Failed operation retry with manual inspection queue.
- Token Budget Manager: Context window estimation for 7+ models with auto-compaction.
- Conversation Store: In-memory history with auto-summarization and LRU eviction.
- Hybrid RAG: Keyword (Redis) + semantic (Python) search with Reciprocal Rank Fusion.
- Prompt Cache Strategy: 3-layer Anthropic prompt caching (system, document, history).
- 14 Versioned System Prompts: Covering all document operations, chat modes, and classification.
- AI/ML Services (Python):
- FastAPI / Uvicorn: High-performance async REST API server.
- Python 3.10+: Core runtime.
- LangChain: Document chunking, embeddings, and LLM orchestration.
- LangGraph: Stateful agentic RAG pipeline (4-node state machine).
- CrewAI: Multi-agent collaboration (Analyst → Cross-Referencer → Insights Curator).
- OpenAI GPT-4o / GPT-4o-mini: Primary analysis and structured QA.
- Anthropic Claude 3.5 Sonnet / Haiku: Insights curation and sentiment analysis.
- Google Gemini 1.5 Pro: Cross-referencing and fact verification.
- FAISS (CPU): In-memory vector search for per-request RAG retrieval.
- ChromaDB: Persistent on-disk vector store for cross-session semantic recall.
- Neo4j: Knowledge graph database for document-topic relationship mapping.
- sentence-transformers (all-MiniLM-L6-v2): Local embedding generation.
- PyTorch: Deep learning runtime for transformer models.
- Transformers (HuggingFace): Translation models and NLP pipelines.
- ONNX / ONNX Runtime / Optimum: Model optimization and accelerated inference.
- Optuna: Hyperparameter tuning for ML experiments.
- ROUGE Score: Summarization quality metrics.
- Pandas: Data processing and analysis.
- Matplotlib: Data visualization.
- MCP Server (Python): 7-tool MCP server for external agent integration.
- Requests: HTTP library for inter-service calls.
- Python-dotenv: Environment variable management.
- NLP / NER / POS Tagging: Named entity recognition and linguistic analysis.
- RAG: Retrieval-Augmented Generation combining vector search with LLM inference.
- Google Cloud NLP API: Machine learning models for text analysis.
- Google Speech-to-Text API: Speech recognition for voice chat.
- Database & Storage:
- Cloud Firestore: Primary metadata store — users plus a per-user
documentssubcollection (one record per document). - Supabase Storage: Private bucket holding original uploaded files and offloaded
{ originalText, originalHtml }content JSON; accessed via signed URLs. - Redis: In-memory cache and session store (ElastiCache in production).
- PostgreSQL: Relational database available for the in-cluster/infra tier (RDS Multi-AZ in production, Helm chart in-cluster).
- Neo4j: Graph database for knowledge graphs (AI/ML layer).
- ChromaDB: Vector database for embedding persistence (AI/ML layer).
- FAISS: In-memory vector similarity search (AI/ML layer).
- Flyway: Database schema migrations for PostgreSQL.
- Cloud Firestore: Primary metadata store — users plus a per-user
- Mobile App:
- React Native 0.74: Cross-platform mobile framework.
- Expo 51: Universal React application platform.
- Expo Router: File-system based routing.
- React Navigation: Stack and tab navigation.
- React Native Reanimated: High-performance animations.
- React Native Gesture Handler: Native gesture management.
- React Native Web: React Native components for web browsers.
- React Native Safe Area Context: Safe area insets.
- React Native Screens: Native navigation primitives.
- Expo Vector Icons / Constants / Font / Linking / Splash Screen / Status Bar: Expo SDK modules.
- Firebase SDK: Authentication and real-time features.
- TypeScript: Static type checking.
- Jest / Jest-Expo / React Test Renderer: Mobile testing.
- VS Code Extension:
- TypeScript: Extension development language.
- VS Code Extension API: IDE integration for document analysis workflows.
- VSCE: Extension packaging and publishing.
- API Documentation:
- Swagger / OpenAPI 3.0: Interactive API docs for all endpoints.
- GraphiQL: In-browser GraphQL query editor.
- Postman: API development and testing collections.
- Containerization & Orchestration:
- Docker: Multi-stage builds for all services (7 Dockerfiles: frontend, backend, orchestrator, AI/ML, NGINX, mobile, devcontainer).
- Docker Compose: Local multi-service orchestration.
- Kubernetes 1.28+: Container orchestration with Deployments, Services, Ingress, PDBs, NetworkPolicies.
- Helm 3.13+: Kubernetes package management (PostgreSQL, Redis, custom charts).
- ArgoCD: GitOps-based continuous deployment with Application and AppProject CRDs.
- Devcontainer: VS Code remote container development environment.
- Service Mesh & Networking:
- Istio 1.20: Service mesh with mTLS, sidecar injection, traffic management, authorization policies.
- Envoy: High-performance proxy sidecar (embedded in Istio).
- NGINX Ingress Controller: Reverse proxy, rate limiting, TLS termination, load balancing.
- Kiali: Service mesh observability dashboard.
- cert-manager: Automated Let’s Encrypt TLS certificate provisioning.
- Cloud Infrastructure (AWS):
- Terraform 1.5+: Infrastructure as Code with S3/DynamoDB state backend.
- EKS (Elastic Kubernetes Service): Managed Kubernetes cluster.
- VPC: Multi-AZ networking with public/private subnets.
- RDS: Managed PostgreSQL (Multi-AZ production).
- ElastiCache: Managed Redis cluster.
- S3: Object storage (uploads, backups, Terraform state) with lifecycle policies.
- CloudFront: CDN for frontend asset delivery.
- WAF (Web Application Firewall): Rate limiting and geo-blocking.
- Secrets Manager: Credential and secret management.
- CloudWatch: Monitoring, logging, and alerting.
- AWS Backup: Automated RDS and S3 backup schedules.
- ECS Fargate: Serverless container execution (CloudFormation-based).
- IAM / IRSA: Fine-grained service account permissions.
- Monitoring & Observability:
- Prometheus: Metrics collection with Prometheus Operator, Node Exporter, and kube-state-metrics.
- Grafana: Dashboards and visualization with Loki integration.
- Jaeger: Distributed tracing with Elasticsearch backend.
- Zipkin: Distributed tracing (OpenTelemetry receiver).
- Loki: Log aggregation.
- ELK Stack (Elasticsearch, Logstash, Kibana): Centralized logging, processing, and search.
- OpenTelemetry Collector: Unified traces, metrics, and logs pipeline (OTLP, Jaeger, Zipkin, Prometheus receivers).
- Coralogix: Unified SaaS observability platform with TCO optimization — receives logs, metrics, and traces via OTel OTLP/gRPC; Fluent Bit DaemonSet for node-level log shipping; Prometheus remote write for metric correlation; 12 production alerts; recording rules; TCO cost policies; Terraform-managed via
coralogix/coralogixprovider. - AlertManager: Alert routing with Slack and PagerDuty integrations.
- SLI/SLO Monitoring: Prometheus recording rules for availability and latency tracking.
- Sentry: Application-level error monitoring, performance tracing, session replay, and structured logs across the React frontend (
@sentry/react) and Express backend (@sentry/node+ profiling). Distributed tracing links browser transactions to backend spans viatracePropagationTargets, and the frontendSentry.ErrorBoundaryreports uncaught React render errors.
- Security & Compliance:
- HashiCorp Vault 1.15: Secrets management with HA Raft storage, AWS KMS seal, CSI provider.
- External Secrets Operator: Syncs secrets from Vault and AWS Secrets Manager into Kubernetes.
- Falco 0.36: Runtime security monitoring with eBPF driver, custom rules, Falcosidekick alerting.
- OPA Gatekeeper 3.14: Policy-as-code enforcement with constraint templates, mutation webhooks, and audit logging.
- Trivy: Container image and filesystem vulnerability scanning.
- SonarQube 10.4 Enterprise: Static code analysis with multi-module scanning (frontend, backend, orchestrator, AI/ML), quality gates (14 conditions), custom quality profiles for JS/TS/Python, coverage tracking ≥70%, and security hotspot review.
- Snyk: Continuous vulnerability management — open source dependency scanning, container image scanning with license compliance (GPL/AGPL blocked), Infrastructure as Code analysis (Terraform/K8s/Helm), SAST code analysis, and in-cluster Kubernetes controller for runtime workload monitoring.
- Progressive Delivery & Autoscaling:
- Flagger 1.34: Automated canary deployments with Istio and Prometheus analysis.
- KEDA 2.12: Event-driven pod autoscaling (2–10 replicas).
- HPA (Horizontal Pod Autoscaler): CPU/memory-based pod scaling.
- Blue/Green Deployments: Zero-downtime release strategy via Jenkins pipelines.
- Canary Deployments: Gradual traffic shifting with automated rollback.
- Chaos Engineering:
- Litmus Chaos: Resilience testing platform with pod-delete, cpu-hog, memory-hog, network-latency, network-loss, container-kill, disk-fill, node-drain, and AWS-specific chaos experiments (ec2-terminate, ebs-loss, az-outage).
- Backup & Disaster Recovery:
- Velero: Kubernetes cluster backup and restore.
- AWS Backup: Managed backup for RDS and S3.
- S3 Versioning + Glacier Lifecycle: Long-term archival with automated transitions.
- CI/CD & Deployment:
- GitHub Actions: Primary CI pipeline (lint, test, coverage, Docker build & push to GHCR, deploy).
- GitLab CI: Multi-stage pipeline (pre-check, build, test, security, package, deploy, post-deploy, cleanup).
- CircleCI: Orb-based pipeline (Node, Python, AWS-EKS, Docker, SonarCloud, k6).
- Jenkins: Multi-stage pipeline with canary and blue/green deployment stages.
- SonarQube / SonarCloud: Static code analysis and quality gates.
- GHCR (GitHub Container Registry): Docker image registry.
- Vercel: Frontend hosting with analytics.
- Render: Backend hosting (fallback).
- Netlify: Frontend hosting (backup).
- Testing & Quality:
- Jest: Unit and integration testing (frontend, backend, orchestrator, mobile).
- React Testing Library: Component testing with user-event simulation.
- Supertest: HTTP endpoint testing.
- pytest: Python test framework for AI/ML services.
- k6: Load and performance testing (baseline, stress, spike, soak, breakpoint scenarios).
- ESLint: JavaScript/TypeScript linting.
- Prettier: Code formatting.
- Postman: API development and testing.
For a comprehensive deep-dive into the AI/ML architecture with visual diagrams, see AI_ML.md.
🖼️ User Interface
DocuThinker features a clean and intuitive user interface designed to provide a seamless experience for users. The app supports both light and dark themes, responsive design, and easy navigation. Here are some screenshots of the app:
Landing Page
The landing page is an interactive 3D experience built with Three.js via React Three Fiber and Drei. A single full-page WebGL canvas sits behind the page and its camera dollies through the procedural scene as you scroll. It also degrades gracefully — honoring prefers-reduced-motion and falling back to a pure-CSS backdrop where WebGL isn’t available.
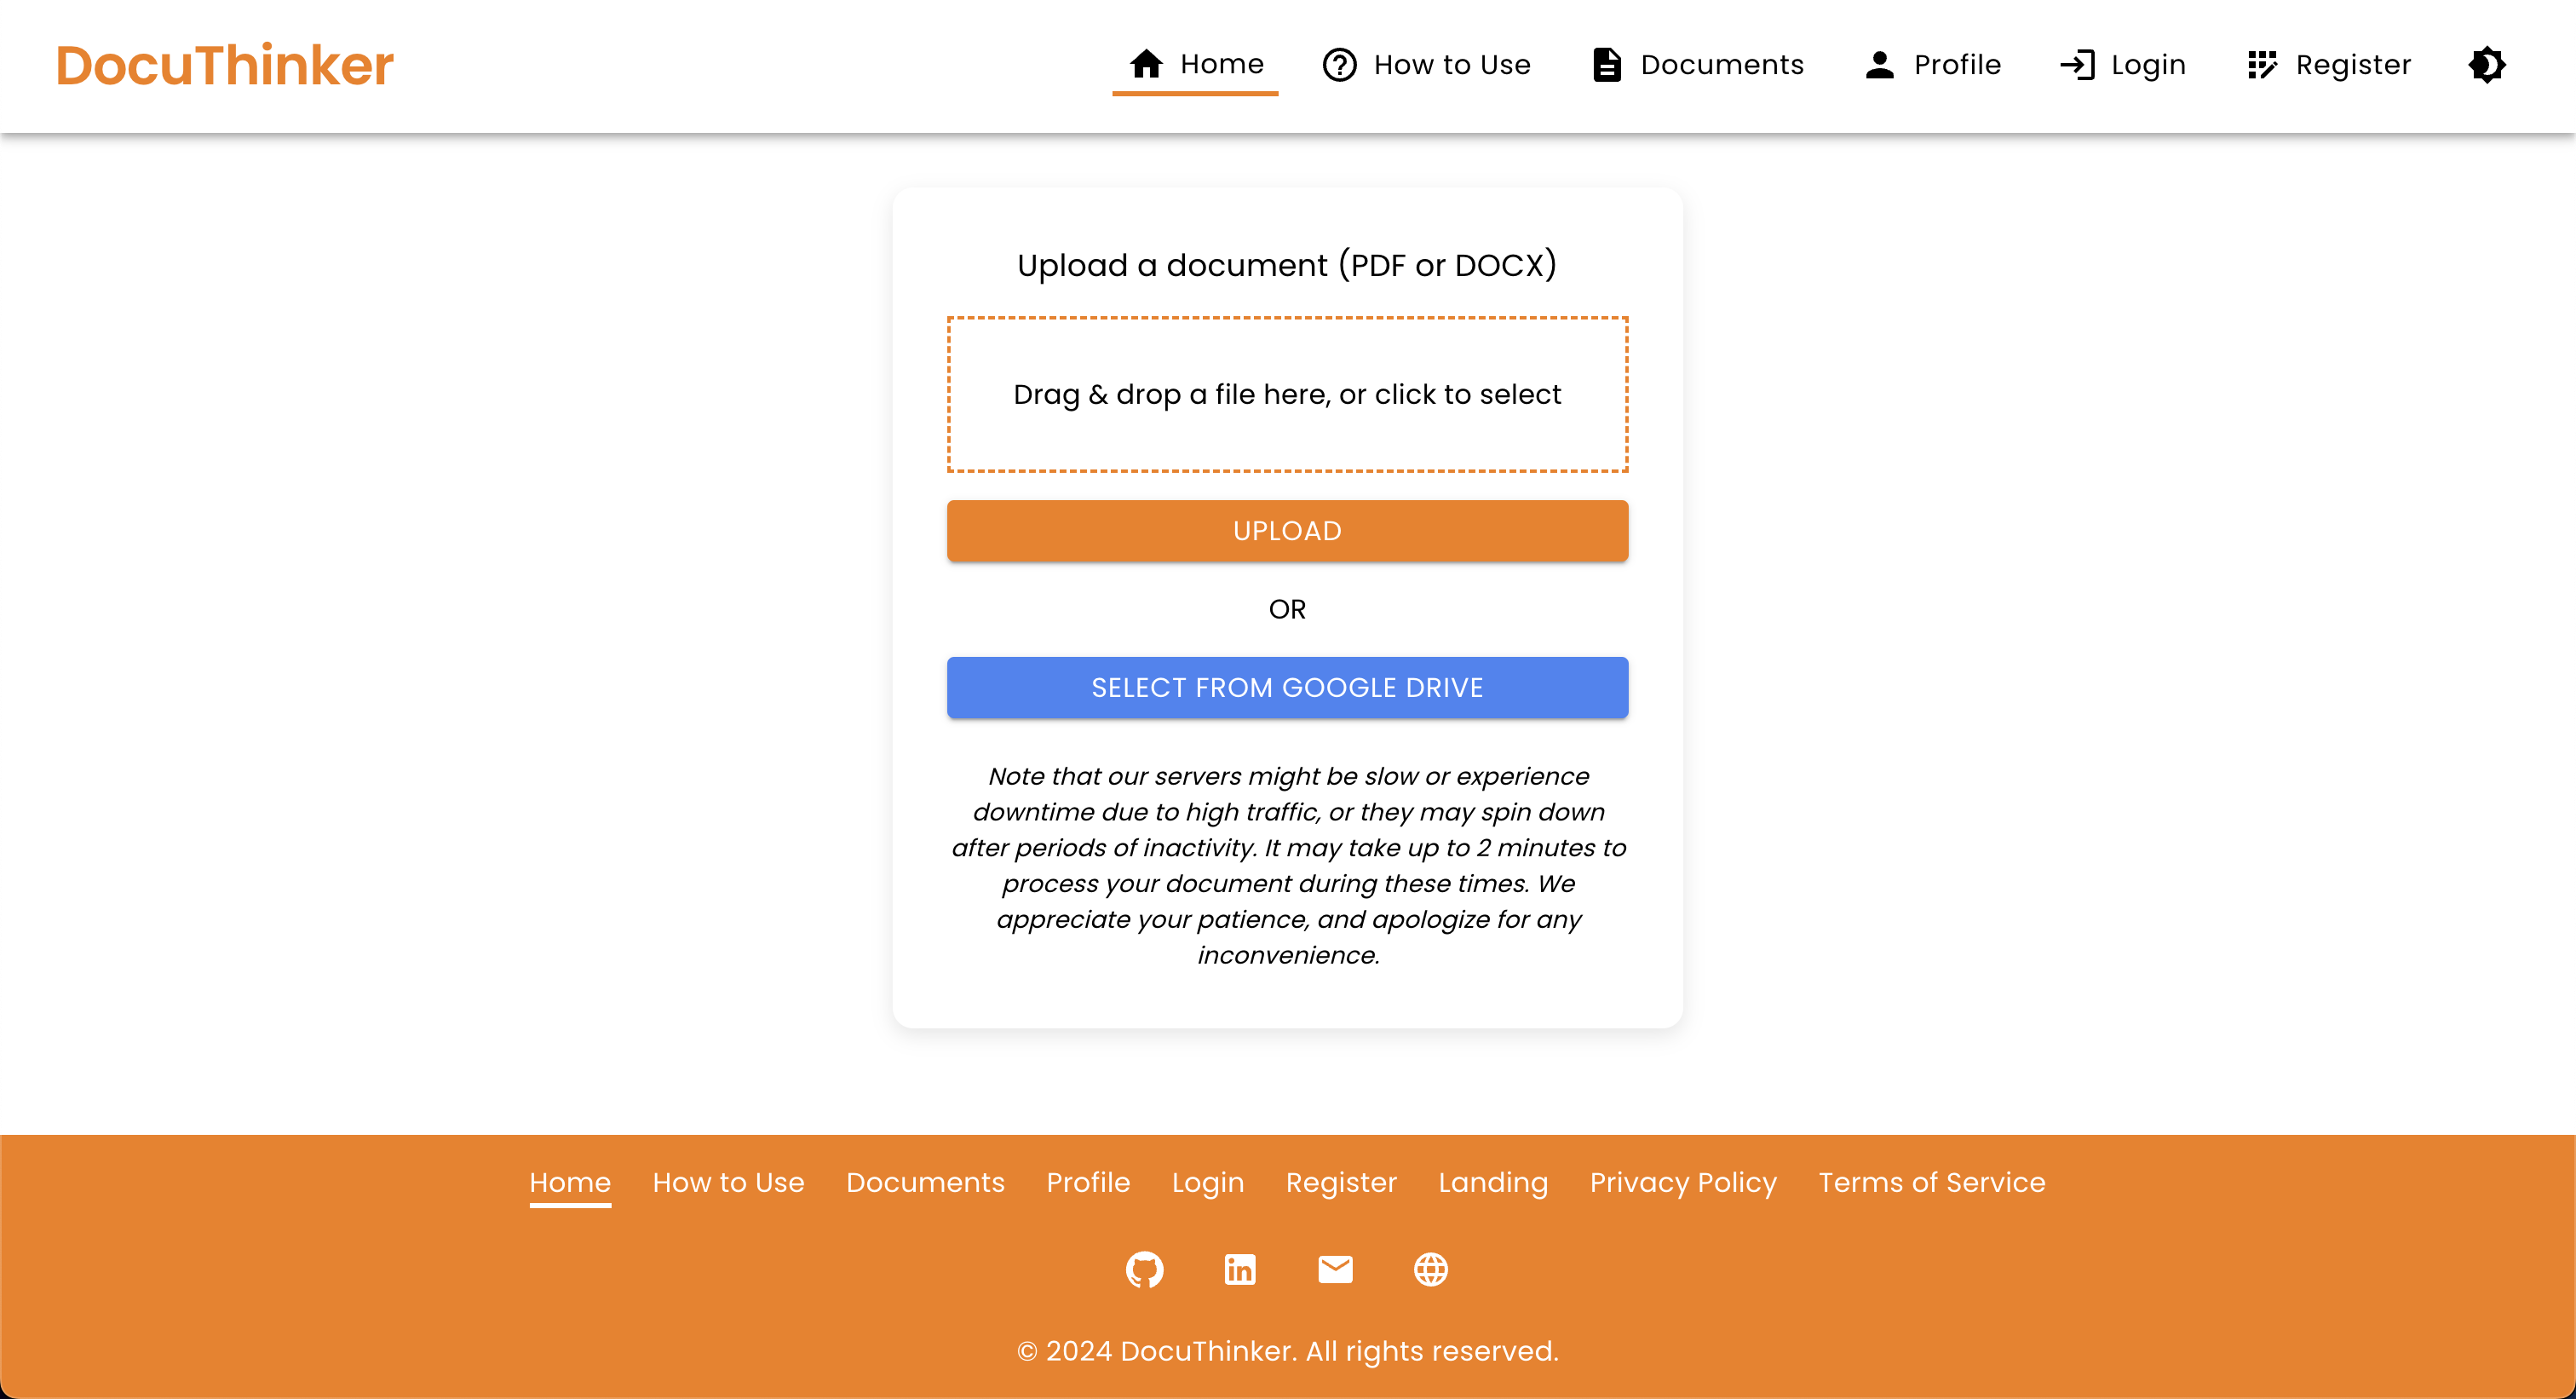
Document Upload Page
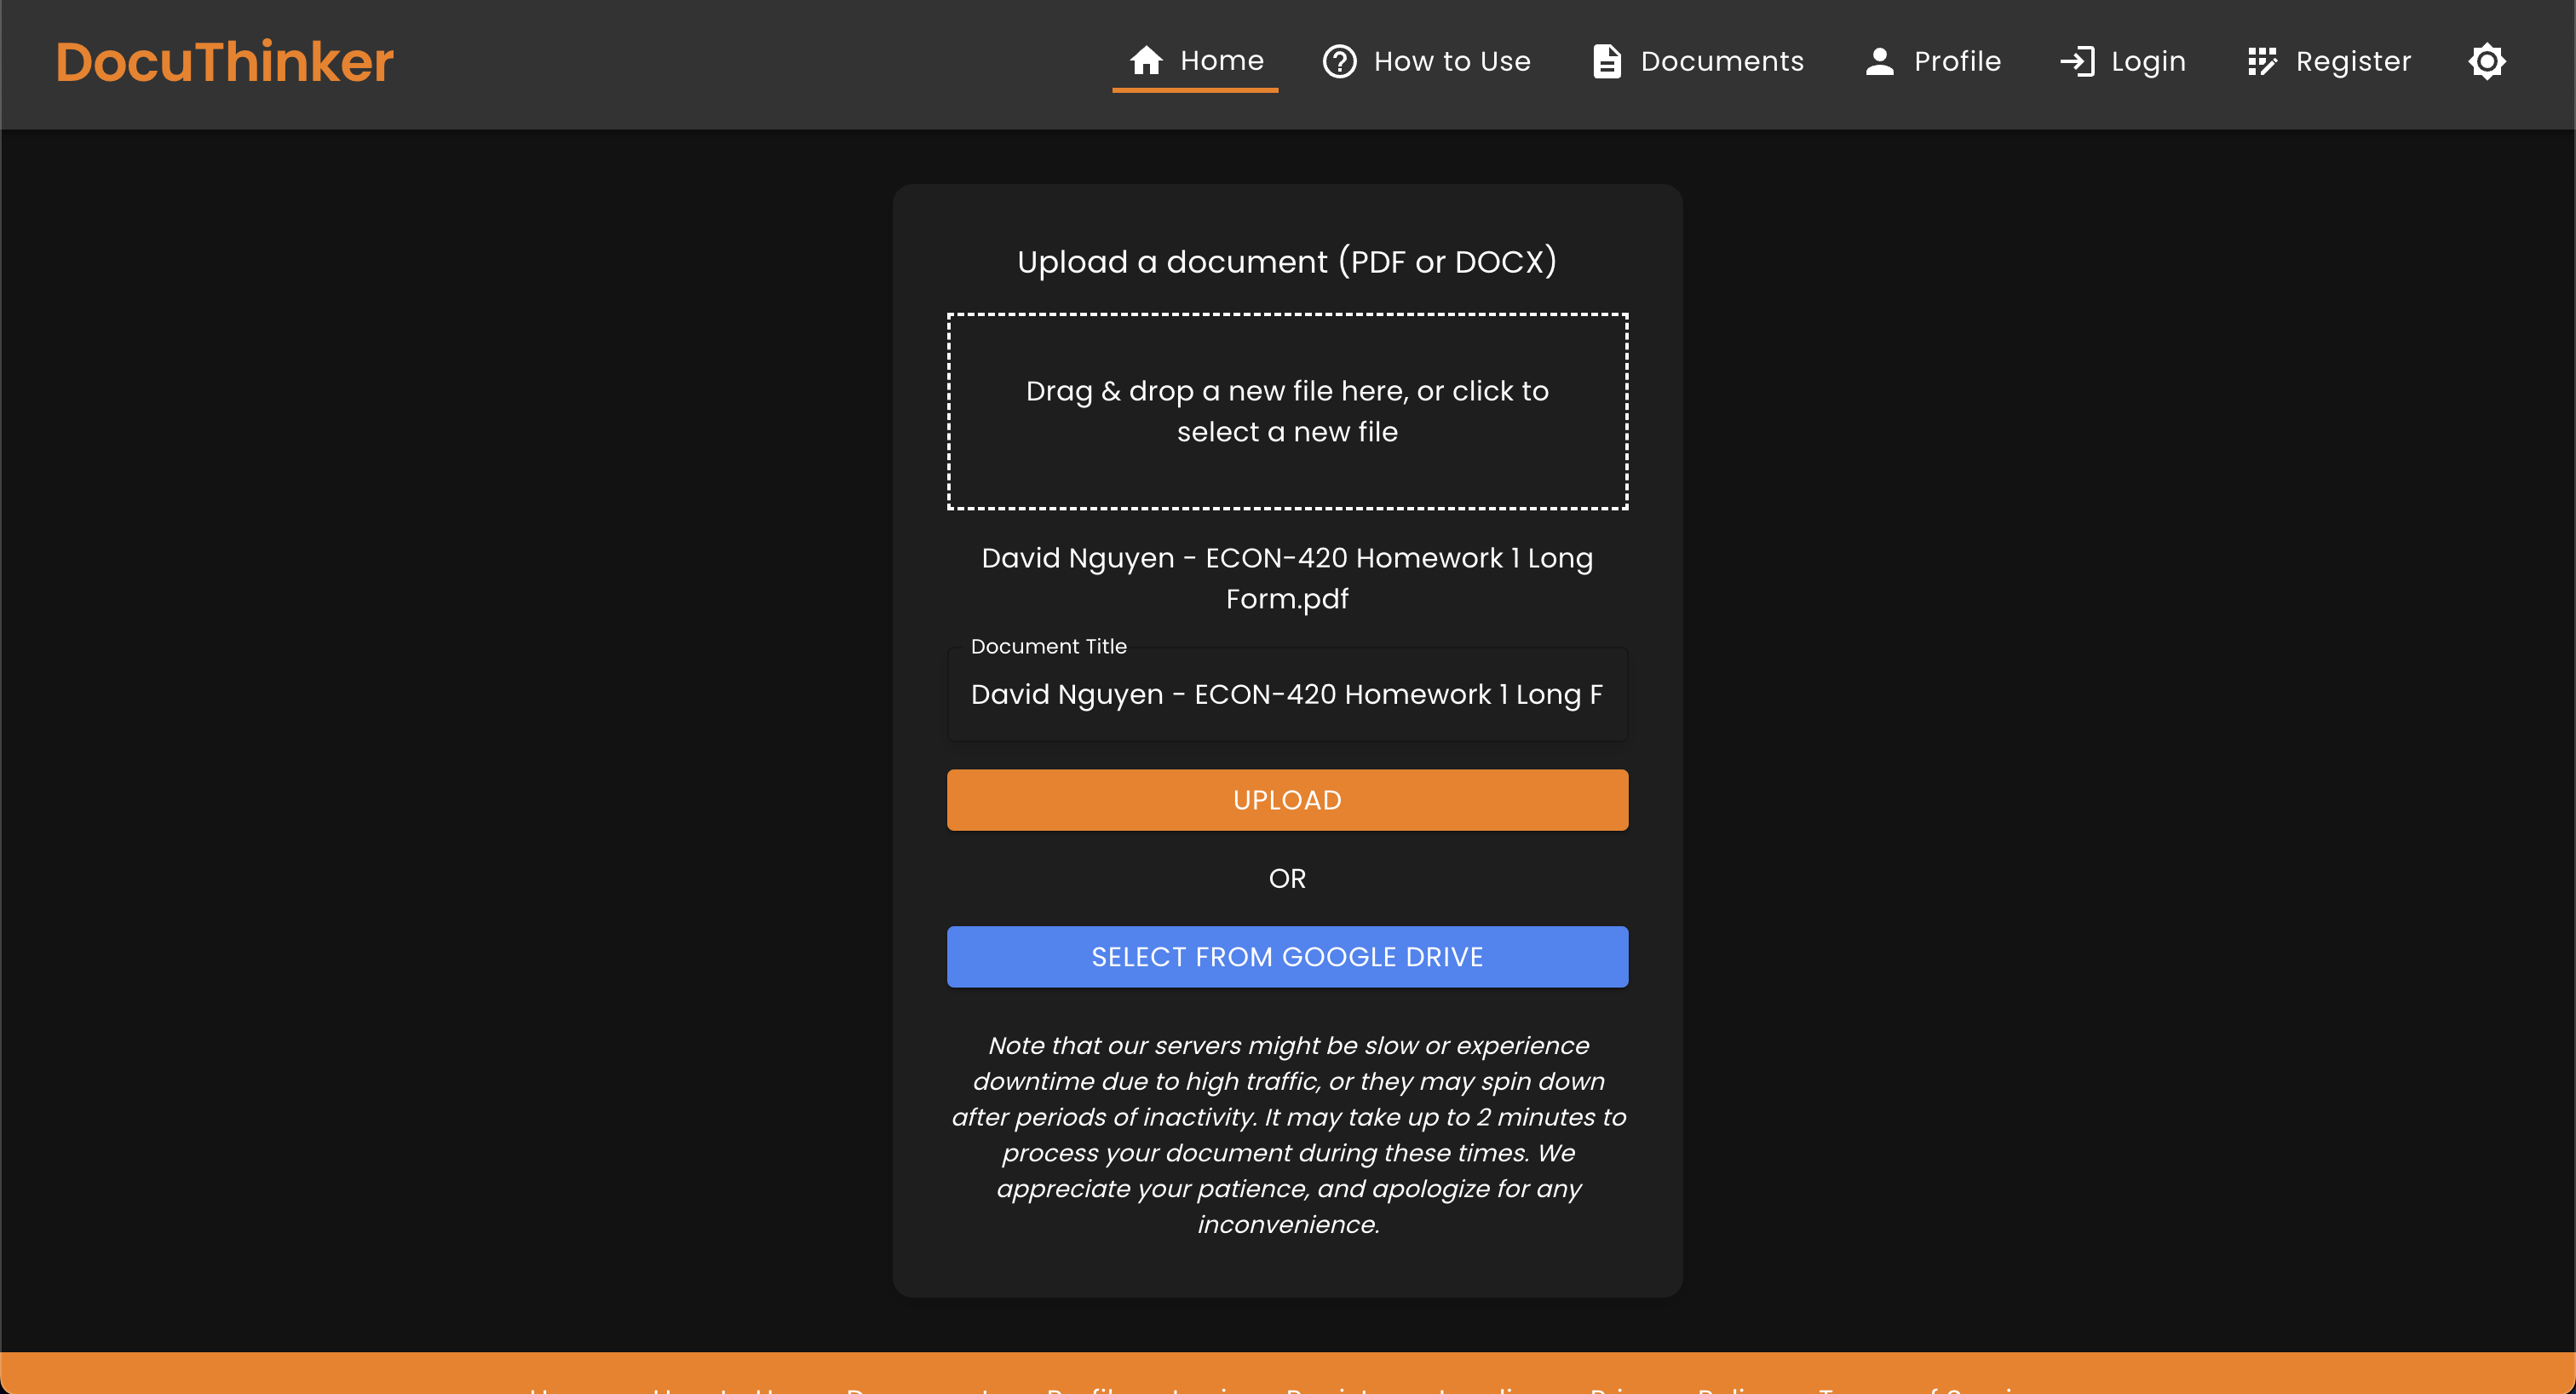
Document Upload Page - Document Uploaded
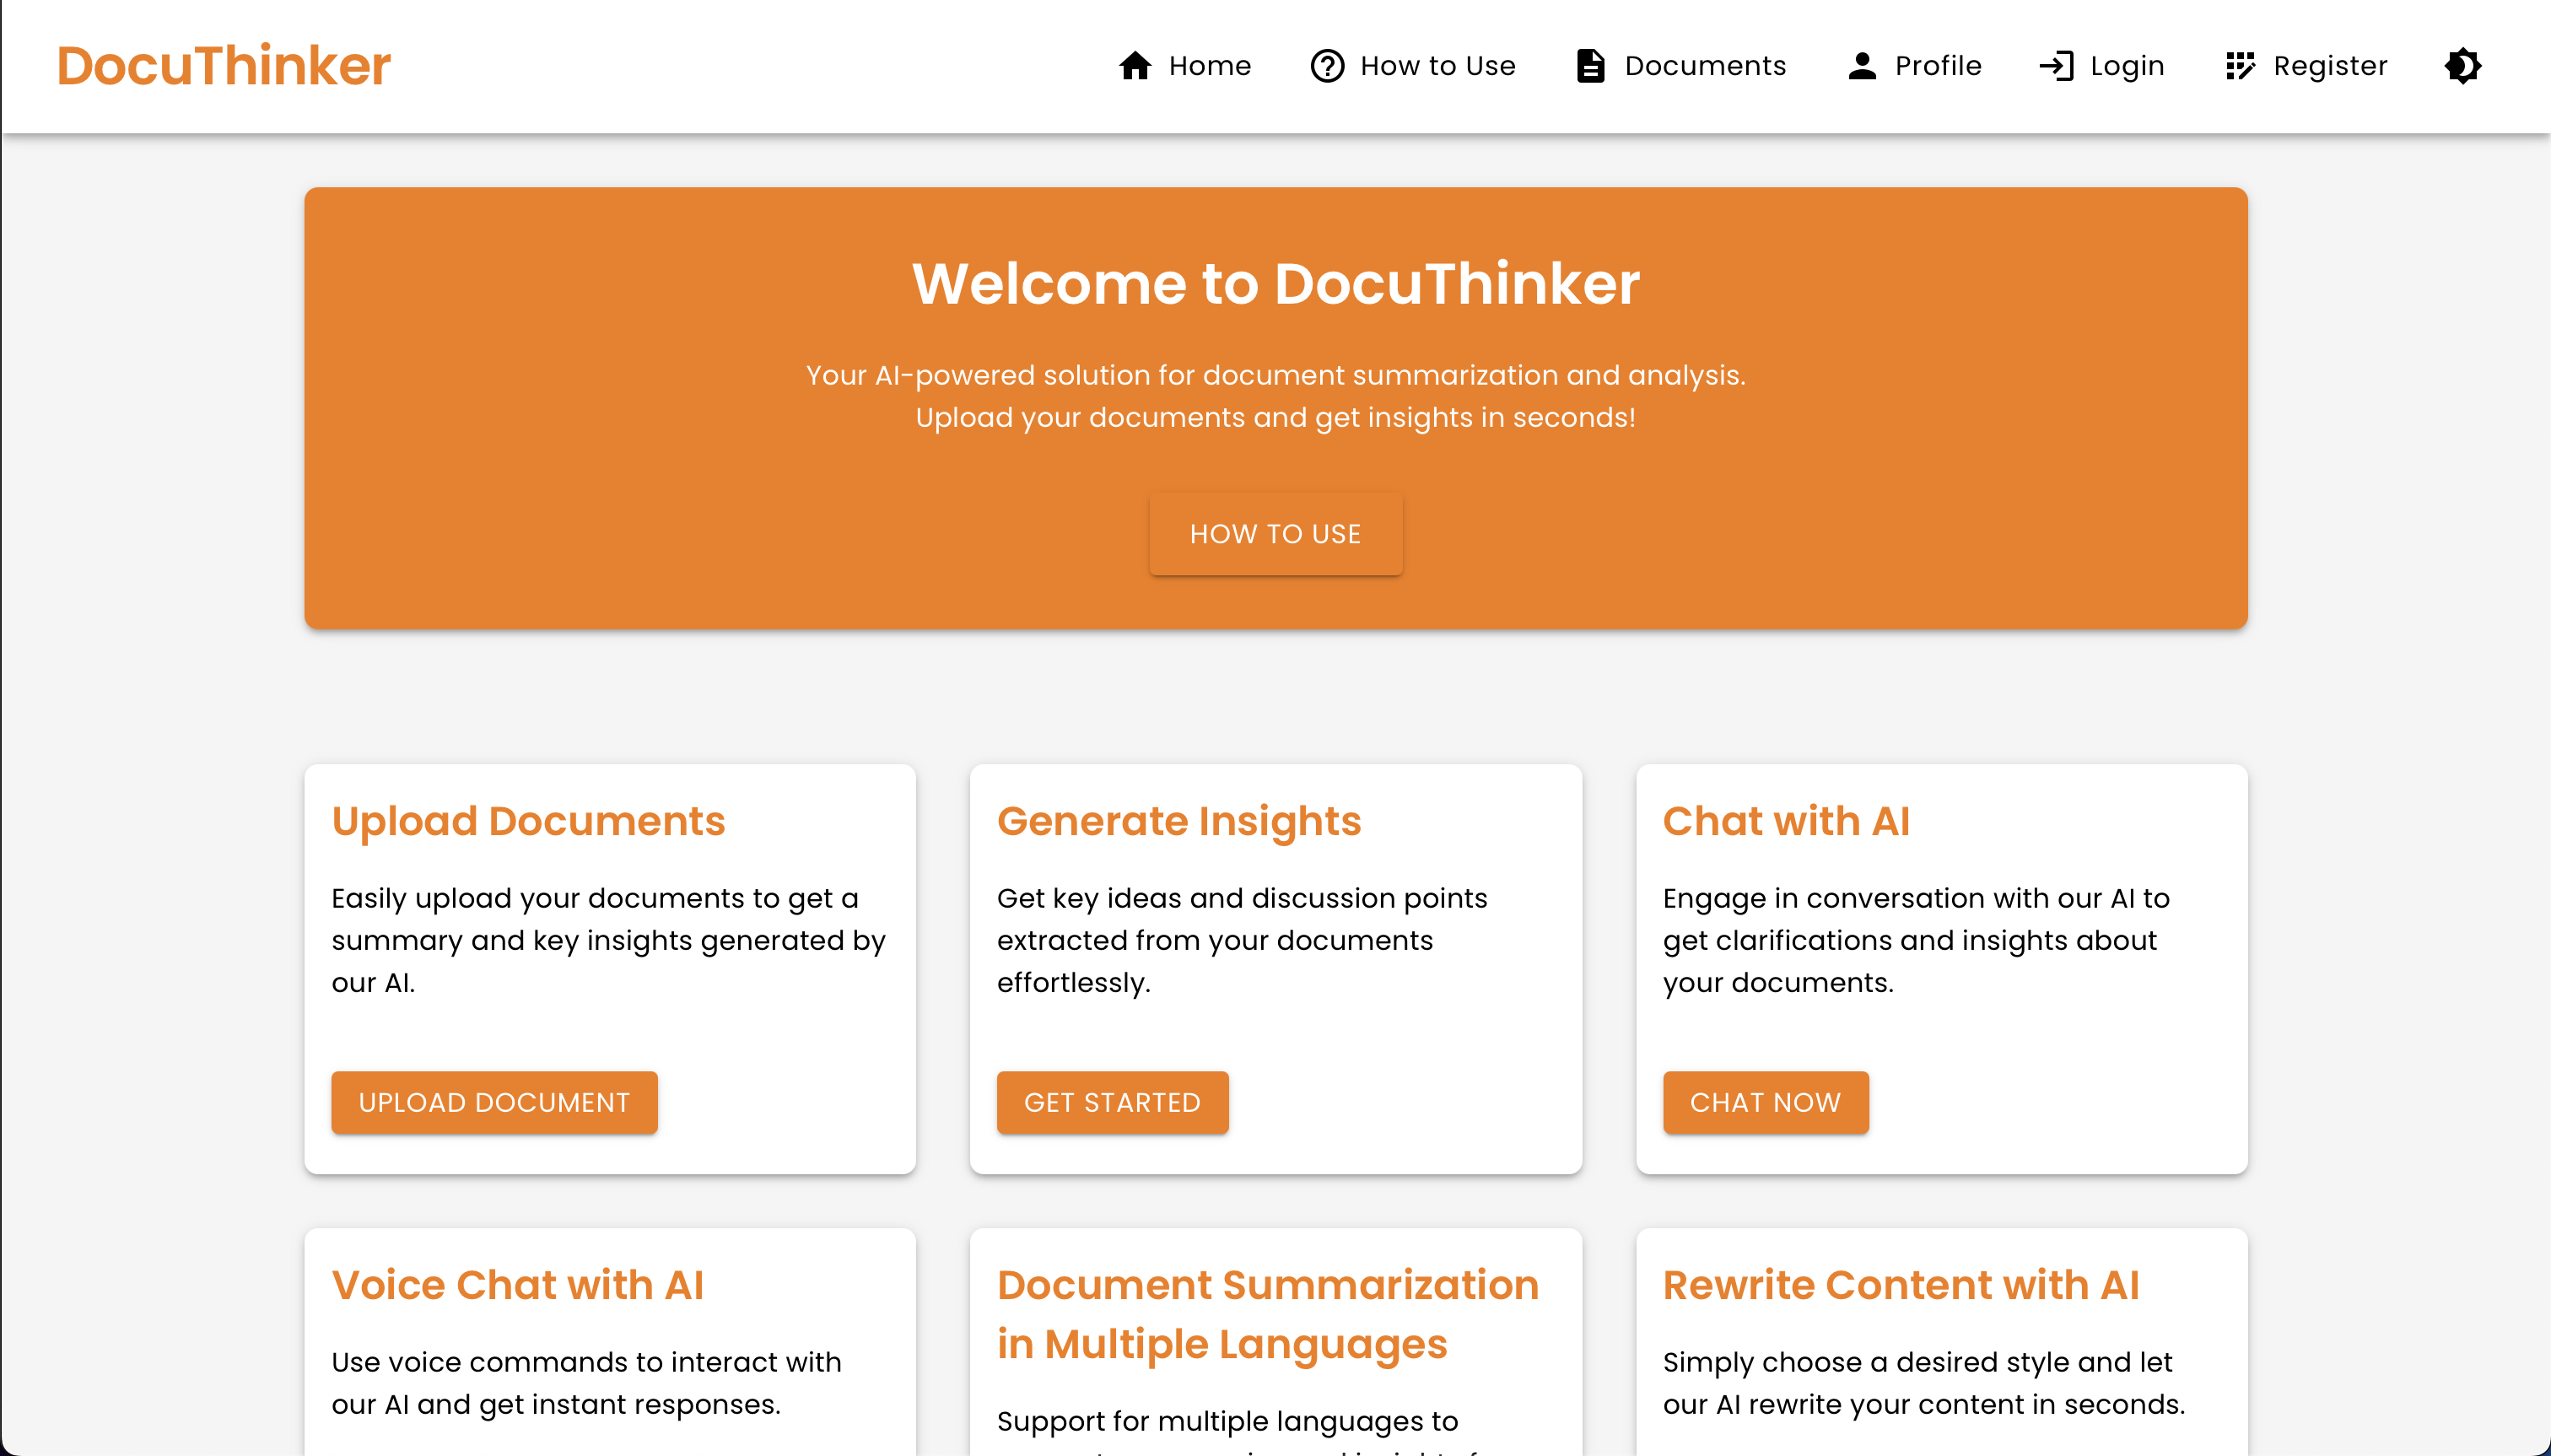
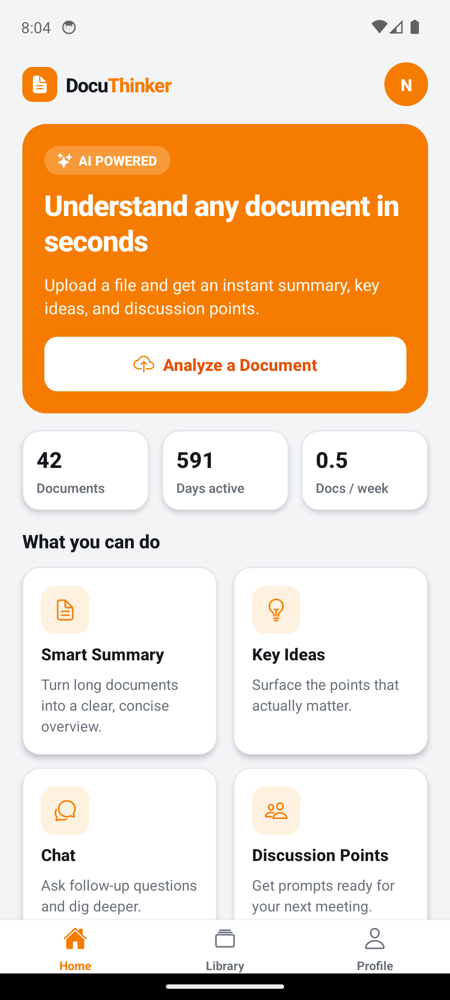
Home Page
Home Page - Dark Mode
Chat Modal
Document Analytics
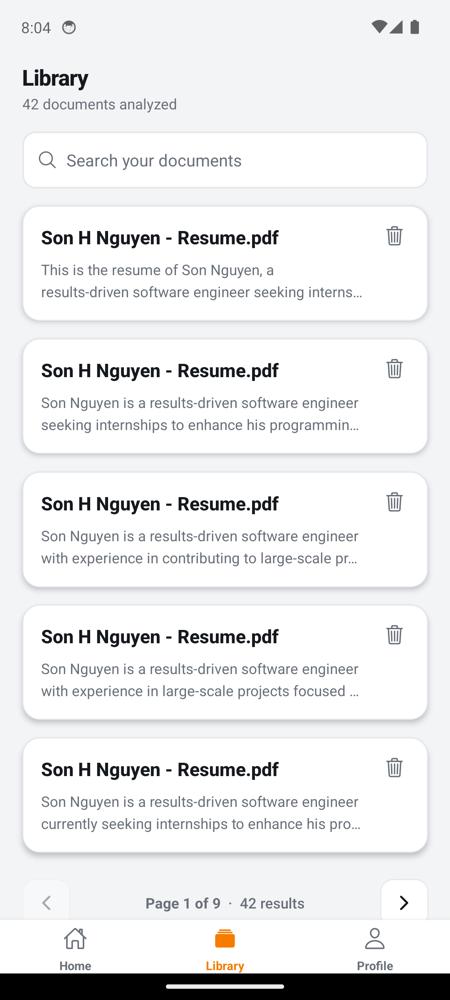
Documents Page
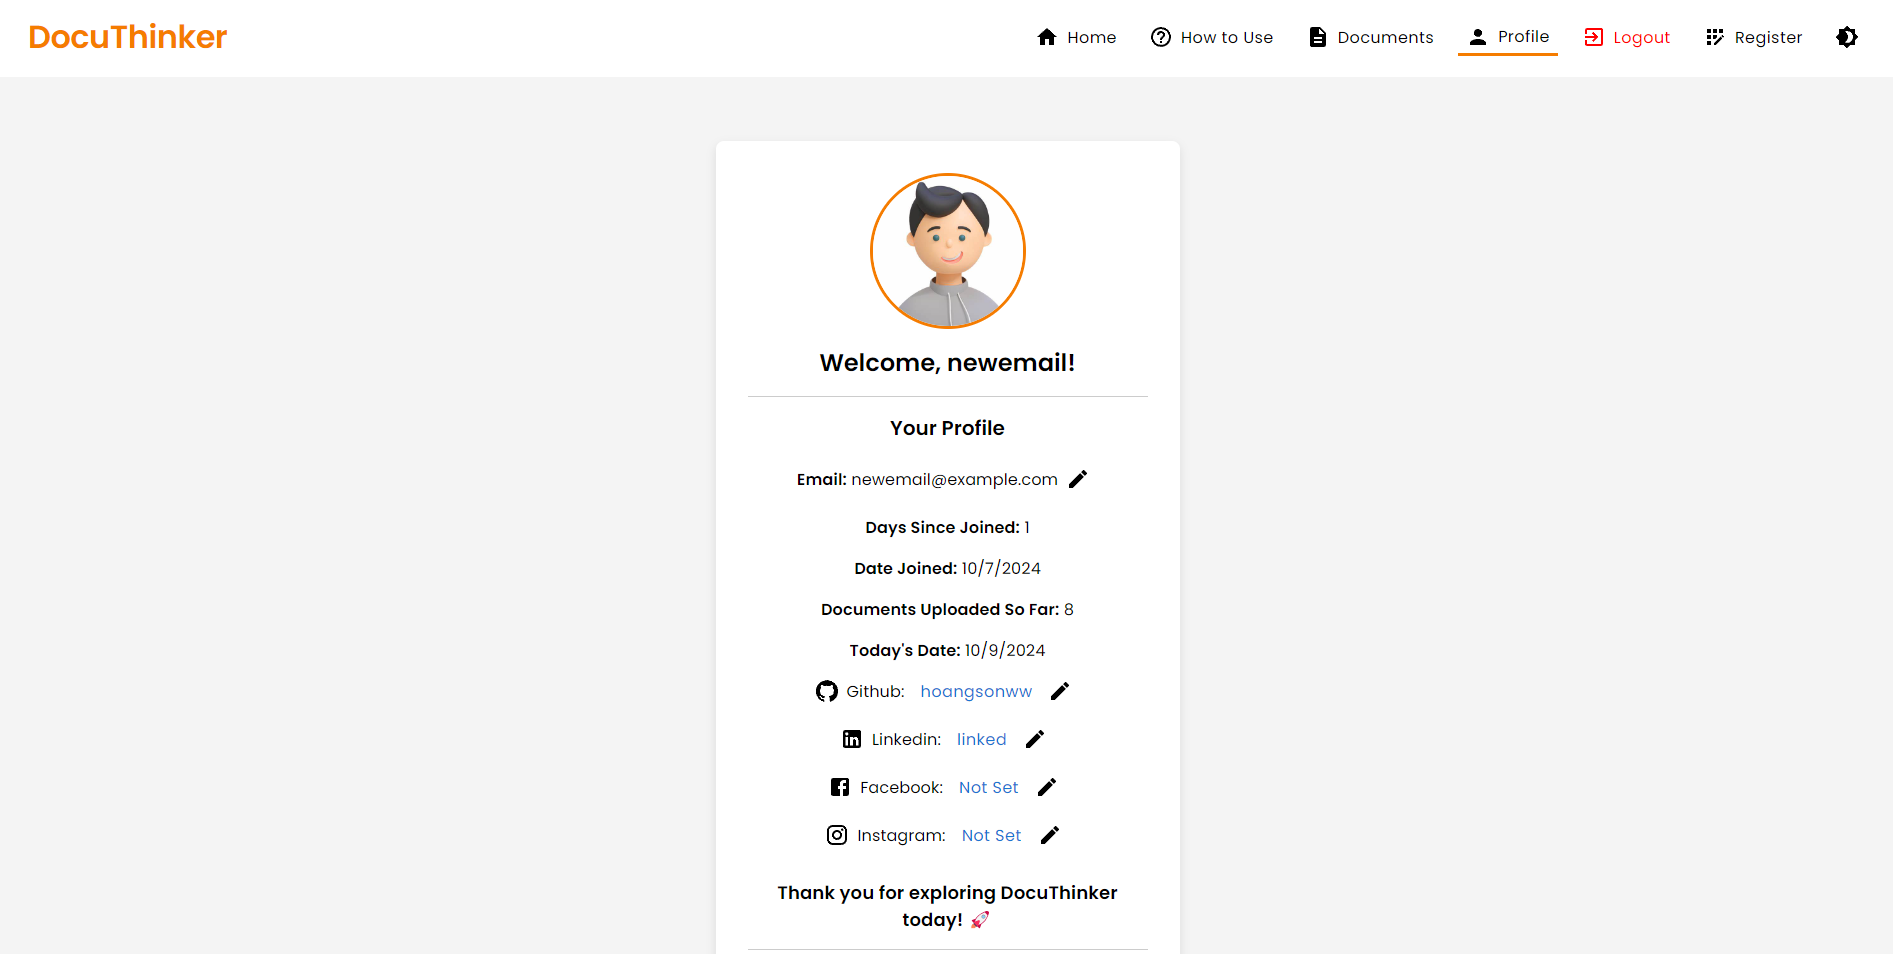
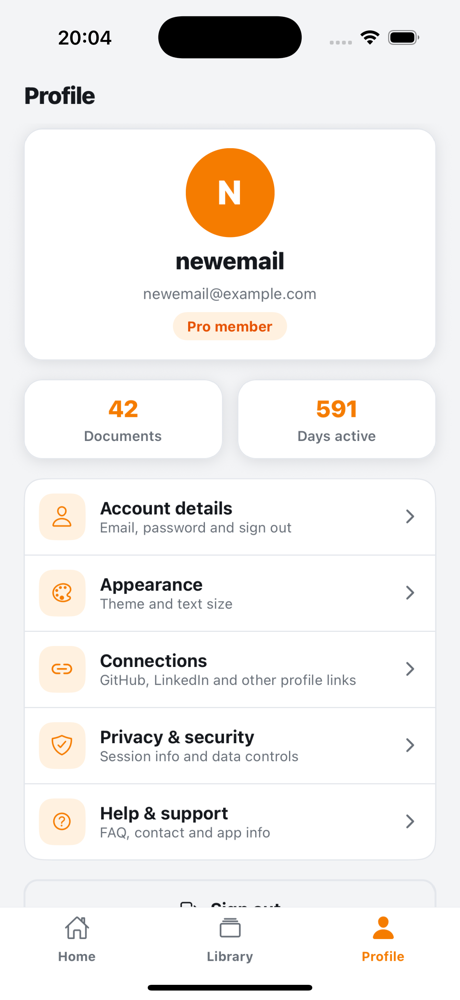
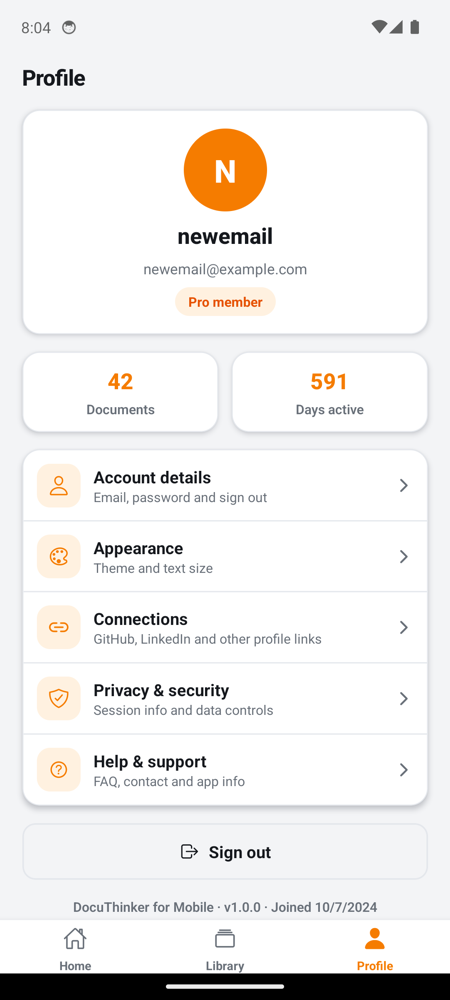
Profile Page
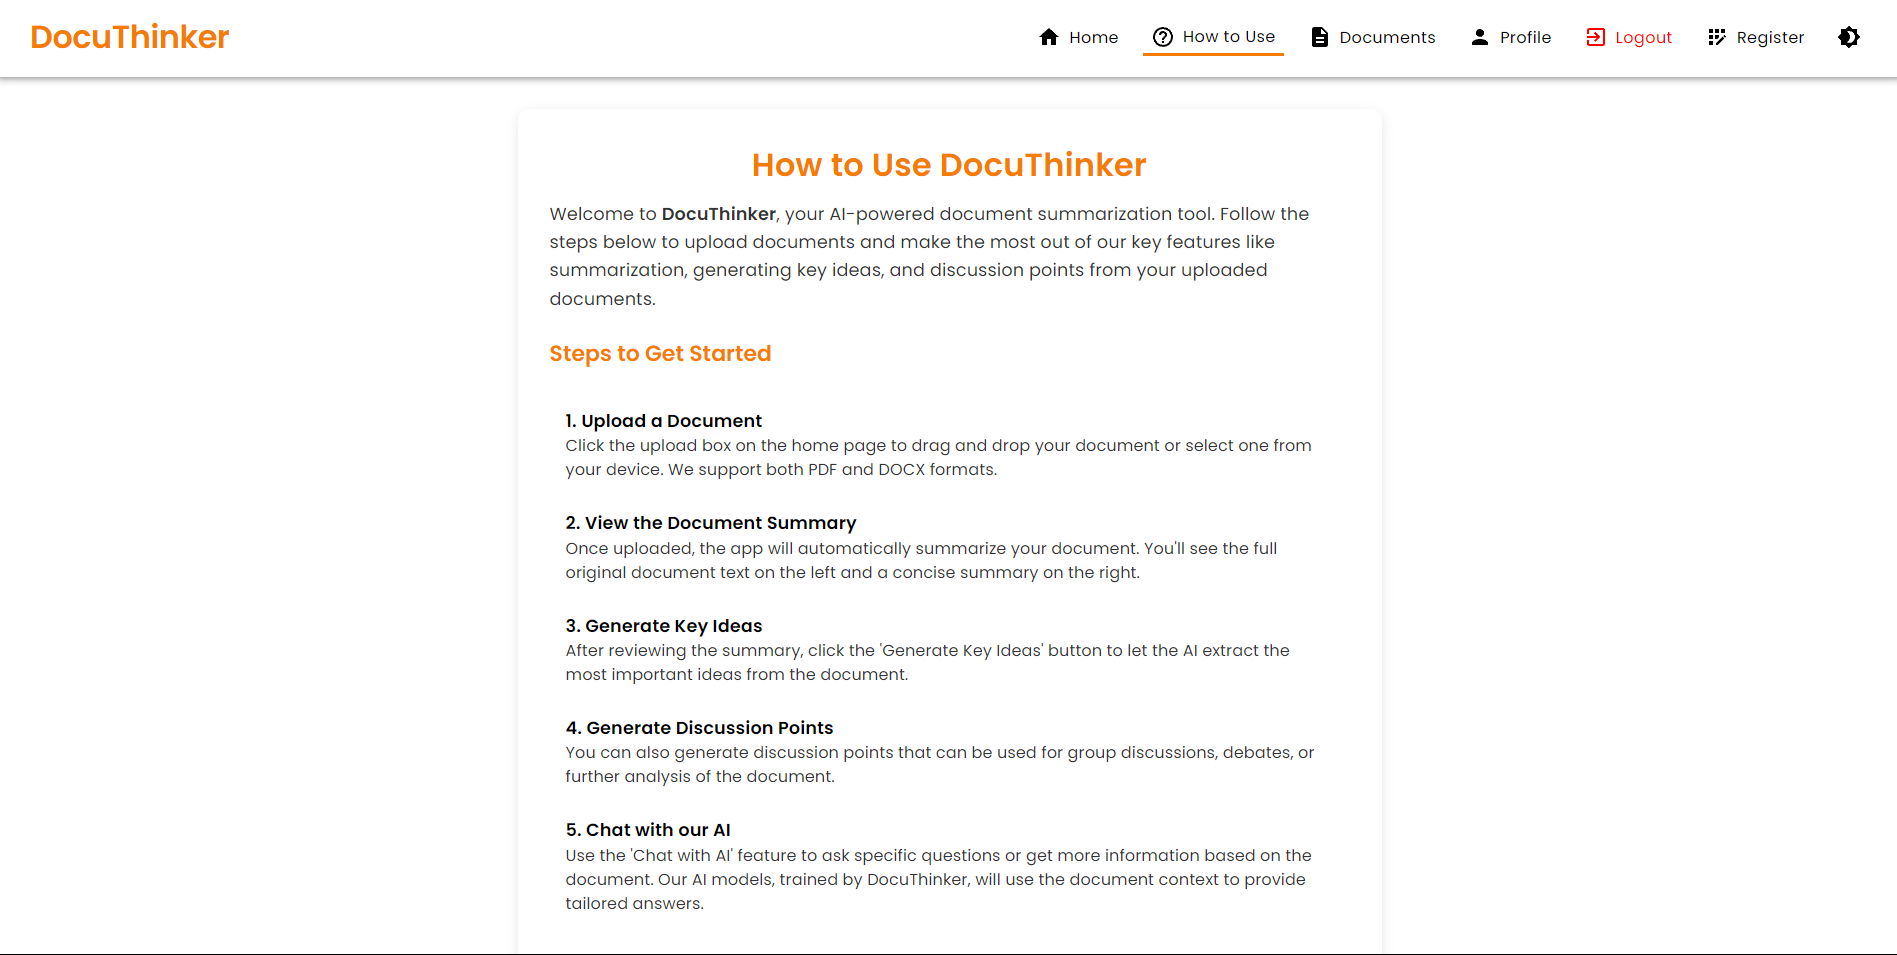
How To Use Page
Passkeys Management Page

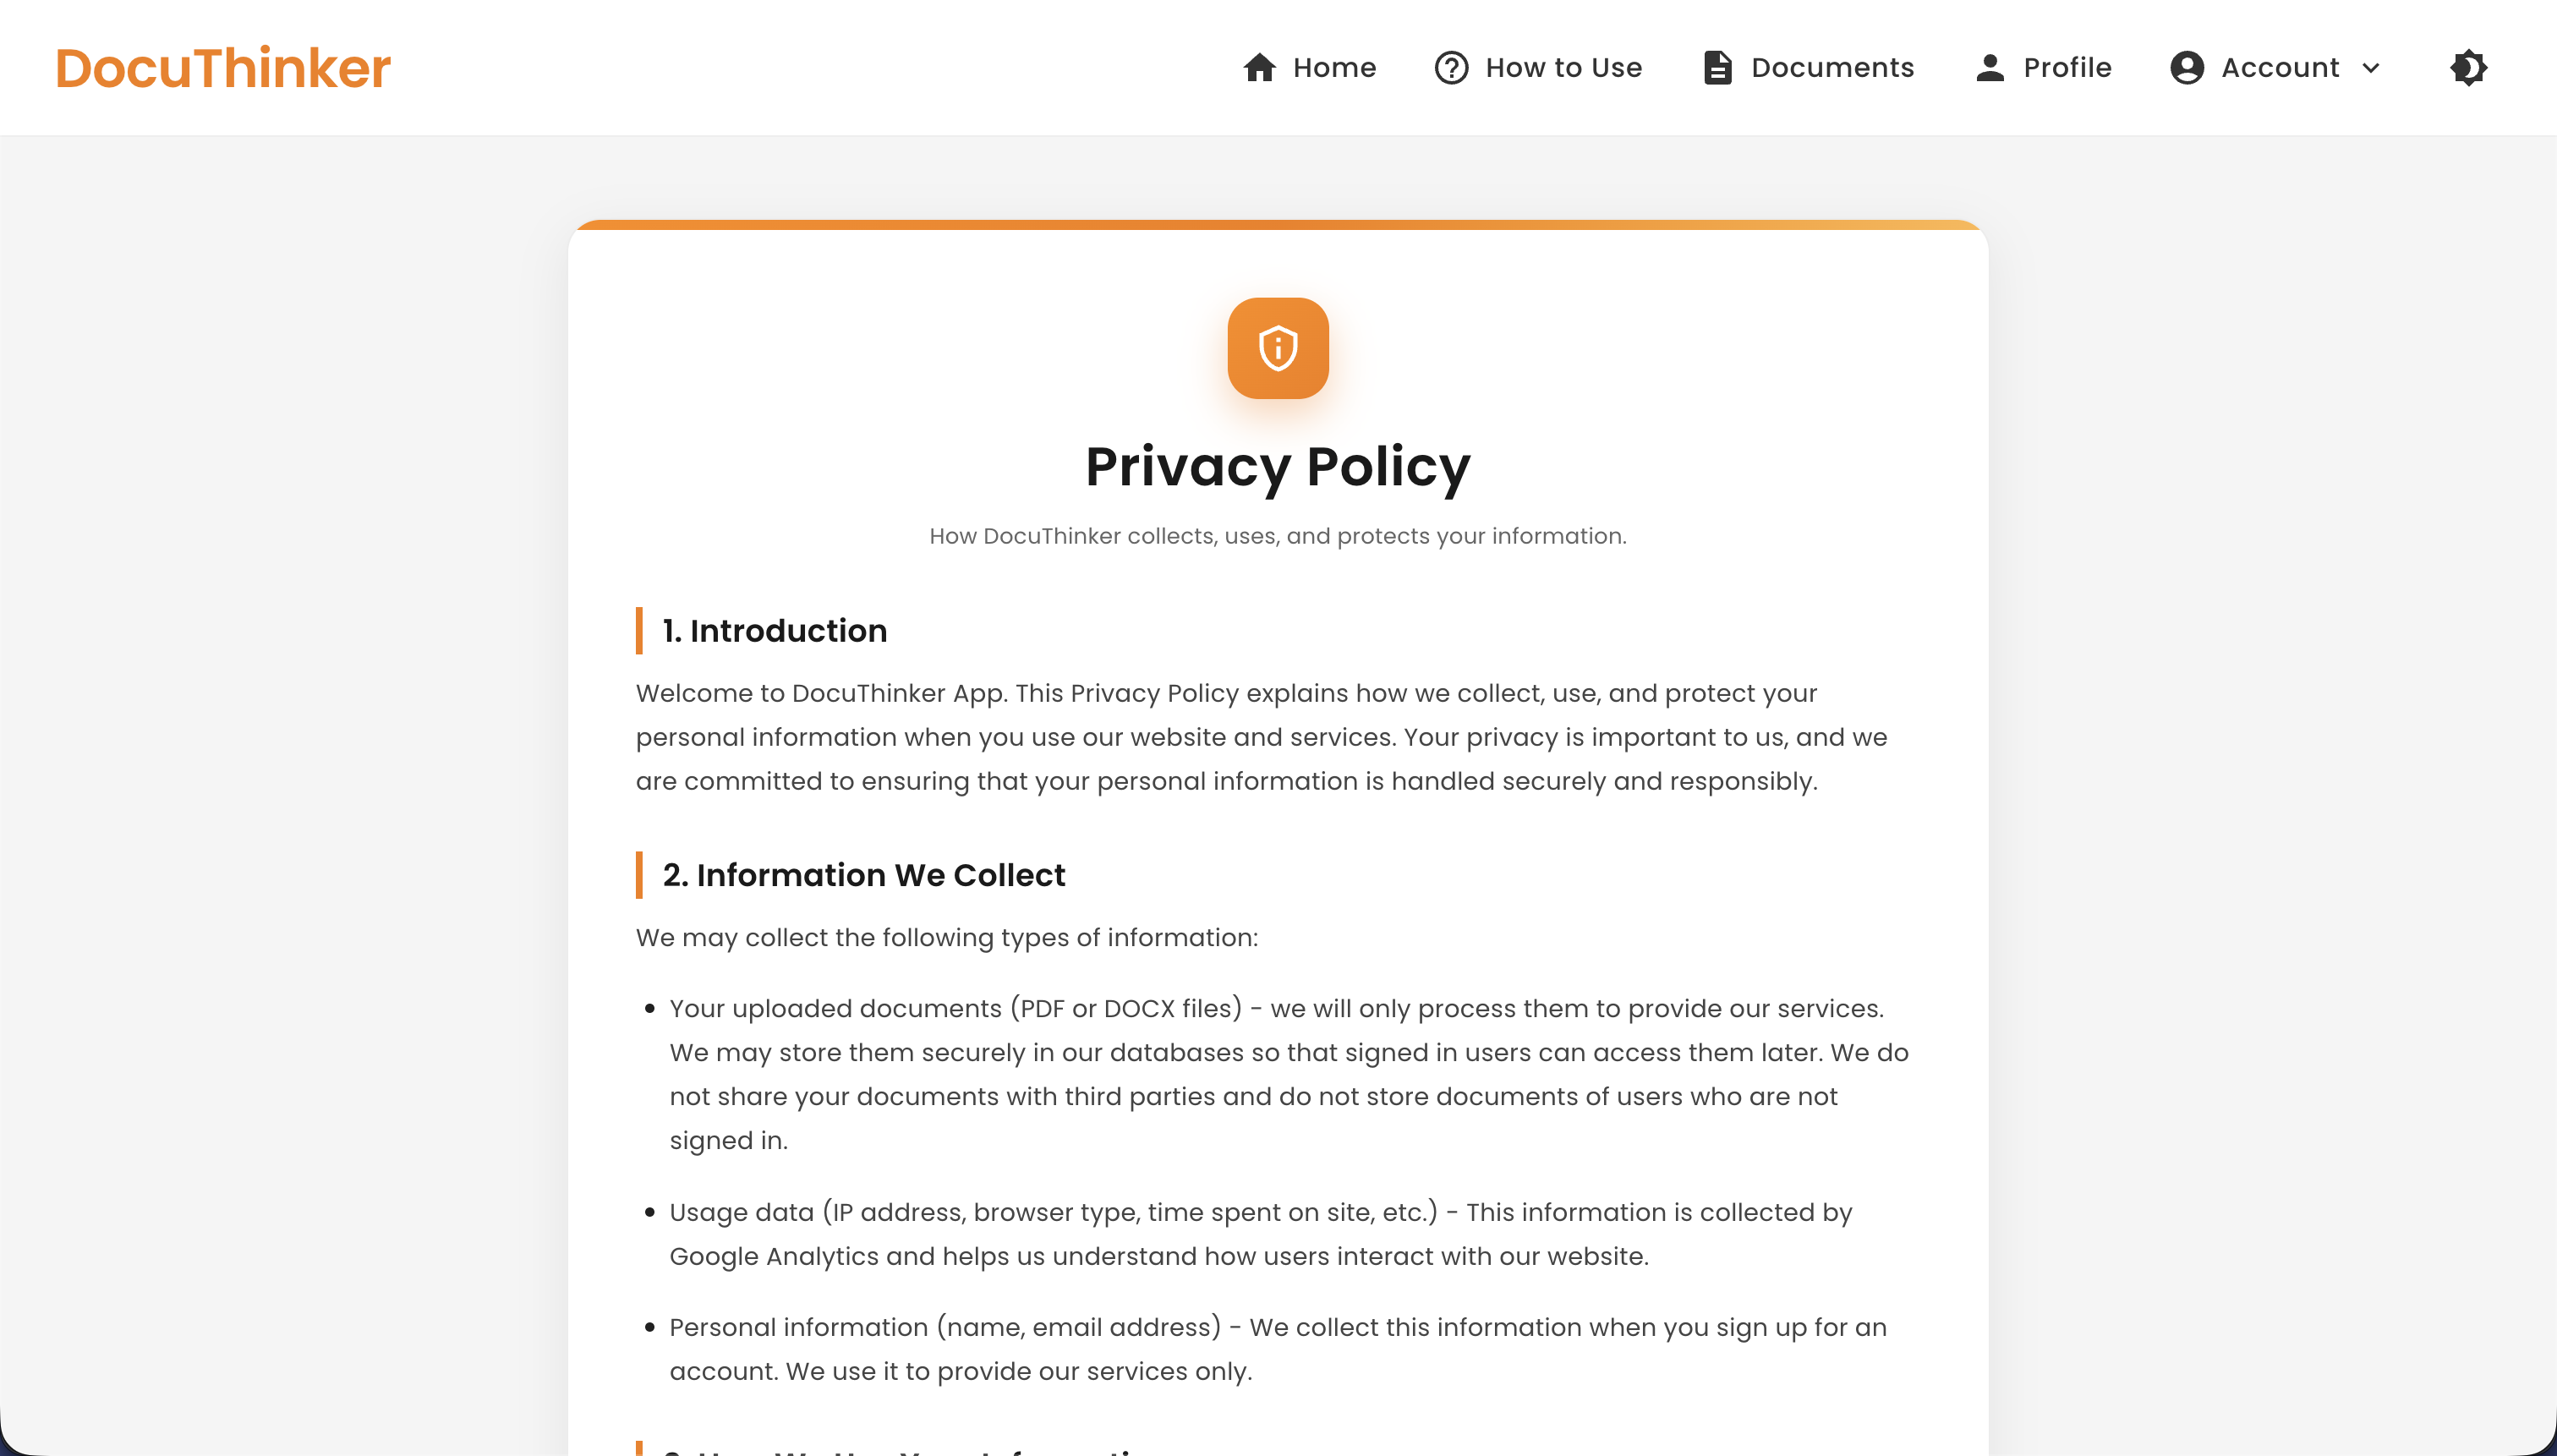
Privacy Policy Page
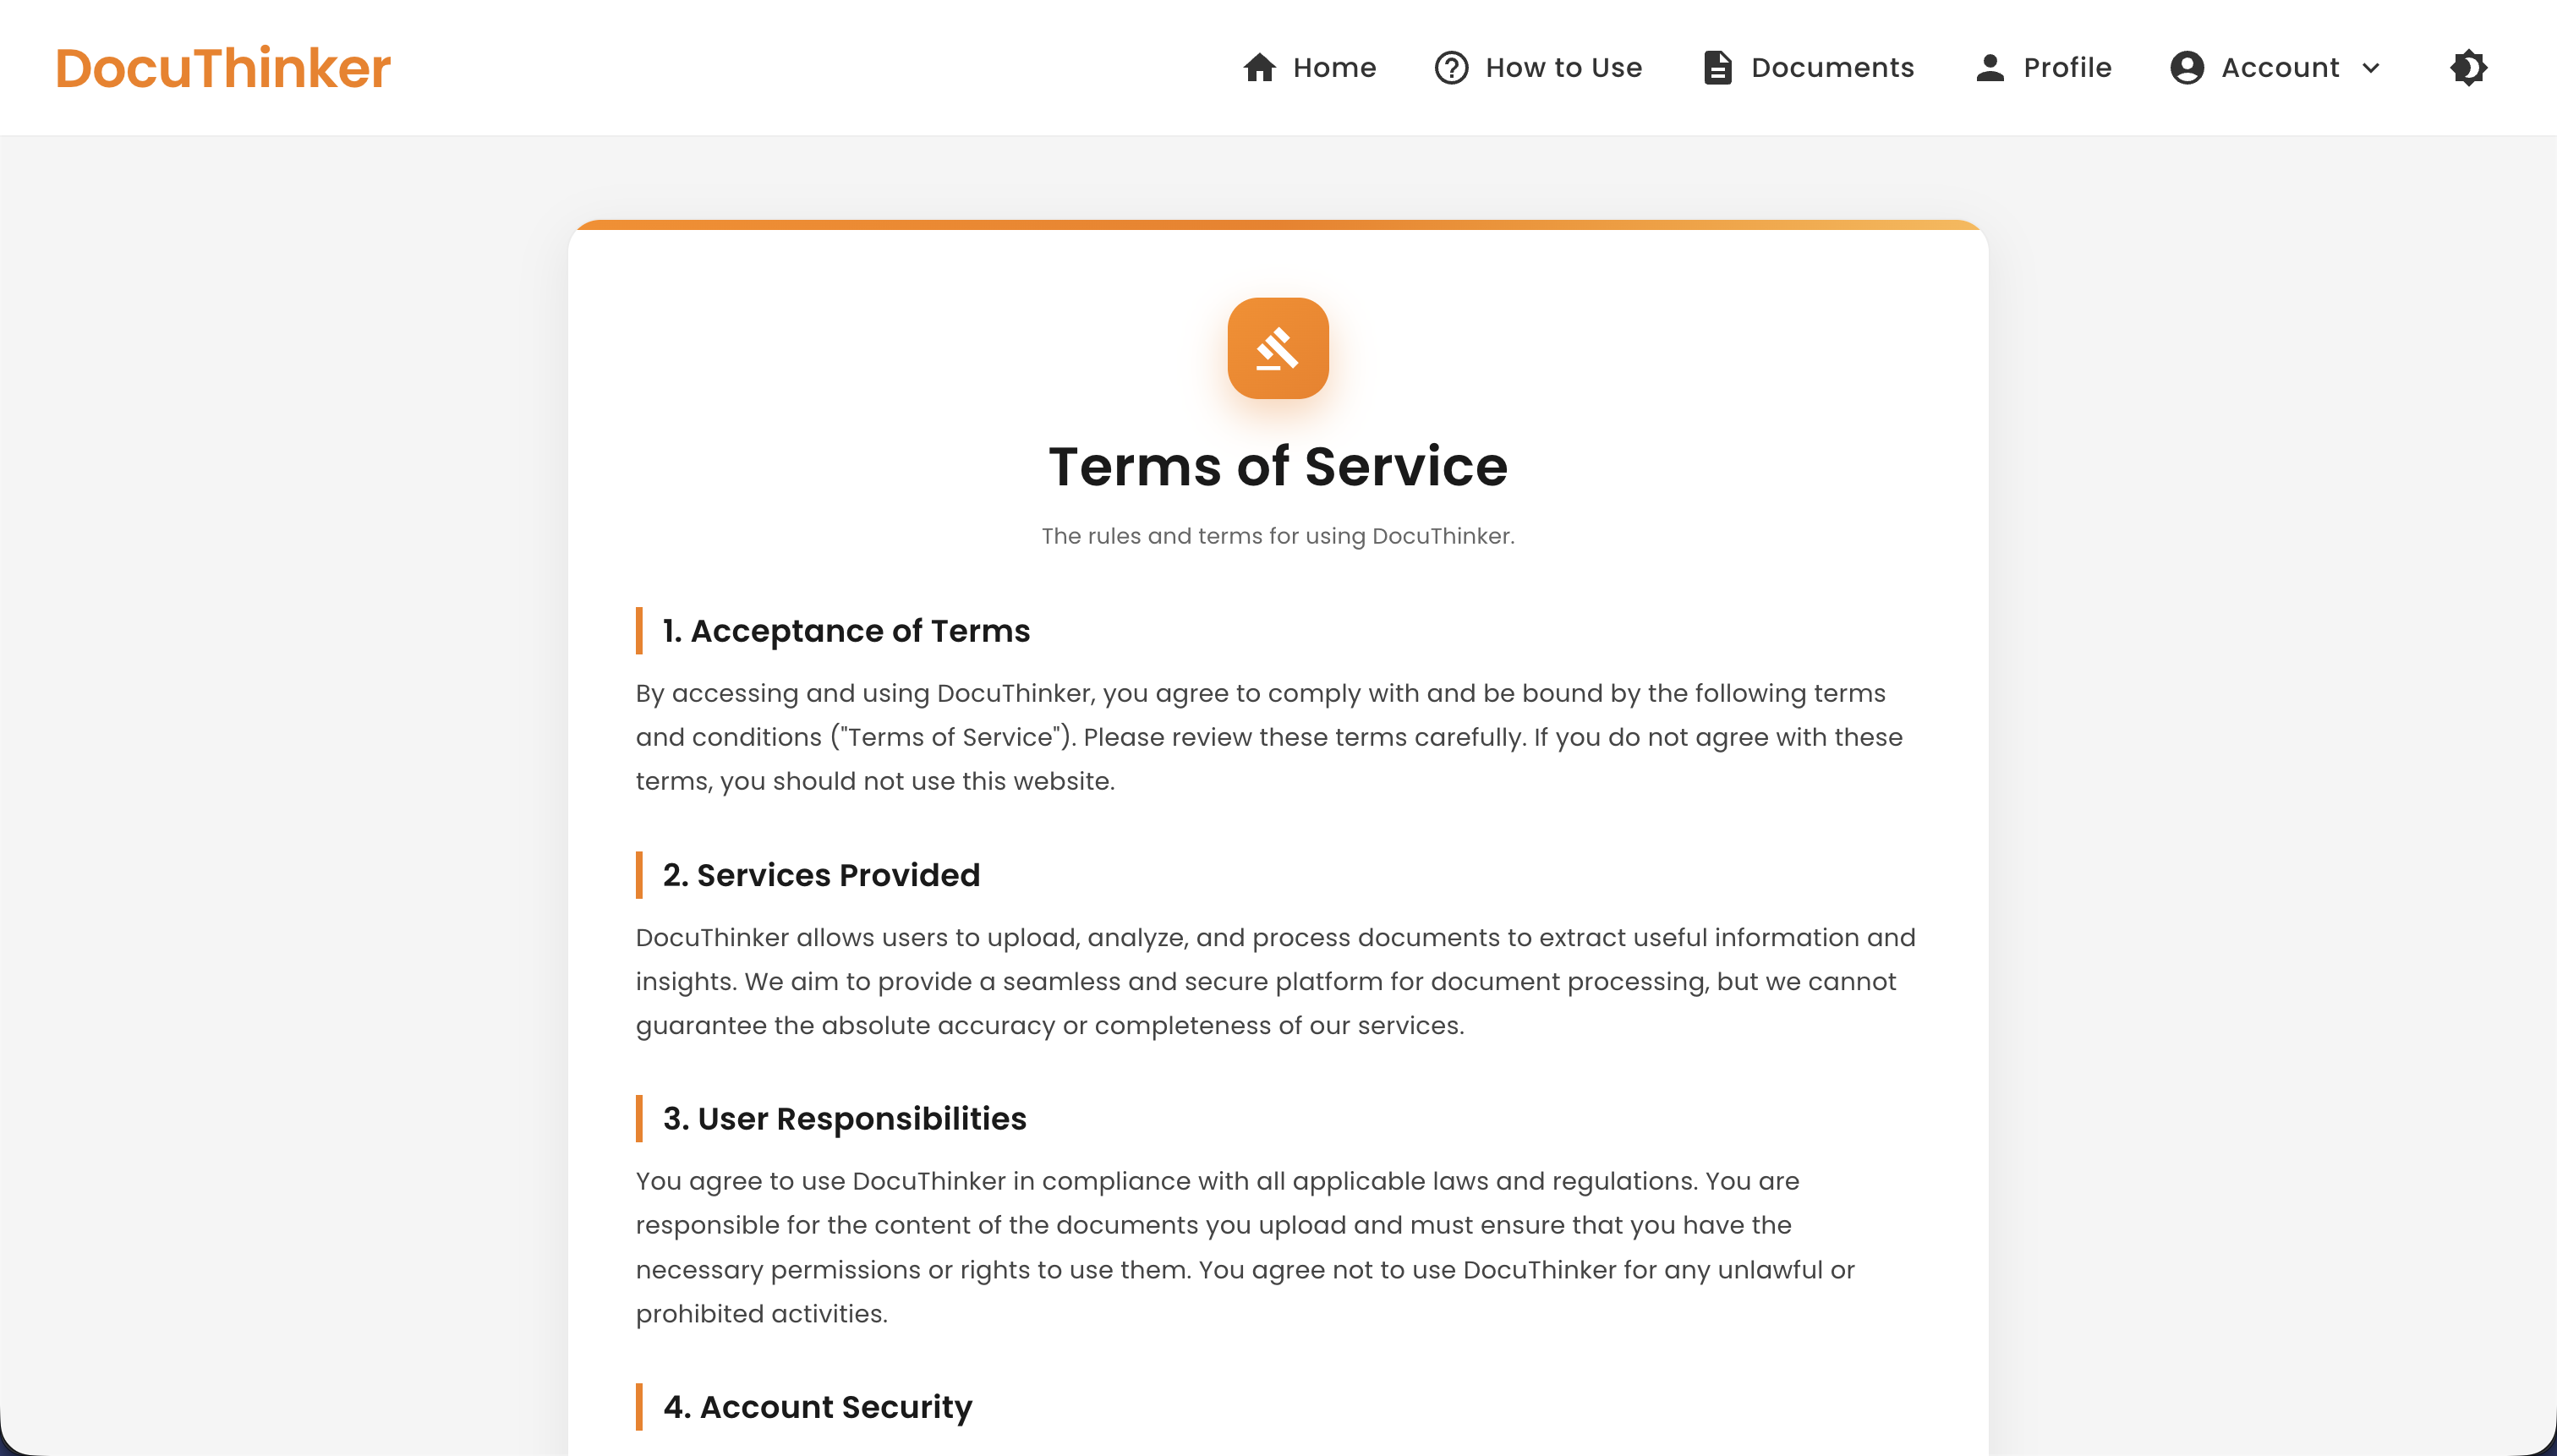
Terms of Service Page
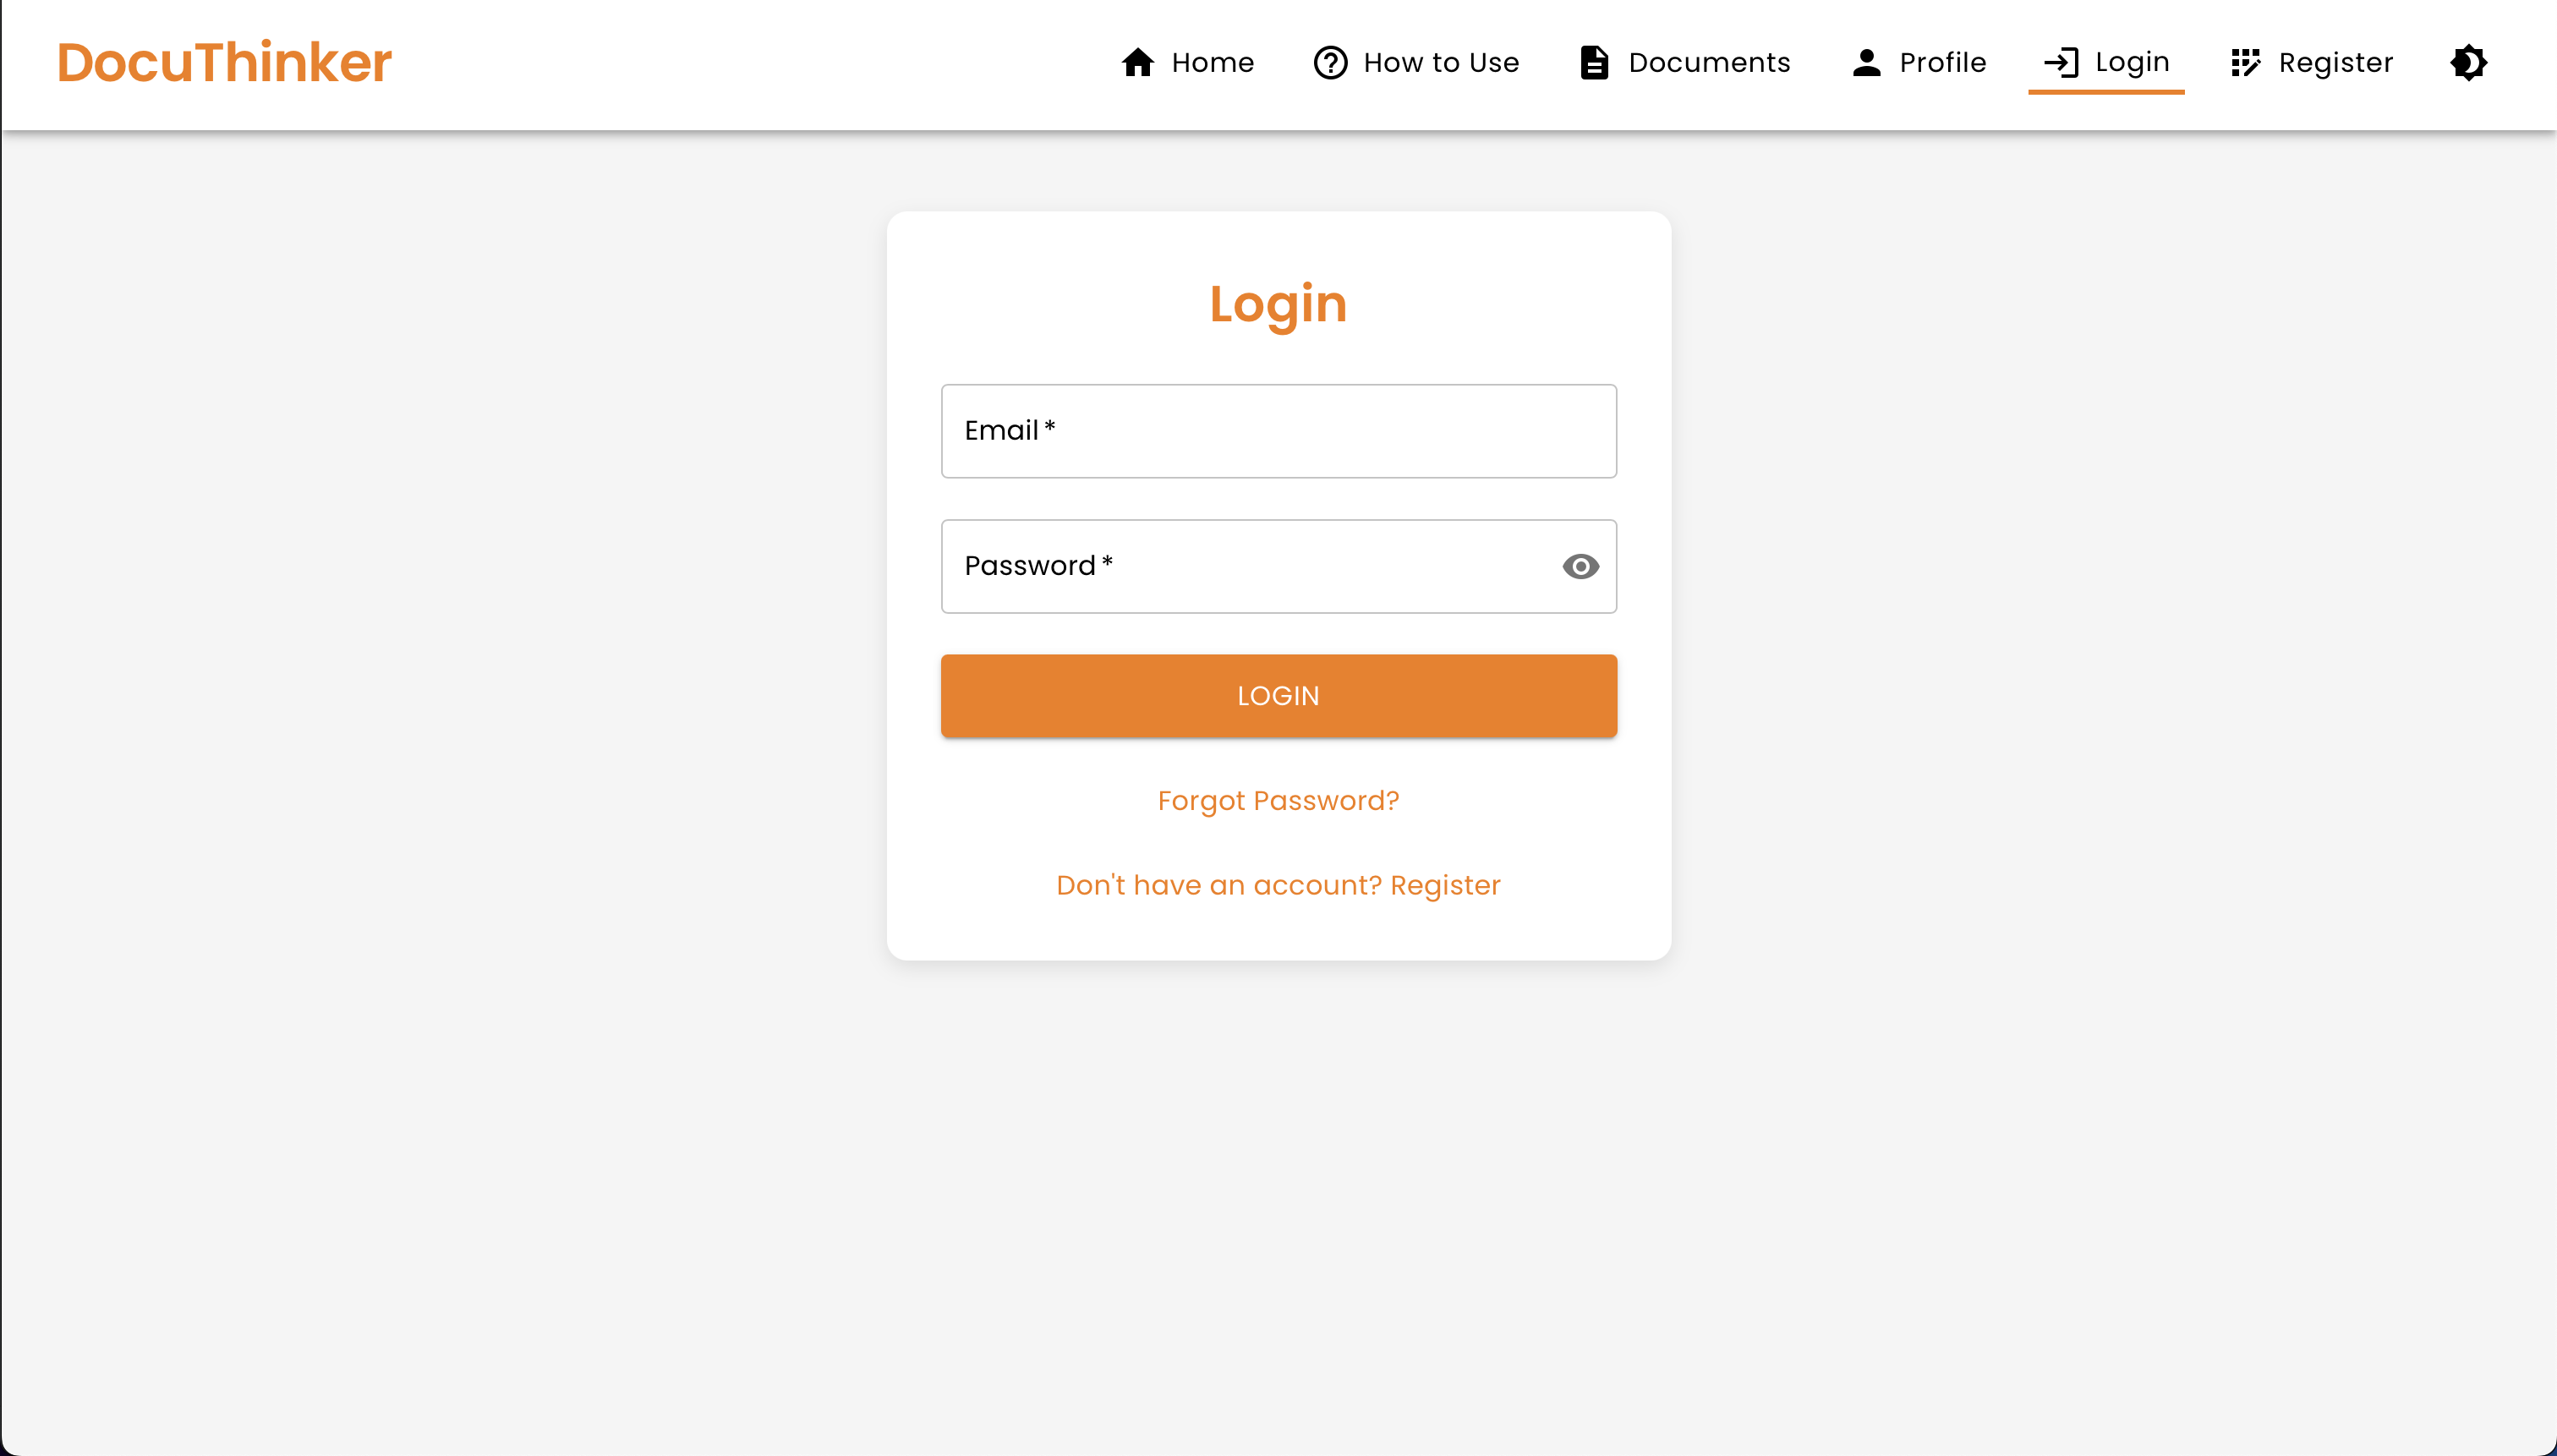
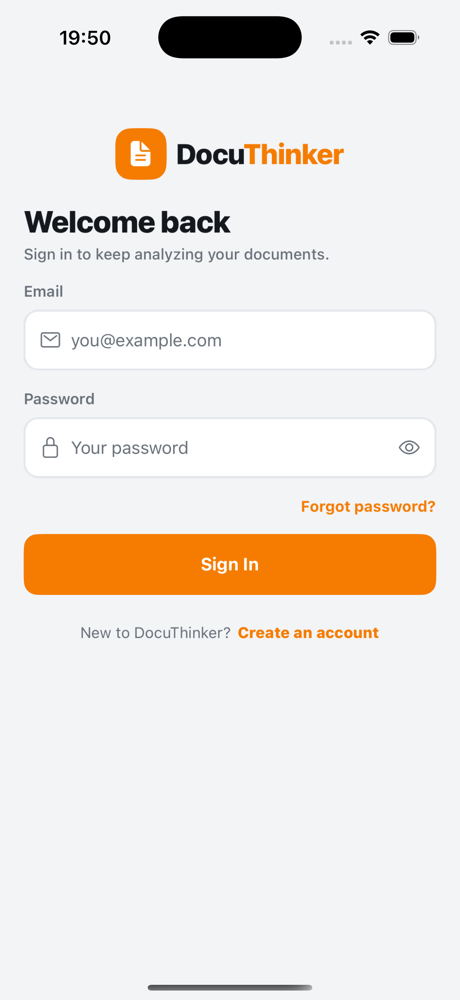
Login Page
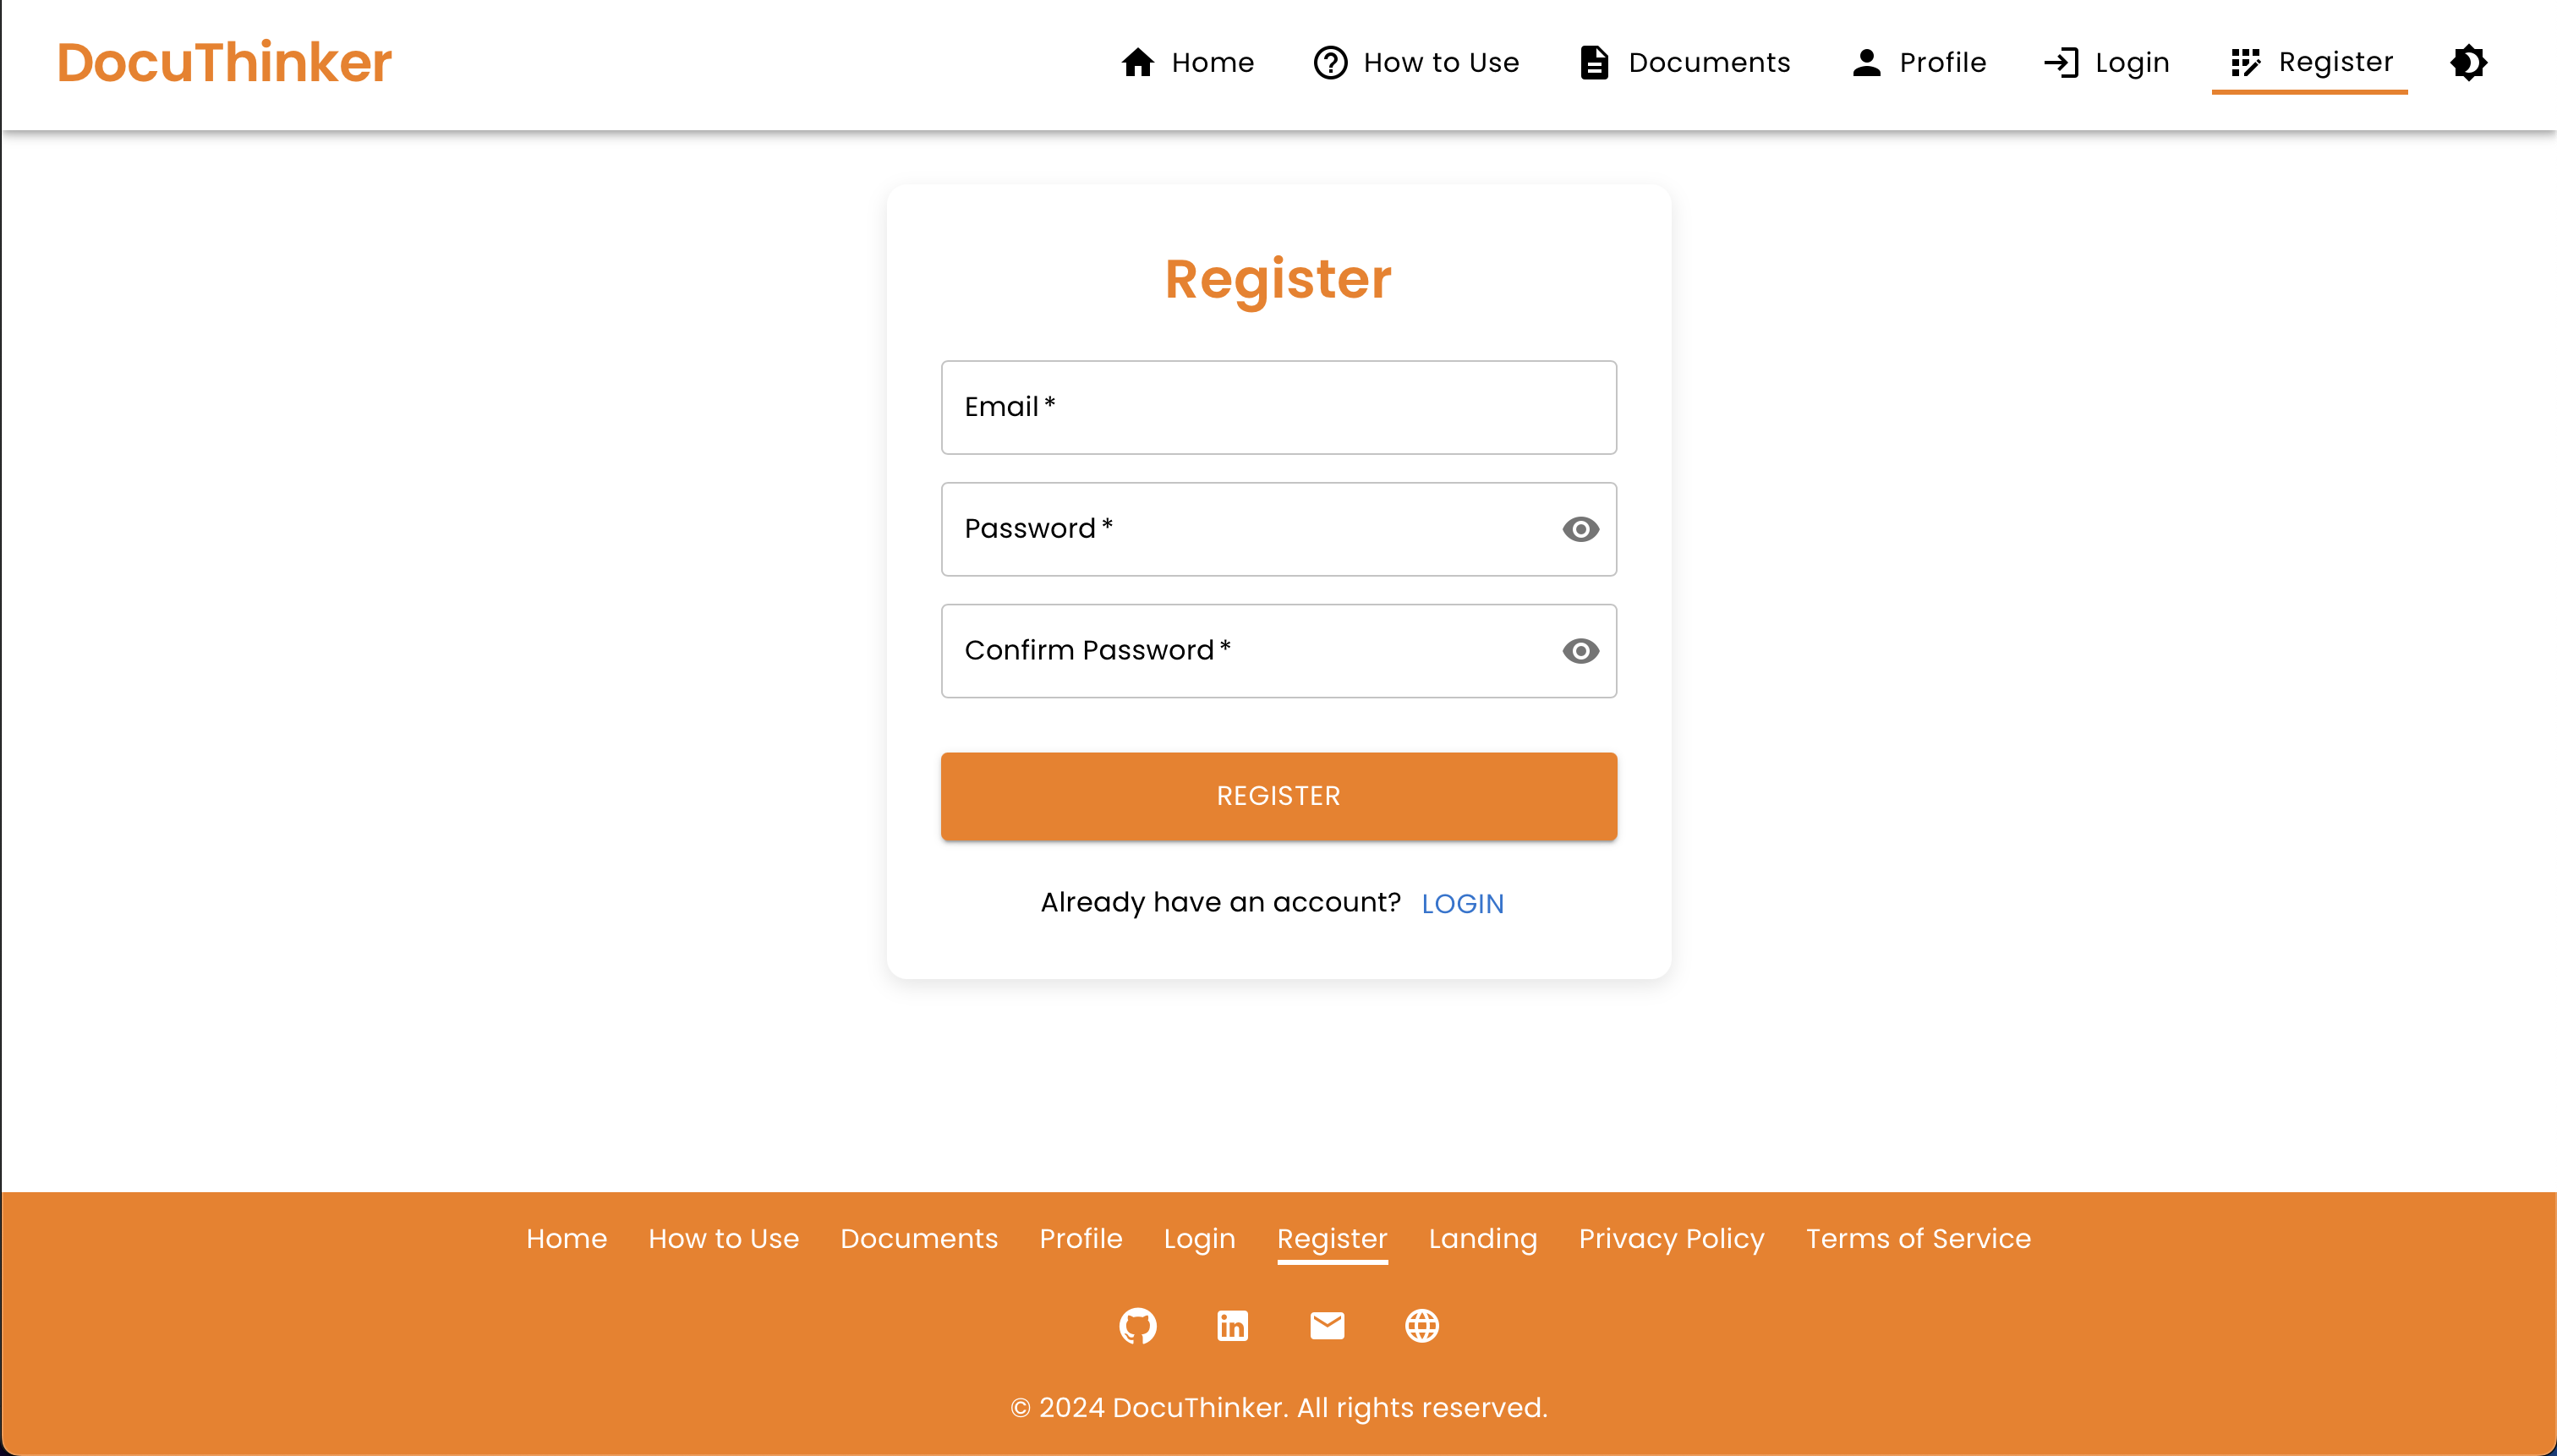
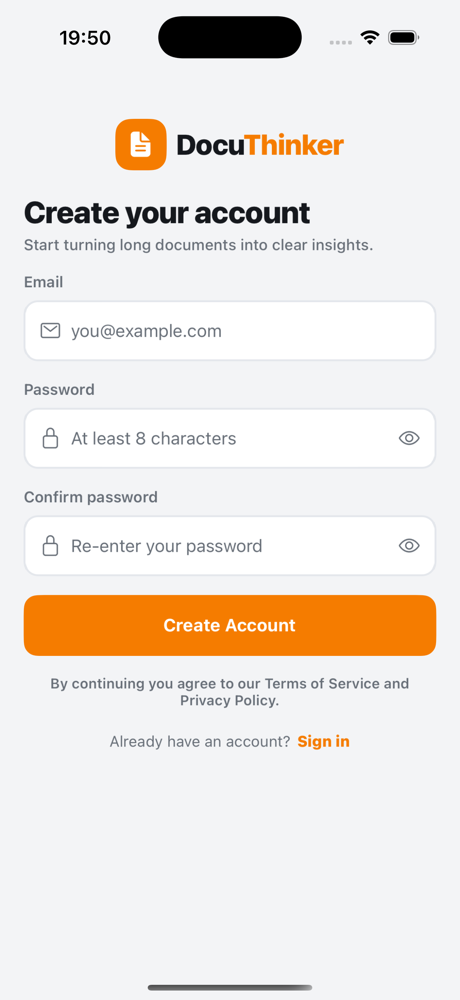
Registration Page
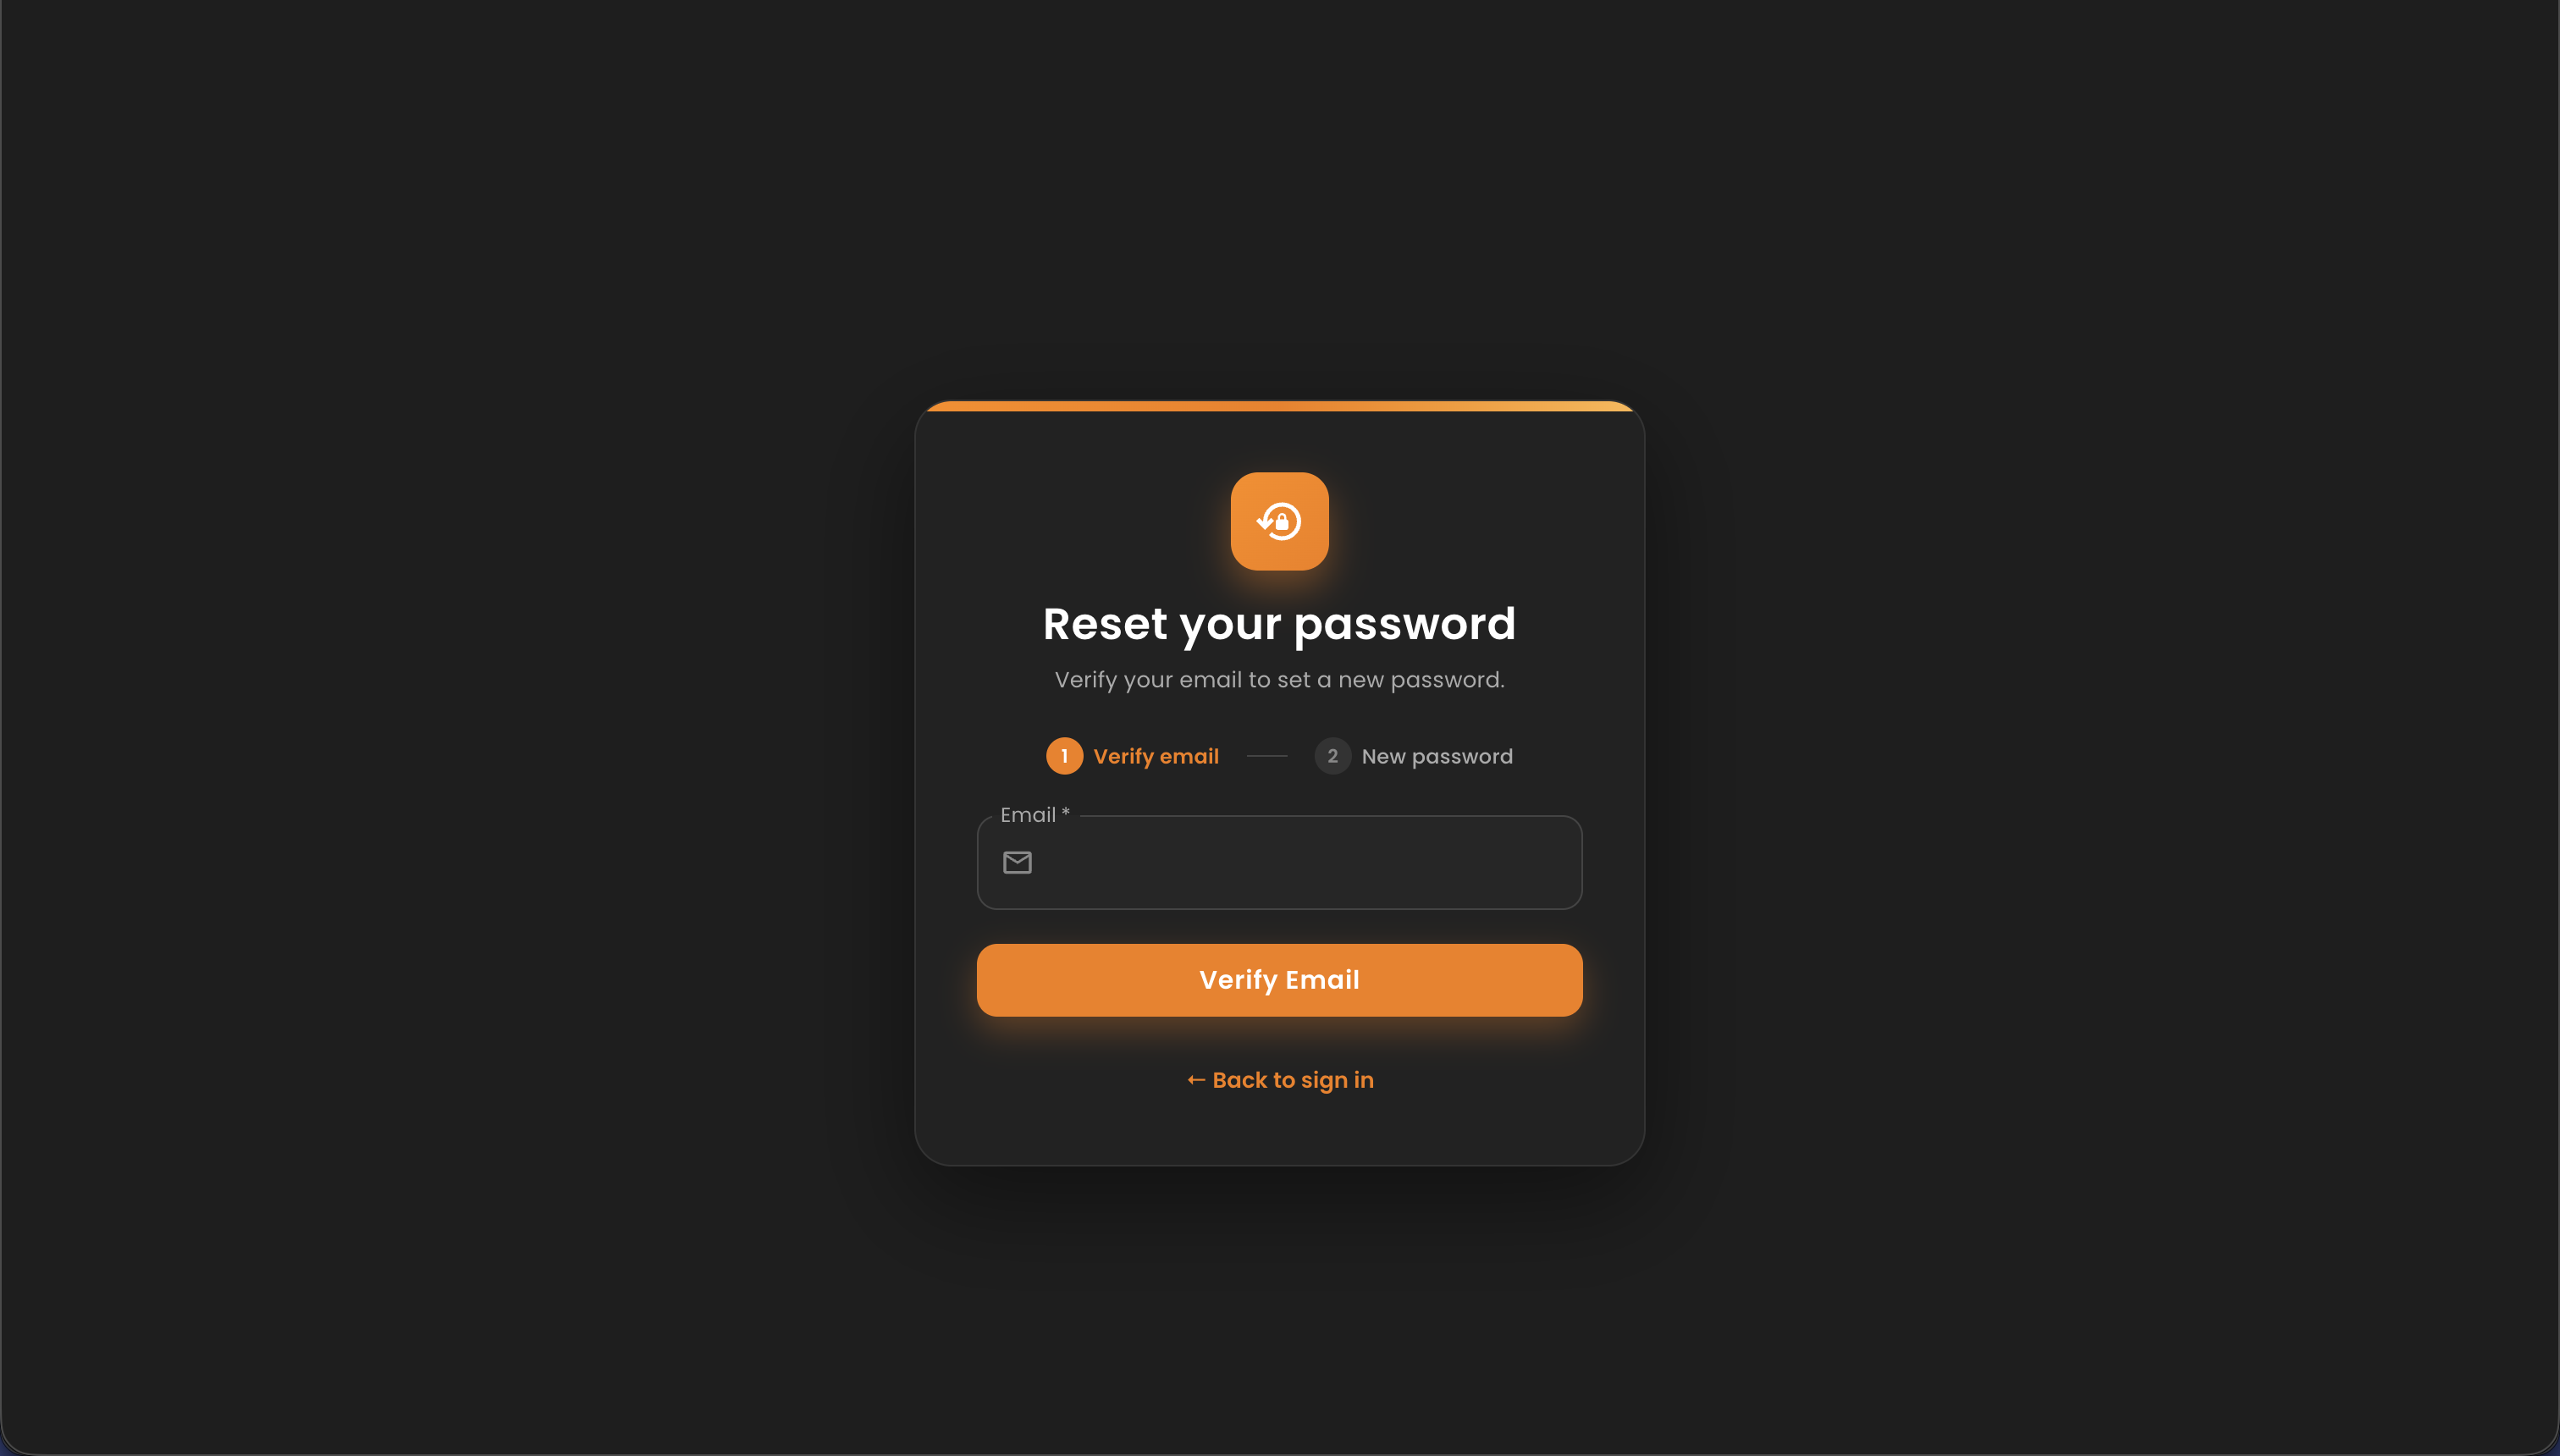
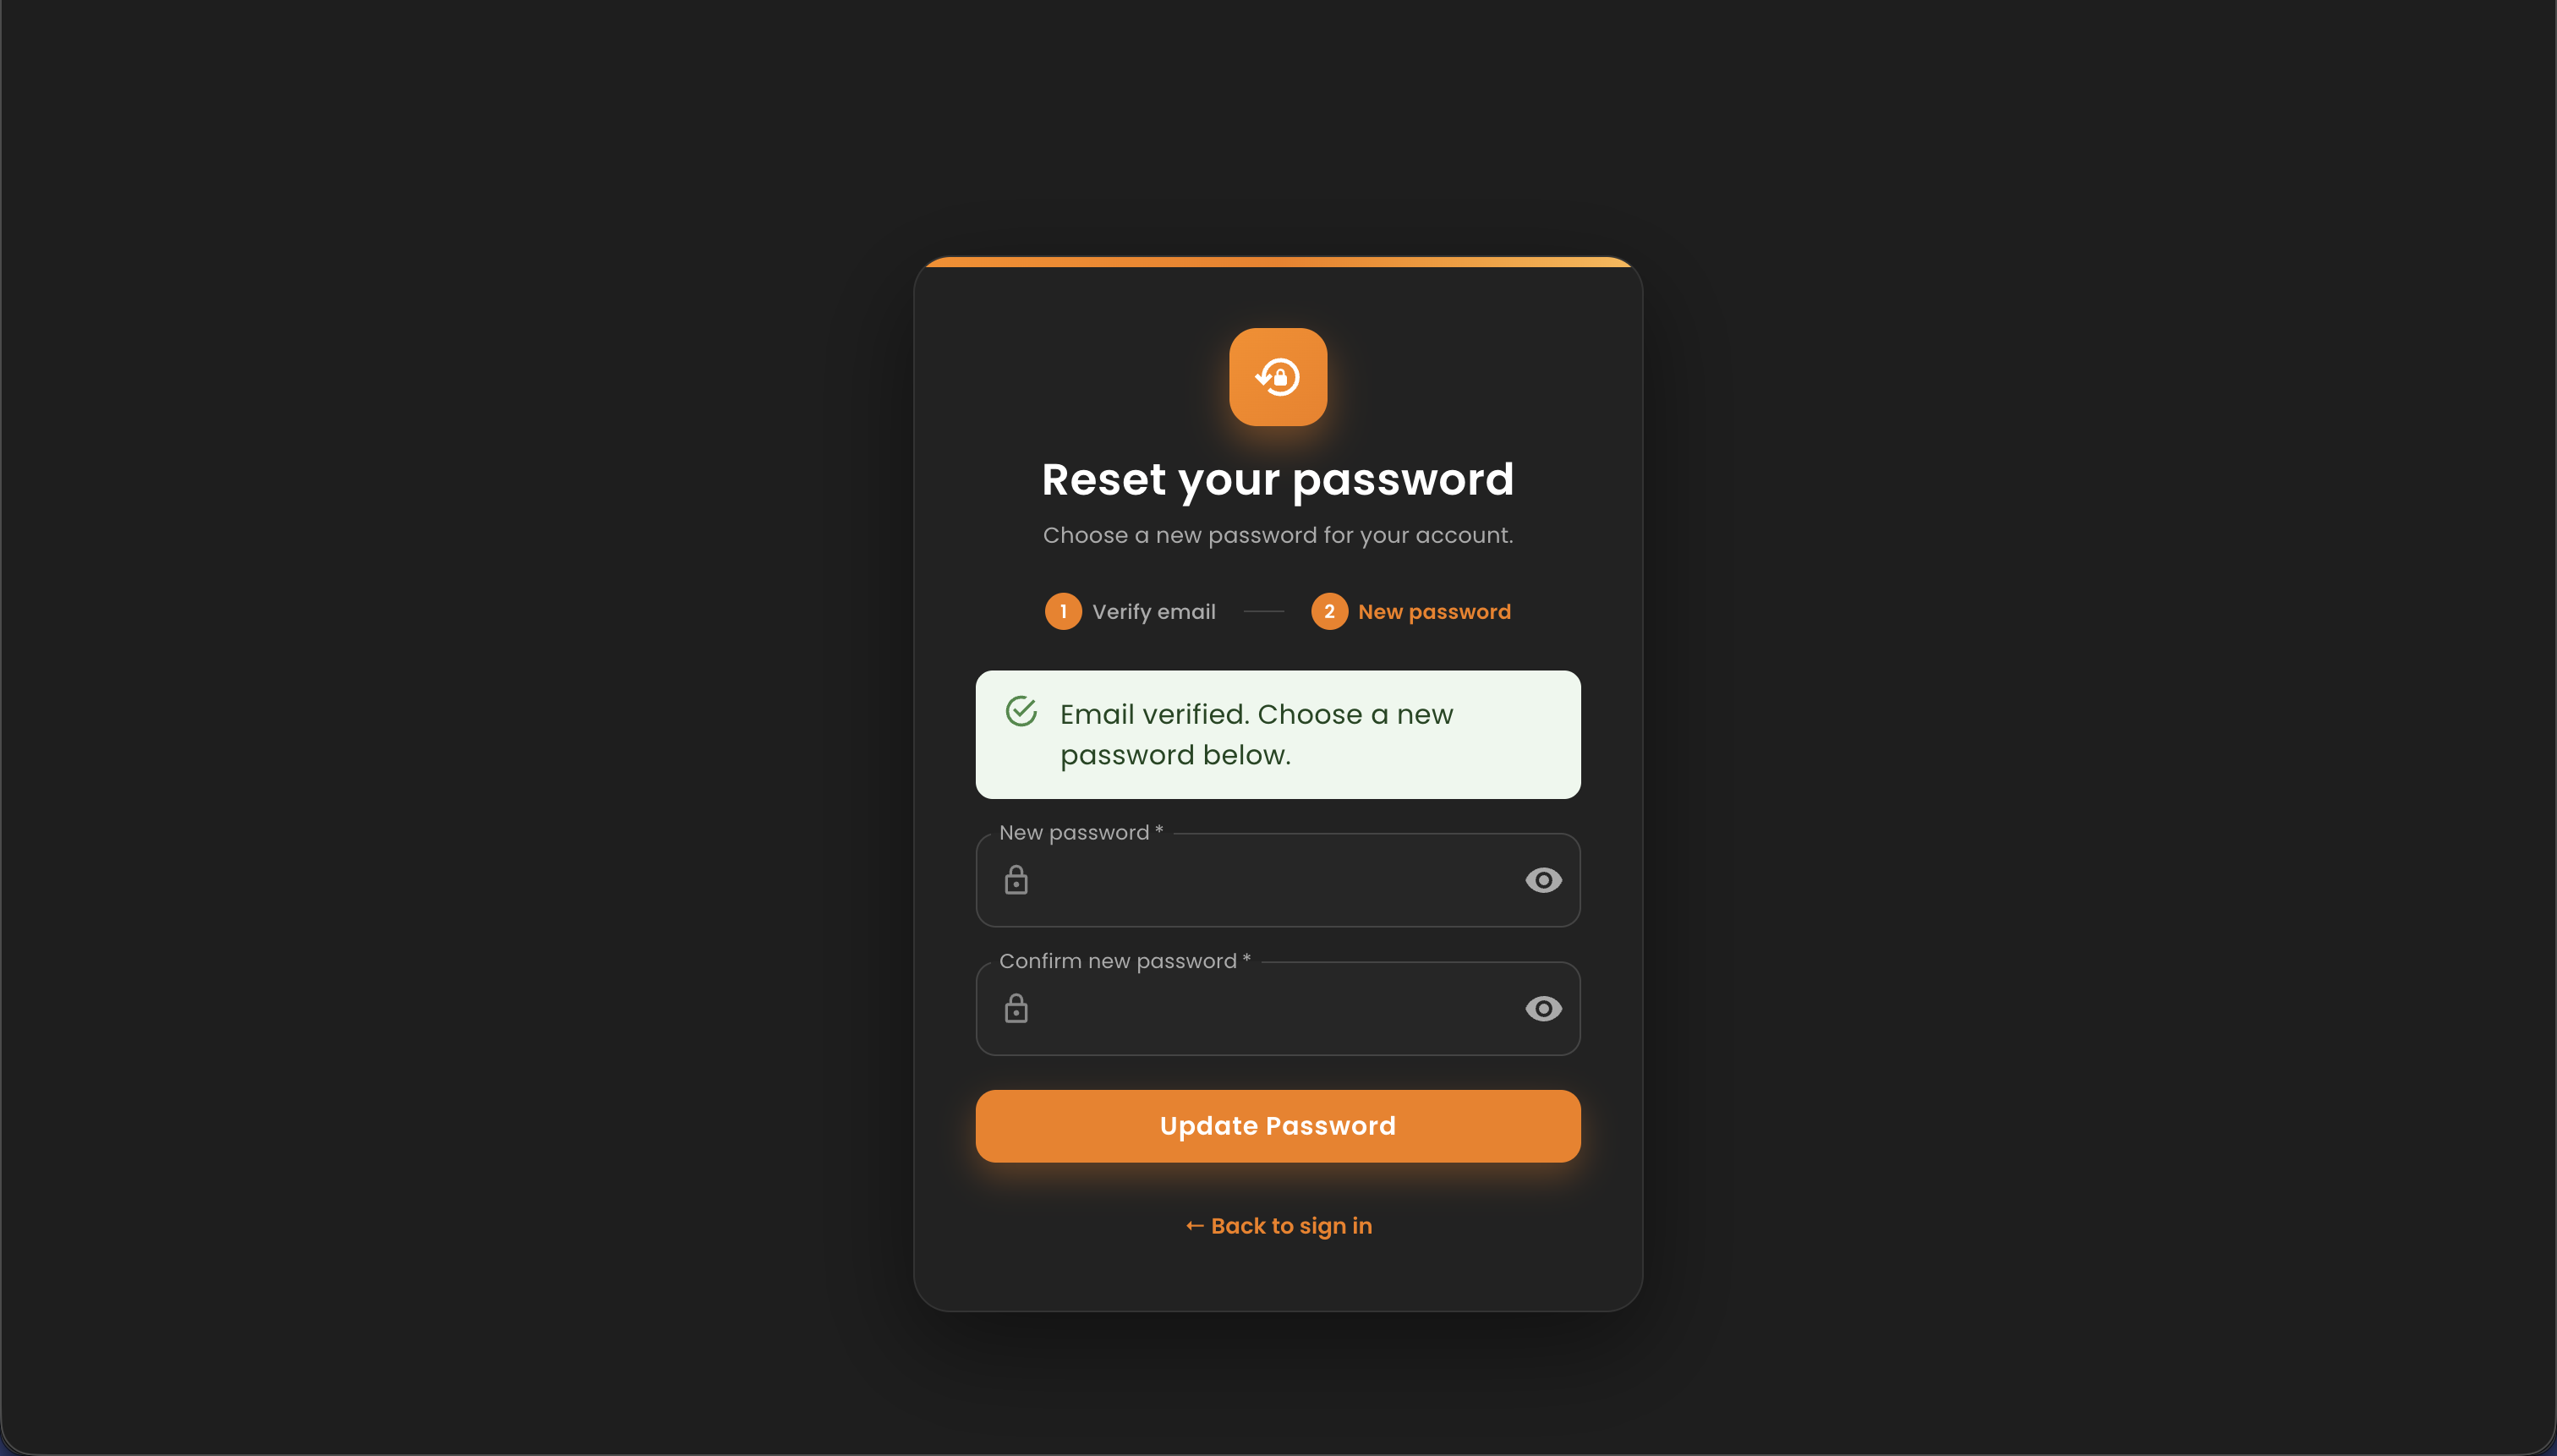
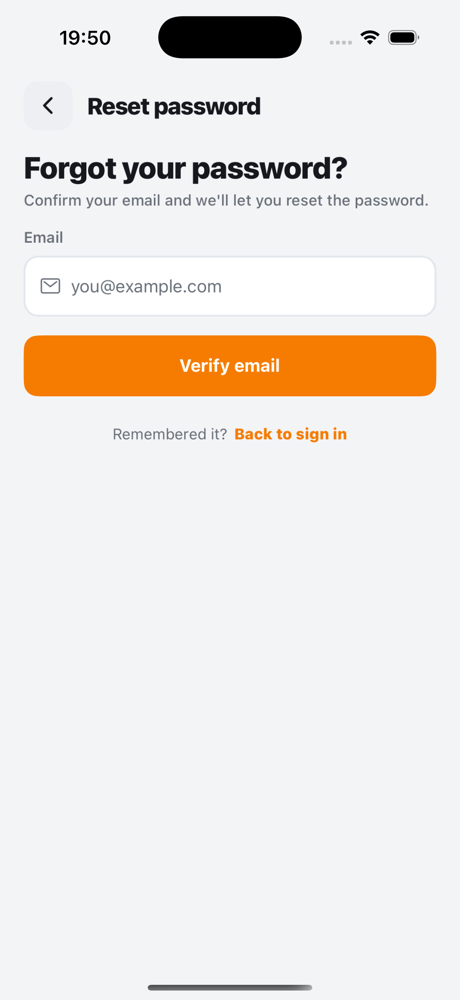
Reset Password Page
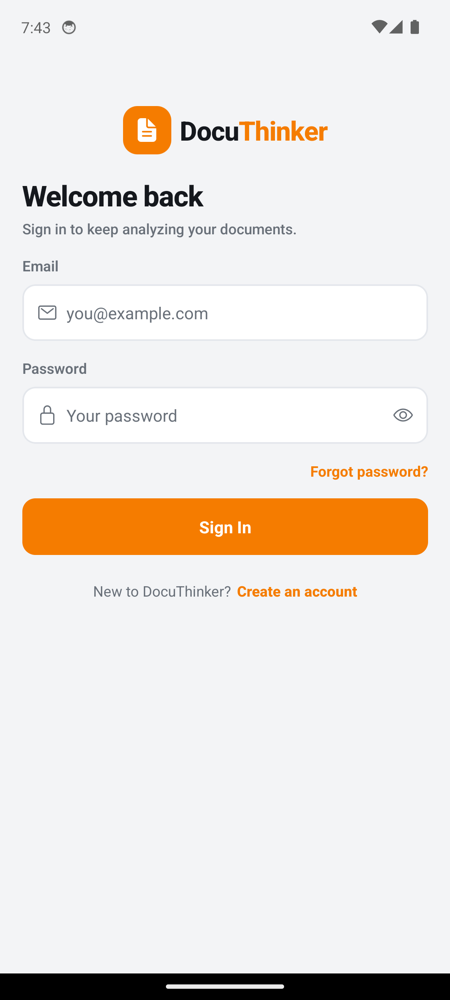
Mobile App’s View
Real signed-in captures from the React Native (Expo SDK 51) build, iPhone 16 Pro / iOS 18.5 on the top row and Pixel 6 / API 34 on the bottom. Full walkthrough lives in MOBILE_APPS.md, and the mobile-only deep dive is at mobile-app/README.md.
Unauthenticated
| Login | Register | Forgot password |
|---|---|---|
 |
 |
 |
 |
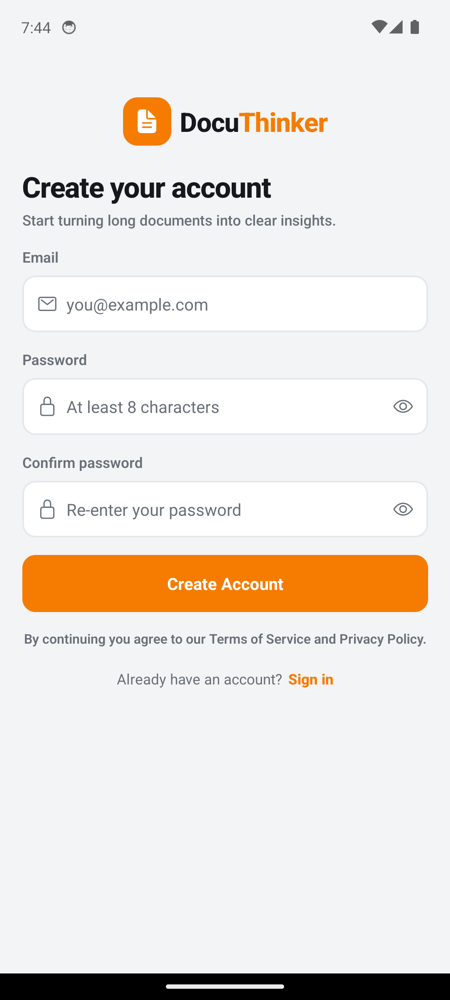 |
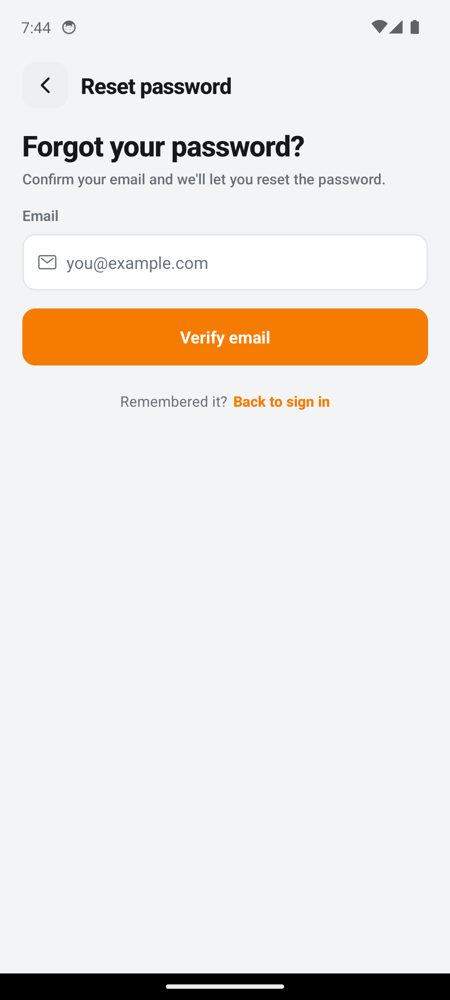 |
Authenticated tabs
| Home | Library | Profile |
|---|---|---|
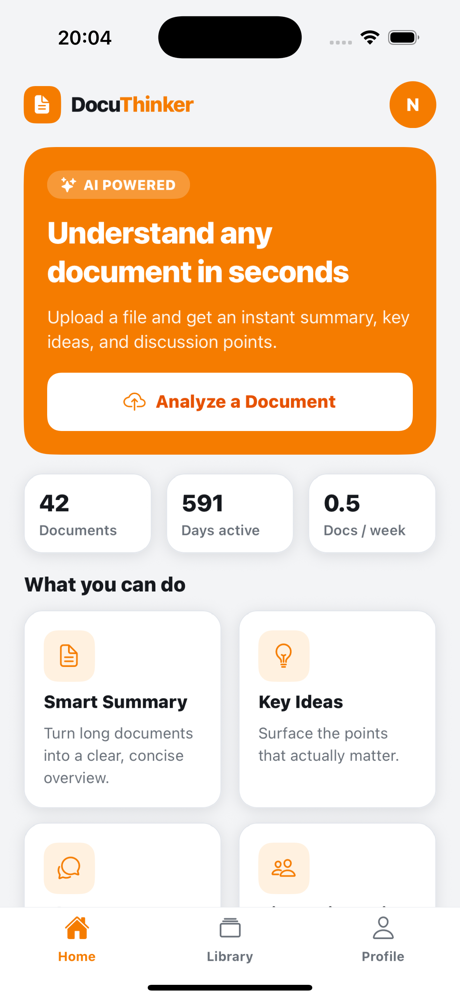 |
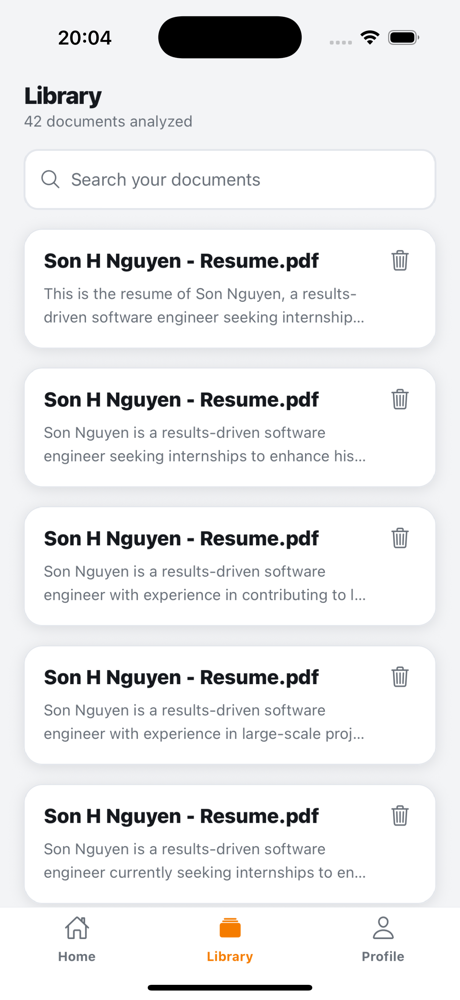 |
 |
 |
 |
 |
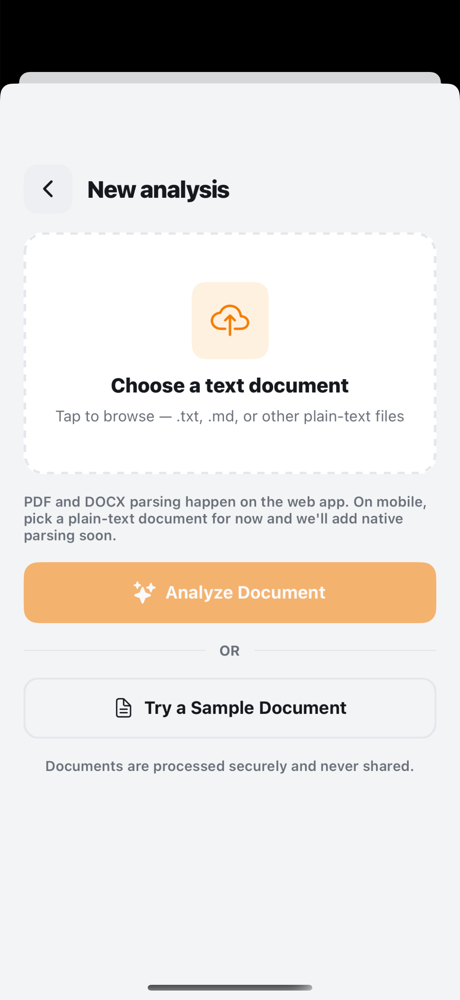
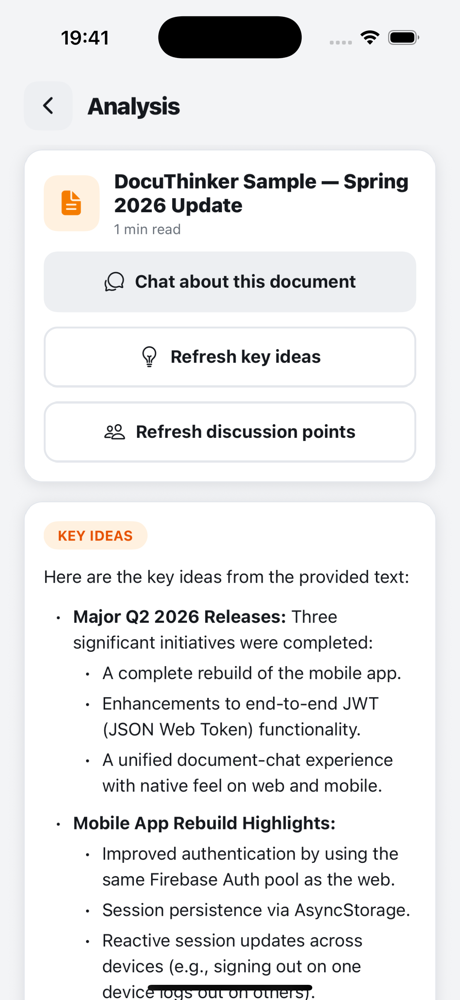
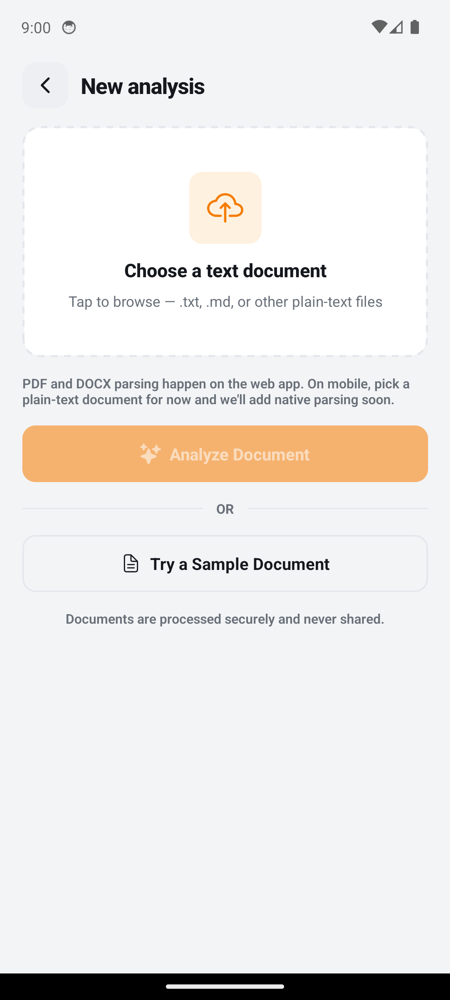
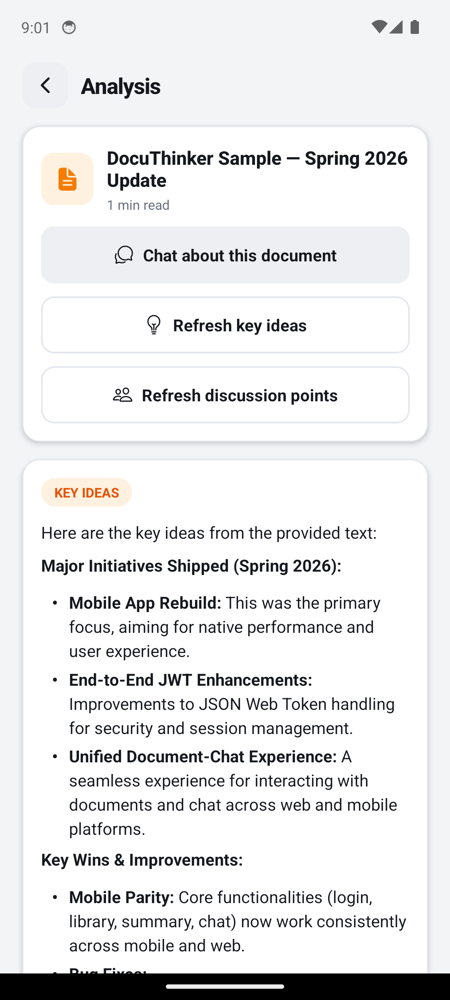
Document flow (Upload → Summary → Chat)
| Upload | Summary | Chat |
|---|---|---|
 |
 |
 |
 |
 |
 |
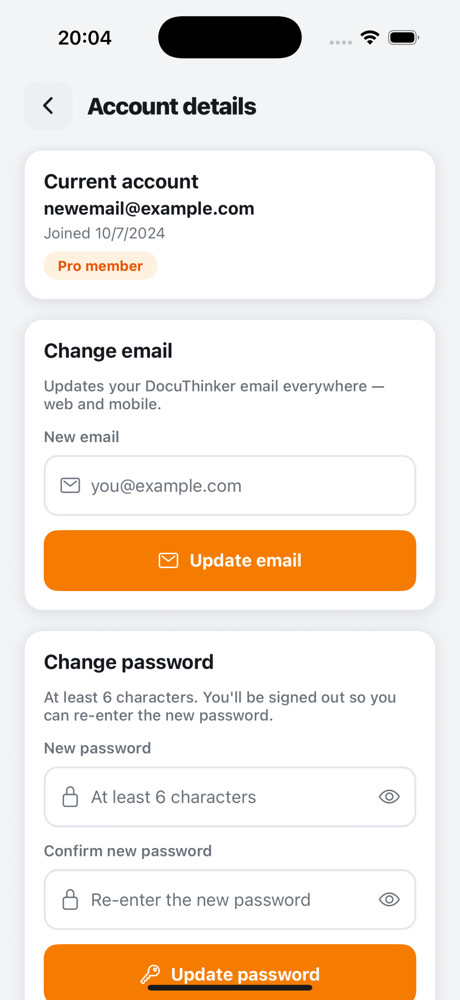
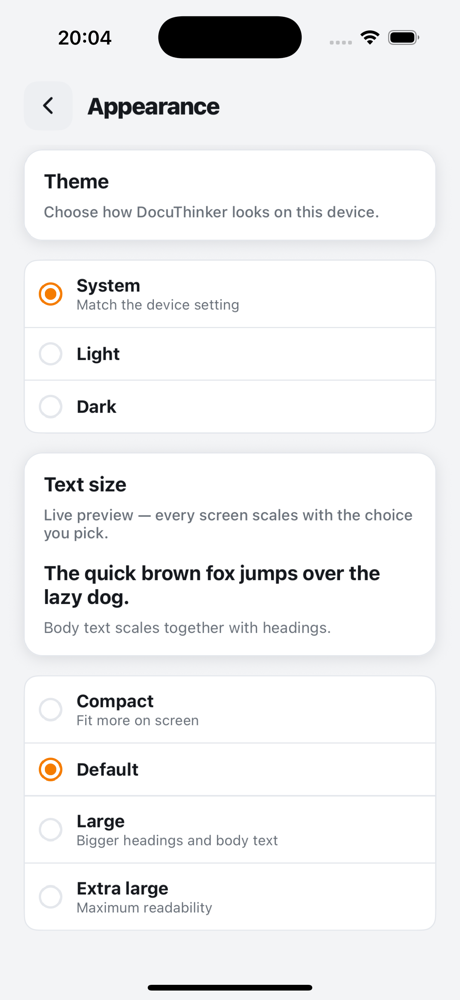
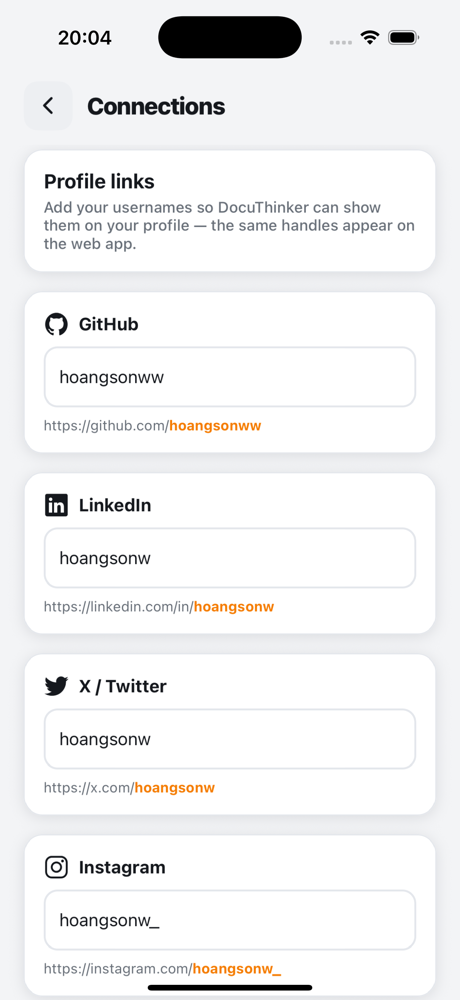
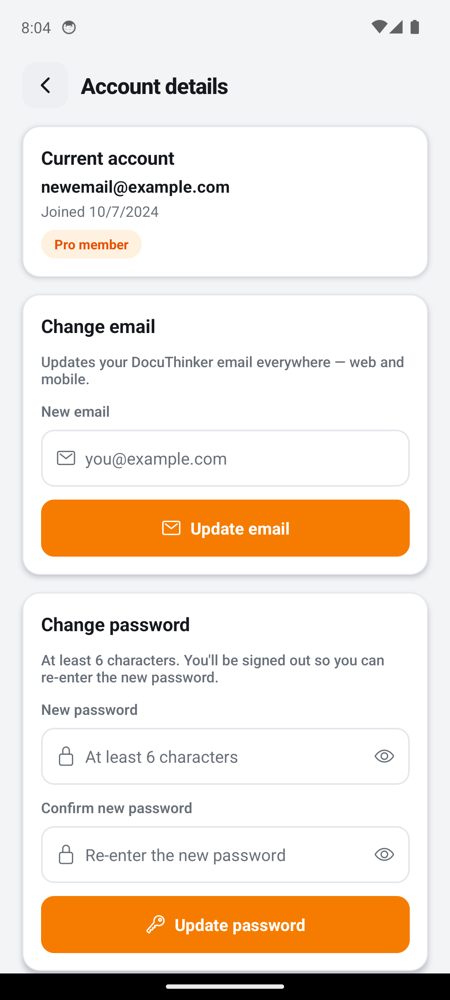
Settings
| Account | Appearance | Connections |
|---|---|---|
 |
 |
 |
 |
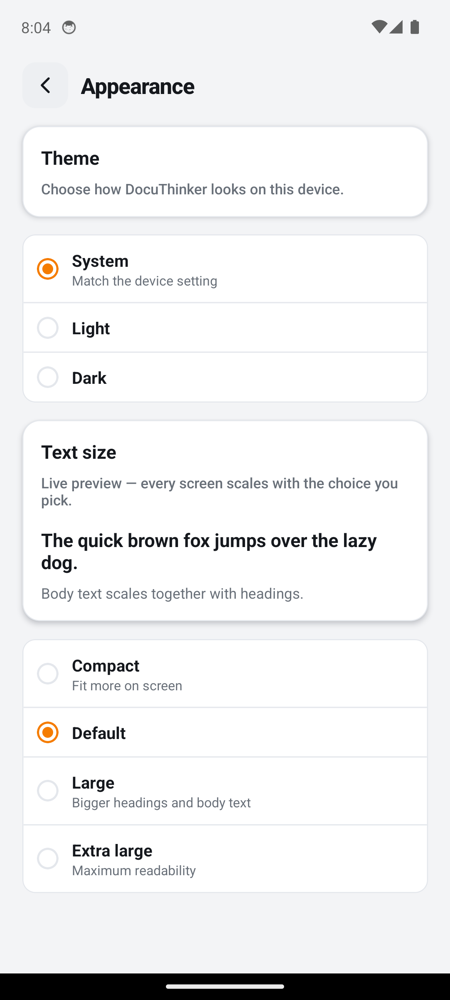 |
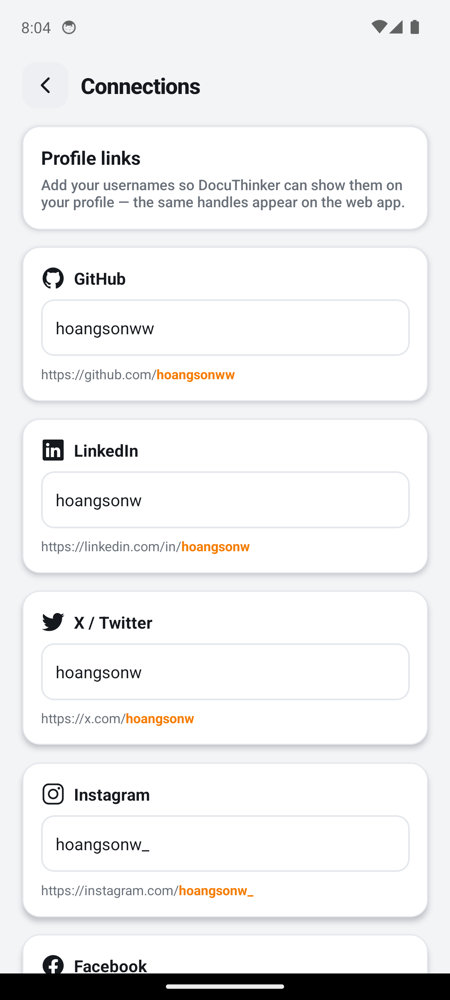 |
📂 Complete File Structure
The DocuThinker app is organized into separate subdirectories for the frontend, backend, and mobile app. Each directory contains the necessary files and folders for the respective components of the app. Here is the complete file structure of the app:
DocuThinker-AI-App/
├── .beads/                           # Beads task coordination system
│   ├── .status.json                  # Agent reservations & active bead tracking
│   ├── README.md                     # Beads workflow quick-reference
│   ├── active/                       # Beads available for agents to pick up
│   ├── completed/                    # Archive of finished beads
│   └── templates/
│       └── feature-bead.md           # Template for new feature beads
├── .agent-sessions/                  # Agent session history & coordination
│   ├── README.md                     # Session management guide
│   ├── SCHEMA.md                     # Session data structure specification
│   ├── config.json                   # Session configuration
│   ├── active/                       # Sessions currently in progress
│   ├── completed/                    # Archived finished sessions
│   └── templates/
│       ├── session-log.md            # Standard session log template
│       ├── handoff-report.md         # Agent-to-agent handoff template
│       └── escalation-report.md      # Conflict / blocker escalation template
├── .claude/                          # Claude Code workspace settings
├── .mcp.json                         # MCP server configuration
├── AGENTS.md                         # Agent behavior instructions
├── CLAUDE.md                         # Claude Code project instructions
├── ai_ml/                            # AI/ML pipelines & services directory (Python)
├── orchestrator/                     # Agentic orchestration layer (Node.js)
│   ├── core/
│   │   ├── supervisor.js             # Intent classification, decomposition, dispatch
│   │   ├── circuit-breaker.js        # Per-provider circuit breaker state machine
│   │   ├── agent-loop.js             # Iterative tool-use agent loop
│   │   ├── handoff.js                # Cross-agent context transfer
│   │   ├── batch-processor.js        # Concurrent batch document processing
│   │   ├── cost-tracker.js           # Token cost tracking with budget limits
│   │   ├── dlq.js                    # Dead letter queue with retry logic
│   │   ├── python-bridge.js          # HTTP bridge to Python AI/ML service
│   │   ├── providers.js              # Unified LLM client (Claude + Gemini)
│   │   └── tool-registry.js          # Tool registration and dispatch
│   ├── context/
│   │   ├── token-budget.js           # Context window management
│   │   ├── conversation-store.js     # Auto-summarizing conversation memory
│   │   ├── observability.js          # OTel-compatible context metrics
│   │   └── hybrid-rag.js             # Keyword + semantic search with RRF
│   ├── prompts/
│   │   ├── system-prompts.js         # 14 versioned system prompts
│   │   └── cache-strategy.js         # 3-layer Anthropic prompt caching
│   ├── schemas/
│   │   └── ai-outputs.js             # 12 Zod validation schemas
│   ├── mcp/
│   │   ├── server.js                 # MCP server exposing 13 tools
│   │   └── client.js                 # MCP client for external servers
│   ├── __tests__/
│   │   └── orchestrator.test.js      # Integration tests (Jest)
│   ├── Dockerfile                    # Production container (node:20-alpine)
│   ├── package.json                  # Dependencies and scripts
│   └── index.js                      # Express server entry point (port 4000)
│
├── backend/
│   ├── middleware/
│   │   └── jwt.js                    # Authentication middleware with JWT for the app's backend
│   ├── controllers/
│   │   ├── controllers.js            # Controls the flow of data and logic
│   │   └── passkeyController.js      # Passkey (WebAuthn) ceremony + endpoints
│   ├── graphql/
│   │   ├── resolvers.js              # Resolvers for querying data from the database
│   │   └── schema.js                 # GraphQL schema for querying data from the database
│   ├── models/
│   │   ├── models.js                 # Data models for interacting with the database
│   │   └── passkeyModel.js           # Firestore access for passkeys & challenges
│   ├── services/
│   │   └── services.js               # Models for interacting with database and AI/ML services
│   ├── views/
│   │   └── views.js                  # Output formatting for success and error responses
│   ├── redis/
│   │   └── redisClient.js            # Redis client for caching data in-memory
│   ├── swagger/
│   │   └── swagger.js                # Swagger documentation for API endpoints
│   ├── .env                          # Environment variables (git-ignored)
│   ├── firebase-admin-sdk.json       # Firebase Admin SDK credentials (git-ignored)
│   ├── index.js                      # Main entry point for the server
│   ├── Dockerfile                    # Docker configuration file
│   ├── manage_server.sh              # Shell script to manage and start the backend server
│   └── README.md                     # Backend README file
│
├── frontend/
│   ├── public/
│   │   ├── index.html                # Main HTML template
│   │   └── manifest.json             # Manifest for PWA settings
│   ├── src/
│   │   ├── assets/                   # Static assets like images and fonts
│   │   │   └── logo.png              # App logo or images
│   │   ├── components/
│   │   │   ├── ChatModal.js          # Chat modal component
│   │   │   ├── Spinner.js            # Loading spinner component
│   │   │   ├── UploadModal.js        # Upload modal (direct Supabase upload via signed URL)
│   │   │   ├── DropboxFileSelectorModal.js     # Dropbox import modal
│   │   │   ├── GoogleDriveFileSelectorModal.js  # Google Drive Picker modal
│   │   │   ├── PasskeyPromptModal.js # Post-sign-up passkey enrollment prompt
│   │   │   ├── Navbar.js             # Navigation bar component
│   │   │   ├── Footer.js             # Footer component
│   │   │   ├── useErrorToast.js      # Shared error-toast hook
│   │   │   └── GoogleAnalytics.js    # Google Analytics integration component
│   │   ├── pages/
│   │   │   ├── Home.js               # Upload + results + AI tools (resizable viewer, selection menu)
│   │   │   ├── DocumentsPage.js      # Library: instant search, sort, type filter
│   │   │   ├── Profile.js            # Profile / account / social-media management
│   │   │   ├── Passkeys.js           # Add / rename / delete passkeys (WebAuthn)
│   │   │   ├── LandingPage.js        # Welcome and information page
│   │   │   ├── Login.js              # Login page (password + passkey)
│   │   │   ├── Register.js           # Registration page
│   │   │   ├── ForgotPassword.js     # Forgot password page
│   │   │   ├── HowToUse.js           # Page explaining how to use the app
│   │   │   ├── PrivacyPolicy.js      # Privacy policy page
│   │   │   ├── TermsOfService.js     # Terms of service page
│   │   │   └── NotFoundPage.js       # 404 page
│   │   ├── utils/
│   │   │   ├── auth.js               # localStorage auth + event emitter
│   │   │   └── supabaseClient.js     # Browser Supabase client (anon key) for direct uploads
│   │   ├── App.js                    # Main App component
│   │   ├── index.js                  # Entry point for the React app
│   │   ├── App.css                   # Global CSS 1
│   │   ├── index.css                 # Global CSS 2
│   │   ├── reportWebVitals.js        # Web Vitals reporting
│   │   ├── styles.css                # Custom styles for different components
│   │   └── config.js                 # Configuration file for environment variables
│   ├── .env                          # Environment variables file (e.g., REACT_APP_BACKEND_URL)
│   ├── package.json                  # Project dependencies and scripts
│   ├── craco.config.js               # Craco configuration file
│   ├── Dockerfile                    # Docker configuration file
│   ├── manage_frontend.sh            # Shell script for managing and starting the frontend
│   ├── README.md                     # Frontend README file
│   └── package.lock                  # Lock file for dependencies
│
├── mobile-app/                       # React Native (Expo SDK 51) client
│   ├── app/                          # File-based routes (expo-router)
│   │   ├── _layout.tsx               # Root stack + auth gate (hydrate, redirect)
│   │   ├── login.tsx                 # Email/password → setAuth
│   │   ├── register.tsx              # New account → /login
│   │   ├── upload.tsx                # expo-document-picker + /upload
│   │   ├── summary.tsx               # Renders /upload or /document-details
│   │   ├── chat.tsx                  # /chat round-trip with sessionId
│   │   └── (tabs)/                   # Home, Library, Profile (bottom tabs)
│   ├── components/                   # Screen primitives + UI kit (Card, Pill, …)
│   ├── constants/                    # theme.ts, Colors.ts, static UI copy
│   ├── lib/
│   │   ├── auth.ts                   # AsyncStorage + emitter (mirrors web auth.js)
│   │   └── api.ts                    # fetch wrapper + endpoint map
│   ├── hooks/                        # Custom hooks (useColorScheme)
│   ├── assets/                       # Static assets (images, fonts)
│   ├── app.json                      # Expo config (scheme: docuthinker)
│   ├── babel.config.js               # Babel configuration
│   ├── package.json                  # Project dependencies and scripts
│   └── tsconfig.json                 # TypeScript configuration
│
├── aws/                              # AWS deployment assets (ECR/ECS/CloudFormation/CDK)
│   ├── README.md
│   ├── cloudformation/
│   │   └── fargate-service.yaml      # Reference Fargate stack for backend + ai_ml services
│   ├── infrastructure/
│   │   ├── cdk-app.ts                # CDK entrypoint
│   │   └── lib/docuthinker-stack.ts  # CDK stack definition
│   └── scripts/
│       └── local-env.sh              # Helper to mirror production env vars locally
│
├── kubernetes/                       # Kubernetes configuration files
│   ├── manifests/                    # Kubernetes manifests for deployment, service, and ingress
│   ├── backend-deployment.yaml       # Deployment configuration for the backend
│   ├── backend-service.yaml          # Service configuration for the backend
│   ├── frontend-deployment.yaml      # Deployment configuration for the frontend
│   ├── frontend-service.yaml         # Service configuration for the frontend
│   ├── firebase-deployment.yaml      # Deployment configuration for Firebase
│   ├── firebase-service.yaml         # Service configuration for Firebase
│   └── configmap.yaml                # ConfigMap configuration for environment variables
│
├── nginx/
│   ├── nginx.conf                    # NGINX configuration file for load balancing and caching
│   └── Dockerfile                    # Docker configuration file for NGINX
│
├── images/                           # Images for the README
├── .env                              # Environment variables file for the whole app
├── docker-compose.yml                # Docker Compose file for containerization
├── jsconfig.json                     # JavaScript configuration file
├── package.json                      # Project dependencies and scripts
├── package-lock.json                 # Lock file for dependencies
├── postcss.config.js                 # PostCSS configuration file
├── tailwind.config.js                # Tailwind CSS configuration file
├── render.yaml                       # Render configuration file
├── vercel.json                       # Vercel configuration file
├── openapi.yaml                      # OpenAPI specification for API documentation
├── manage_docuthinker.sh             # Shell script for managing and starting the app (both frontend & backend)
├── .gitignore                        # Git ignore file
├── LICENSE.md                        # License file for the project
├── README.md                         # Comprehensive README for the whole app
└── (and many more files...)          # Additional files and directories not listed here
🛠️ Getting Started
Prerequisites
Ensure you have the following tools installed:
- Node.js (between v14 and v20)
- npm or yarn
- Firebase Admin SDK credentials (Auth + Firestore)
- Supabase project with a private storage bucket (for original files + content)
- Google Gemini API key (
GOOGLE_AI_API_KEY) for all AI features - Redis for caching
- Docker for containerization (optional)
- Postman for API testing (optional)
- Expo CLI for running the mobile app
- Jenkins for CI/CD (optional)
- Kubernetes for container orchestration (optional)
- React Native CLI for building the mobile app
- Firebase SDK for mobile app integration
- Firebase API Keys and Secrets for authentication
- Expo Go app for testing the mobile app on a physical device
- Tailwind CSS for styling the frontend
- .env file with necessary API keys (You can contact me to get the
.envfile - but you should obtain your own API keys for production).
Additionally, basic fullstack development knowledge and AI/ML concepts are recommended to understand the app’s architecture and functionalities.
Environment Variables
The backend and frontend each read from their own .env file (both git-ignored). The most important variables are listed below — see backend/.env and frontend/.env for the full set.
Backend (backend/.env)
| Variable | Purpose |
|---|---|
FIREBASE_* |
Firebase Admin service-account credentials (FIREBASE_PROJECT_ID, FIREBASE_PRIVATE_KEY, FIREBASE_CLIENT_EMAIL, FIREBASE_DATABASE_URL, …) for Auth + Firestore. |
GOOGLE_AI_API_KEY |
Google Gemini API key (model list, generation, audio). |
GOOGLE_AI_API_KEY1, GOOGLE_AI_API_KEY2, … |
Optional extra Gemini keys — auto-discovered and rotated so a request fails over to the next key on a quota/429. Add as many GOOGLE_AI_API_KEY<n> as needed. |
AI_INSTRUCTIONS |
Base system-prompt text prepended to every AI request. |
SUPABASE_URL |
Supabase project URL. |
SUPABASE_SERVICE_ROLE_KEY |
Server-side Supabase key for signing upload/download URLs and storing content (never exposed to the browser). |
SUPABASE_BUCKET |
Storage bucket name (defaults to docuthinker). |
REDIS_* |
Redis connection config for caching. |
SENTRY_DSN |
Sentry DSN for backend error, performance, and log monitoring (optional; falls back to the hosted project DSN). |
SENTRY_RELEASE |
Release identifier attached to Sentry events (optional, e.g. git SHA). |
Frontend (frontend/.env)
| Variable | Purpose |
|---|---|
REACT_APP_SUPABASE_URL |
Supabase project URL (browser client). |
REACT_APP_SUPABASE_ANON_KEY |
Public Supabase anon key for direct browser uploads. |
REACT_APP_SUPABASE_BUCKET |
Storage bucket name (must match the backend). |
REACT_APP_GOOGLE_DRIVE_API_KEY |
Google Drive Picker API key. |
REACT_APP_GOOGLE_DRIVE_CLIENT_ID |
Google OAuth client ID for Drive import. |
REACT_APP_API_BASE_URL |
Base URL of the backend API. |
REACT_APP_SENTRY_DSN |
Sentry DSN for browser error, tracing, and session-replay monitoring (optional; falls back to the hosted project DSN). |
REACT_APP_SENTRY_ENV |
Sentry environment name (defaults to NODE_ENV). |
REACT_APP_SENTRY_RELEASE |
Release identifier attached to Sentry events (optional). |
[!IMPORTANT] Only the service-role Supabase key lives on the backend; the browser ever only sees the public anon key plus one-time, path-scoped signed upload tokens. Keep
SUPABASE_SERVICE_ROLE_KEYandfirebase-admin-sdk.jsonout of source control.
Frontend Installation
-
Clone the repository:
git clone https://github.com/hoangsonww/DocuThinker-AI-App.git cd DocuThinker-AI-App/backend -
Navigate to the frontend directory:
cd frontend -
Install dependencies:
npm installOr
npm install --legacy-peer-depsif you face any peer dependency issues. - Start the Frontend React app:
npm start -
Build the Frontend React app (for production):
npm run build - Alternatively, you can use
yarnto install dependencies and run the app:yarn install yarn start -
Or, for your convenience, if you have already installed the dependencies, you can directly run the app in the root directory using:
npm run frontendThis way, you don’t have to navigate to the
frontenddirectory every time you want to run the app. - The app’s frontend will run on
http://localhost:3000. You can now access it in your browser.
Backend Installation
[!NOTE] Note that this is optional since we are deploying the backend on Render. However, you can (and should) run the backend locally for development purposes.
- Navigate to the root (not
backend) directory:cd backend -
Install dependencies:
npm installOr
npm install --legacy-peer-depsif you face any peer dependency issues. - Start the backend server:
npm run server - The backend server will run on
http://localhost:3000. You can access the API endpoints in your browser or Postman. - Additionally, the backend code is in the
backenddirectory. Feel free to explore the API endpoints and controllers.
[!CAUTION] > Note: Be sure to use Node v.20 or earlier to avoid compatibility issues with Firebase Admin SDK.
Running the Mobile App
The mobile app is a real React Native (Expo SDK 51) client that authenticates against the same backend as the web. Accounts created via the web work on mobile and vice versa.
- Install dependencies:
cd mobile-app npm ci - Start the Expo dev server:
npx expo startMetro listens on
http://localhost:8081. - Attach a simulator/emulator:
- Press
ito launch (and bundle for) the booted iOS Simulator. - Press
ato launch (and bundle for) the booted Android AVD. - Or deep-link manually:
xcrun simctl openurl booted "exp://127.0.0.1:8081"
adb shell am start -a android.intent.action.VIEW -d "exp://10.0.2.2:8081" host.exp.exponent
- Press
- Sign in with a real account (web-created credentials work) and confirm Home shows your real document count.
sequenceDiagram
    participant Dev as Developer
    participant CLI as npx expo start
    participant Metro as Metro :8081
    participant iOS as iOS Sim
    participant AVD as Android AVD

    Dev->>CLI: start
    CLI->>Metro: bundle entry.js
    Dev->>CLI: press i
    CLI->>iOS: install Expo Go (SDK 51) if missing
    CLI->>iOS: openurl exp://127.0.0.1:8081
    iOS->>Metro: fetch bundle
    Metro-->>iOS: iOS bundle
    Dev->>CLI: press a
    CLI->>AVD: install Expo Go (SDK 51) if missing
    CLI->>AVD: am start exp://10.0.2.2:8081
    AVD->>Metro: fetch bundle
    Metro-->>AVD: Android bundle
[!TIP] Expo Go pins one SDK runtime per device. If your device has Go for a different SDK installed,
expo startwill prompt to reinstall the matching version. The swap is reversible — opening another project later prompts the swap back. Detailed troubleshooting lives inmobile-app/README.md.
📋 API Endpoints
The backend of DocuThinker provides several API endpoints for user authentication, document management, and AI-powered insights. These endpoints are used by the frontend to interact with the backend server:
| Method | Endpoint | Description |
|---|---|---|
| POST | /register |
Register a new user in Firebase Authentication and Firestore, saving their email and creation date. |
| POST | /login |
Log in a user and return a custom token along with the user ID. |
| POST | /passkey/register/options |
Begin passkey registration; returns WebAuthn creation options + a flowId. |
| POST | /passkey/register/verify |
Verify the authenticator attestation and store the new passkey credential. |
| POST | /passkey/authenticate/options |
Begin passkey login (email-scoped or discoverable/usernameless); returns options + flowId. |
| POST | /passkey/authenticate/verify |
Verify the assertion and return a Firebase custom token + user ID (same contract as /login). |
| GET | /passkeys/{userId} |
List all passkeys registered to a user (public metadata only). |
| PATCH | /passkeys/{userId}/{credentialId} |
Rename one of the user’s passkeys. |
| DELETE | /passkeys/{userId}/{credentialId} |
Delete one of the user’s passkeys. |
| POST | /document-upload-url |
Mint a one-time signed Supabase upload URL so the browser can upload the file bytes directly to the private bucket (bypasses the serverless body-size limit). |
| POST | /document-file |
Through-backend multipart fallback upload (parsed with formidable); stores the file in the Supabase bucket. |
| POST | /upload |
Summarize a document and, when userId is given, save the record to the user’s documents subcollection. Body: { userId, title, text, html, filePath, fileType }. |
| POST | /generate-key-ideas |
Generate key ideas from the document text. |
| POST | /generate-discussion-points |
Generate discussion points from the document text. |
| POST | /chat |
Chat with AI using the original document text as context. |
| POST | /process-audio |
Transcribe/answer over an uploaded audio file (voice chat) via Gemini. |
| POST | /refine-summary |
Refine an existing summary using free-form instructions. |
| POST | /forgot-password |
Reset a user’s password in Firebase Authentication. |
| POST | /verify-email |
Verify if a user’s email exists in Firestore. |
| GET | /documents/{userId} |
Retrieve all documents associated with the given userId (subcollection, merged with any legacy array). |
| GET | /documents/{userId}/{docId} |
Retrieve a specific document by userId and docId. |
| GET | /document-details/{userId}/{docId} |
Retrieve document details (title, original text/HTML, summary, signed fileUrl) by userId and docId. |
| GET | /search-documents/{userId} |
Server-side search across the user’s documents. |
| DELETE | /documents/{userId}/{docId} |
Delete a specific document and its Supabase objects by userId and docId. |
| DELETE | /documents/{userId} |
Delete all documents (and their stored objects) for the given userId. |
| POST | /update-email |
Update a user’s email in both Firebase Authentication and Firestore. |
| POST | /update-password |
Update a user’s password in Firebase Authentication. |
| GET | /days-since-joined/{userId} |
Get the number of days since the user associated with userId joined the service. |
| GET | /document-count/{userId} |
Retrieve the number of documents associated with the given userId. |
| GET | /users/{userId} |
Retrieve the email of a user associated with userId. |
| POST | /update-document-title |
Update the title of a document in Firestore. |
| PUT | /update-theme |
Update the theme of the app. |
| GET | /user-joined-date/{userId} |
Get date when the user associated with userId joined the service. |
| GET | /social-media/{userId} |
Get the social media links of the user associated with userId. |
| POST | /update-social-media |
Update the social media links of the user associated with userId. |
| POST | /sentiment-analysis |
Analyzes the sentiment of the provided document text. |
| POST | /bullet-summary |
Generates a summary of the document text in bullet points. |
| POST | /summary-in-language |
Generates a summary in the specified language. |
| POST | /content-rewriting |
Rewrites or rephrases the provided document text based on a style. |
| POST | /actionable-recommendations |
Generates actionable recommendations based on the document text. |
| GET | /graphql |
GraphQL endpoint (GraphiQL enabled) for querying and mutating data. |
More API endpoints will be added in the future to enhance the functionality of the app. Feel free to explore the existing endpoints and test them using Postman or Insomnia.
[!NOTE] This list is not exhaustive. For a complete list of API endpoints, please refer to the Swagger or Redoc documentation of the backend server.
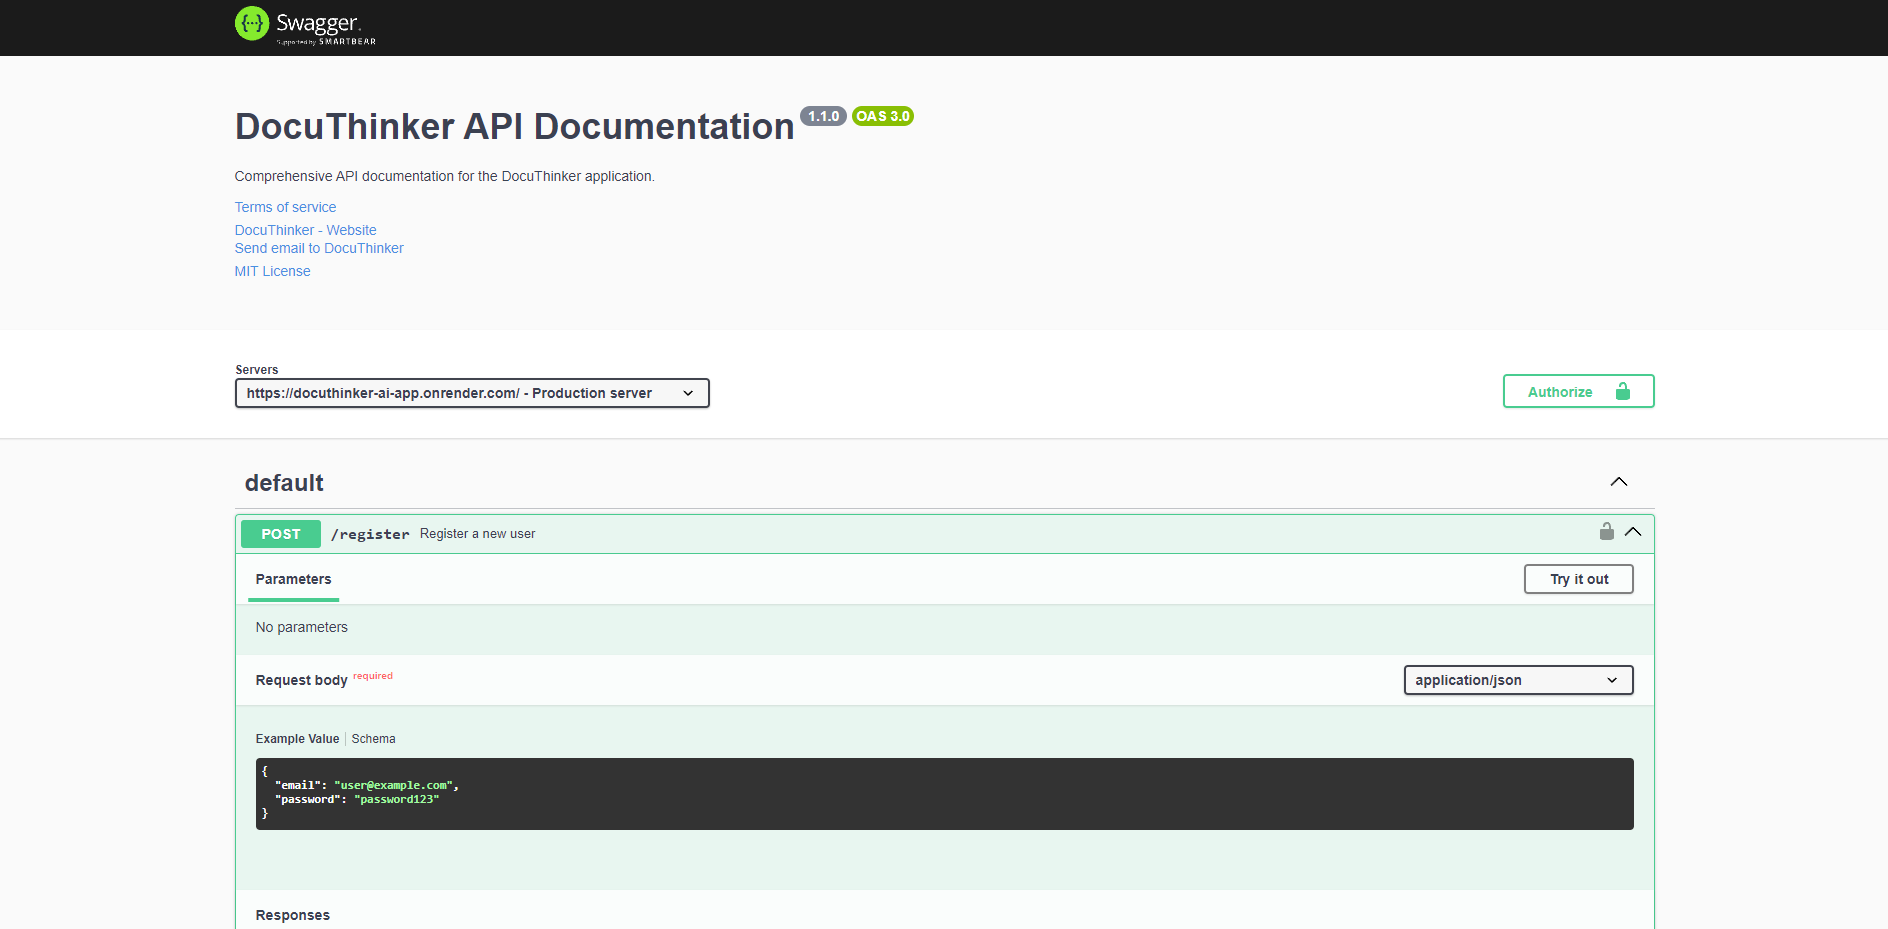
API Documentation
- Swagger Documentation: Run the backend and navigate to
http://localhost:3000/api-docs(Swagger UI loaded from a CDN). Visiting the root/redirects there. The raw spec is served athttp://localhost:3000/swagger.json. - GraphiQL: The GraphQL playground is available at
http://localhost:3000/graphql.
For example, our API endpoints documentation looks like this:
Additionally, we also offer API file generation using OpenAPI. You can generate API files using the OpenAPI specification. Here is how:
npx openapi-generator-cli generate -i http://localhost:3000/swagger.json -g typescript-fetch -o ./api
This will generate TypeScript files for the API endpoints in the api directory. Feel free to replace or modify the command as needed.
API Architecture
- We use Node.js and Express to build the backend server for DocuThinker.
- The backend API is structured using Express with Firebase Admin SDK (Auth + Firestore) for identity and metadata, Supabase Storage for files and offloaded content, and Google Gemini for AI.
- We use the MVC (Model-View-Controller) pattern to separate concerns and improve code organization.
- Models: Firestore access for users, the per-user
documentssubcollection, passkeys, and challenges. - Controllers: Handle the business logic and interact with the models and services (
controllers/+passkeyController.js). - Views: Format success and error responses for the API endpoints.
- Services: Interact with Supabase Storage (signed URLs, content offload), Google Gemini (model rotation/fallback), and Firebase for document analysis and summarization.
- Middlewares: Secure routes with Firebase authentication and JWT middleware.
- Models: Firestore access for users, the per-user
- The API endpoints are designed to be RESTful and follow best practices for error handling and response formatting.
- AI calls inject the document title and today’s real date into prompts as context, and rotate across Gemini models with automatic fallback so transient 429/503 errors don’t fail the request.
- The API controllers handle the business logic for each route, interacting with the data models/services and formatting the responses.
API Testing
- You can test the API endpoints using Postman or Insomnia. Simply make a request to the desired endpoint with the required parameters.
- The web client parses PDF/DOCX in the browser and uploads the original bytes directly to Supabase (via a signed URL from
/document-upload-url), then calls/uploadwith the extracted text. So/uploaditself takes JSON, not a multipart file. - Feel free to test all the API endpoints and explore the functionalities of the app.
Example Request to Register a User:
curl --location --request POST 'http://localhost:3000/register' \
--header 'Content-Type: application/json' \
--data-raw '{
    "email": "test@example.com",
    "password": "password123"
}'
Example Request to Summarize & Save a Document:
curl --location --request POST 'http://localhost:3000/upload' \
--header 'Content-Type: application/json' \
--data-raw '{
    "userId": "<firebase-uid>",
    "title": "My Report.pdf",
    "text": "<extracted plain text>",
    "html": "<optional display HTML>",
    "filePath": "<path returned alongside the signed upload URL>",
    "fileType": "application/pdf"
}'
[!TIP] To get
filePath, first callPOST /document-upload-urlwith{ userId, fileName }, upload the bytes to the returnedsignedUrl, then pass the returnedpathasfilePathabove. Alternatively, send the raw file toPOST /document-file(multipart) to upload through the backend.
Error Handling
The backend APIs uses centralized error handling to capture and log errors. Responses for failed requests are returned with a proper status code and an error message:
{
  "error": "An internal error occurred",
  "details": "Error details go here"
}
🤖 AI/ML Agentic Platform
DocuThinker employs a two-layer agentic architecture that separates orchestration concerns (Node.js) from AI/ML execution (Python), connected by a resilient bridge with circuit breakers, cost controls, and full observability.
Architecture Overview
| Layer | Technology | Port | Responsibility |
|---|---|---|---|
| Orchestrator | Node.js 18+ / Express | 4000 |
Supervisor routing, agent loops, tool dispatch, cost tracking, MCP |
| AI/ML Backend | Python / FastAPI | 8000 |
LLM inference, RAG pipelines, NER, CrewAI multi-agent, vector/graph stores |
graph TB
    subgraph "Clients"
        WEB[React Frontend]
        EXT[External Agents / MCP]
    end

    subgraph "Orchestrator :4000"
        SUP[Supervisor<br/>classify / decompose / dispatch]
        AL[Agent Loop<br/>tool-use cycle up to 10 iters]
        CB[Circuit Breaker<br/>CLOSED / OPEN / HALF_OPEN]
        CT[Cost Tracker<br/>daily + monthly budgets]
        BP[Batch Processor<br/>concurrent doc processing]
        DLQ[Dead Letter Queue<br/>retry + DLQ]
        HO[Handoff Manager<br/>cross-agent context transfer]
        TR[Tool Registry<br/>local + Python-bridge tools]
        TB[Token Budget Manager<br/>context window guard]
        CS[Conversation Store<br/>auto-summarizing history]
        OBS[Context Observability<br/>OTel-compatible metrics]
        PC[Prompt Cache Strategy<br/>3-layer Anthropic caching]
        MCP_S[MCP Server<br/>13 tools over stdio]
        MCP_C[MCP Client<br/>connect to external servers]
    end

    subgraph "AI/ML Backend :8000"
        PY_SVC[DocumentIntelligenceService]
        RAG[Agentic RAG Pipeline]
        CREW[CrewAI Multi-Agent]
        NLP[SpaCy NER / Sentiment]
        VEC[ChromaDB Vectors]
        KG[Neo4j Knowledge Graph]
    end

    subgraph "LLM Providers"
        CLAUDE[Anthropic Claude]
        GEMINI[Google Gemini]
    end

    WEB -->|REST| SUP
    EXT -->|MCP stdio| MCP_S
    SUP --> AL
    SUP --> BP
    AL --> TR
    TR -->|Python Bridge| PY_SVC
    AL --> CB
    CB --> CLAUDE
    CB --> GEMINI
    CT -.->|budget check| SUP
    TB -.->|token check| SUP
    DLQ -.->|retry| SUP
    HO -.->|context| AL
    CS -.->|history| AL
    OBS -.->|metrics| CT
    PC -.->|cache hints| AL
    PY_SVC --> RAG
    PY_SVC --> CREW
    PY_SVC --> NLP
    RAG --> VEC
    RAG --> KG
Orchestrator Components
The orchestrator (orchestrator/) is a standalone Node.js service providing:
- Supervisor – Classifies incoming requests into 18+ intents via route matching or LLM classification, checks token budgets, decomposes multi-step tasks (e.g., upload = extract + summarize + store), dispatches to handlers with dependency resolution, and aggregates results. Includes automatic provider failover.
- Circuit Breaker – Per-provider state machine (CLOSED / OPEN / HALF_OPEN) that trips after configurable failure thresholds and auto-recovers after a cooldown with a single probe request.
- Agent Loop – Agentic tool-use cycle that iterates up to
maxIterations(default 10), calling tools via the Tool Registry and feeding results back until the LLM produces a final response. - Handoff Manager – Transfers execution context between agents (Node-to-Node or Node-to-Python) with conversation summarization and task state serialization.
- Batch Processor – Processes document arrays with configurable batch size (10) and concurrency (3), reporting per-document success/failure and overall success rate.
- Cost Tracker – Records per-request costs using real token pricing for Claude, GPT-4, and Gemini models. Enforces daily and monthly budget limits with 80% threshold warnings.
- Dead Letter Queue – Failed operations retry up to
maxRetries(default 3) before moving to the DLQ for manual inspection. - Python Bridge – HTTP client to the Python AI/ML service with circuit breaker integration, configurable timeouts, and methods for RAG, NER, sentiment, graph queries, and vector search.
- Tool Registry – Registers local tools (e.g.,
analyze_document_text) and Python-bridged tools (e.g.,extract_entities,rag_search,vector_search,knowledge_graph_query,python_sentiment). Tools are exposed to the Agent Loop in Anthropic tool-use format.
Context Management
- Token Budget Manager – Estimates token usage across 7+ models, checks against context windows (200K for Claude, 2M for Gemini), and provides compaction via conversation summarization.
- Conversation Store – In-memory store keyed by
userId:documentId. Auto-summarizes history when messages exceed 20, evicts LRU conversations beyond 10,000, and builds context-injected message arrays with document context and summaries. - Context Observability – Records per-request utilization metrics, exposes OpenTelemetry-compatible metric format, tracks cache hit rates, and alerts on >80% context utilization.
- Hybrid RAG – Combines keyword search (Redis) and semantic search (Python vector store) using Reciprocal Rank Fusion for re-ranking.
Prompt Engineering
- 14 versioned system prompts covering summarization, key ideas, discussion points, sentiment, bullet summary, rewrite, recommendations, categorization, translation, document chat, voice chat, general chat, batch coordination, and intent classification.
- 12 Zod schemas validating all AI outputs (summary, keyIdeas, discussionPoints, sentiment, bulletSummary, rewrite, recommendations, category, chat, intent, batch, analytics).
- 3-layer prompt caching using Anthropic’s
cache_control: ephemeralon system prompts, document context, and conversation history.
MCP Integration
- MCP Server (
orchestrator/mcp/server.js) – Exposes 13 tools over stdio transport:document_summarize,document_key_ideas,document_sentiment,document_discussion_points,document_analytics,document_bullet_summary,document_rewrite,document_recommendations,document_chat,system_health,system_costs,rag_query,knowledge_graph_query. - MCP Client (
orchestrator/mcp/client.js) – Connects to external MCP servers via stdio transport, enabling the orchestrator to consume tools from other agents.
Orchestrator API Endpoints
| Method | Endpoint | Description |
|---|---|---|
GET |
/health |
System health with circuit breaker, cost, cache, DLQ, and provider status |
GET |
/api/costs |
Cost usage report by provider and intent |
GET |
/api/circuits |
Circuit breaker state for all providers |
GET |
/api/context-metrics |
Context utilization and cache hit rate metrics |
GET |
/api/dlq |
Dead letter queue stats and recent messages |
GET |
/api/tools |
Registered tool definitions and count |
POST |
/api/tools/execute |
Execute a registered tool by name |
POST |
/api/token-check |
Check token budget for a given model/prompt/messages |
POST |
/api/supervisor/process |
Route a request through the supervisor pipeline |
POST |
/api/agent/run |
Run the agentic tool-use loop with a message and context |
POST |
/api/batch/process |
Batch process multiple documents (summarize, keyIdeas, sentiment) |
POST |
/api/conversations/:userId/:documentId/message |
Add a message to a conversation |
GET |
/api/conversations/:userId/:documentId |
Retrieve conversation history |
DELETE |
/api/conversations/:userId/:documentId |
Clear a conversation |
[!TIP] Visit the
orchestrator/README.mdfor full API request/response examples and theai_ml/README.mdfor the Python AI/ML layer.
🗄️ Storage & Data Model
DocuThinker splits each document across three stores so it scales cleanly and never bumps Firestore’s per-document size limits. Firebase Firestore holds tiny metadata records, Supabase Storage (a private bucket) holds the original file bytes and the extracted text/HTML, and Firebase Auth handles identity. Nothing heavy ever lives in Firestore.
How an upload flows
sequenceDiagram
    participant B as Browser (React)
    participant API as Express Backend
    participant SB as Supabase Storage (private bucket)
    participant FS as Firestore
    participant AI as Google Gemini

    B->>API: POST /document-upload-url { userId, fileName }
    API->>SB: createSignedUploadUrl(path)
    API-->>B: { path, token, signedUrl }
    B->>SB: PUT file bytes (direct, bypasses ~4.5MB limit)
    B->>API: POST /upload { userId, title, text, html, filePath, fileType }
    API->>AI: summarize(text)  (title + today's date injected as context)
    API->>SB: store content JSON { originalText, originalHtml } → contentPath
    API->>FS: write users/{uid}/documents/{docId} (metadata only)
    API-->>B: { summary, fileUrl, ... }
- Original files → Supabase Storage. PDFs/DOCX are uploaded directly from the browser to a private bucket (default name
docuthinker) using a backend-minted signed upload URL fromPOST /document-upload-url. This bypasses Vercel’s ~4.5 MB serverless request-body limit. A through-backend multipart fallback (POST /document-file, parsed with formidable) is also available. - Extracted text + display HTML → Supabase Storage. The plain text and rendered HTML are offloaded as a single JSON “content object” (
{ originalText, originalHtml }). Firestore stores only a tinycontentPathpointer to it. -
Metadata → Firestore subcollection. Each document is one Firestore document under
users/{uid}/documents/{docId}— removing the old 1 MB-per-userdocumentsarray ceiling (effectively unlimited documents per user). Each record holds:{ "id": "auto-generated-doc-id", "title": "My Report.pdf", "summary": "AI-generated summary text…", "filePath": "uid/1700000000-abc-My_Report.pdf", // path in Supabase bucket "fileType": "application/pdf", "contentPath": "uid/content/<docId>.json", // points at the content object "createdAt": "<server timestamp>", } - On view → short-lived signed download URL. When a document is opened, the backend mints a 1-hour signed download URL (
fileUrl) for the original file. The viewer renders PDFs in a native<iframe>, DOCX viamammoth.convertToHtml, Markdown via react-markdown, HTML sanitized with DOMPurify, CSV/TSV as a table, JSON/code as monospace, and plain text as pre-wrapped text (see Multi-Format Upload & Extraction). - Service-role key stays server-side. The Supabase
service_rolekey is used only by the backend. The browser receives a one-time, path-scoped upload token (and, for the frontend SDK, only the publicanonkey).
[!NOTE] Reads merge the new per-user
documentssubcollection with any legacy inlinedocumentsarray, so documents created before the migration still appear. Deletes clean up both the Firestore record and the associated Supabase objects (filePath+contentPath).
🧩 Beads Task Coordination
DocuThinker AI agents (and humans) use a Beads sub-architecture to coordinate work across multiple AI agents and humans operating on the same codebase. A bead is a self-contained, dependency-aware task unit that any agent can pick up, execute, and complete — enabling safe parallel development without merge conflicts.
Why Beads?
When several AI agents (or human developers) work concurrently, they risk editing the same files and producing conflicting changes. Beads solve this with:
- Atomic task definitions — each bead specifies exactly which files to read, modify, or create.
- File reservations — agents claim files before editing, preventing concurrent writes.
- Dependency graphs — beads declare upstream/downstream dependencies so work executes in the correct order.
- Acceptance criteria — every bead includes testable conditions that must pass before the task is considered complete.
Bead Lifecycle
stateDiagram-v2
    [*] --> Authored: Bead created from template
    Authored --> Claimed: Agent reserves files via .status.json
    Claimed --> InProgress: Agent begins implementation
    InProgress --> Testing: Code changes complete
    Testing --> Done: Acceptance criteria pass
    Testing --> InProgress: Tests fail — iterate
    Done --> [*]: Reservations released
    InProgress --> Blocked: Dependency not met
    Blocked --> InProgress: Dependency resolved
Directory Structure
.beads/
├── .status.json          # Live agent reservations & bead counters
├── README.md             # Quick-start guide for the beads workflow
└── templates/
    └── feature-bead.md   # Canonical bead template
Status Tracking (.beads/.status.json)
The status file is the single source of truth for agent coordination:
{
  "version": "1.0.0",
  "agents": {},
  "reservations": {},
  "lastUpdated": null,
  "beadsCompleted": 0,
  "beadsActive": 0
}
| Field | Purpose |
|---|---|
agents |
Map of active agent IDs to their metadata (name, start time, current bead) |
reservations |
Map of file paths to the agent ID that holds the reservation |
beadsCompleted |
Counter of successfully finished beads |
beadsActive |
Counter of beads currently in progress |
Bead Template
Every bead follows a structured template (.beads/templates/feature-bead.md):
| Section | Description |
|---|---|
| Background | Why the work exists |
| Current State | Files to read before starting |
| Desired Outcome | Specific, testable result |
| Files to Touch | Explicit list of files to read, enhance, or create |
| Dependencies | Upstream beads that must finish first and downstream beads this unblocks |
| Acceptance Criteria | Checklist including “all existing tests still pass” |
Conflict Zones vs. Safe Parallel Zones
Certain files are single-agent only — only one agent may hold a reservation at a time:
| Conflict Zone File | Reason |
|---|---|
docker-compose.yml |
Shared service definitions |
ai_ml/services/orchestrator.py |
Central AI/ML entry point |
ai_ml/providers/registry.py |
LLM provider configuration |
orchestrator/index.js |
Orchestrator entry point |
| Shared config files | Cross-service settings |
Safe parallel zones (multiple agents can work simultaneously):
- Separate service directories (e.g.,
ai_ml/providers/vs.orchestrator/context/) - Independent test files
- New files in new directories
- Documentation files (excluding shared configs)
Agent Communication Protocol
sequenceDiagram
    participant A as Agent
    participant S as .status.json
    participant C as Codebase

    A->>S: 1. Check for conflicts
    S-->>A: No reservation on target files
    A->>S: 2. Post reservation (agent ID + file list)
    A->>C: 3. Implement bead instructions
    A->>C: 4. Run tests (acceptance criteria)
    A->>S: 5. Release reservations
    A->>S: 6. Increment beadsCompleted
Agents must:
- Check
.beads/.status.jsonbefore starting any work. - Reserve files by posting their agent ID and claimed file paths.
- Update status every 30 minutes while actively working.
- Release all reservations upon completion or failure.
- Use branch naming:
agent/<agent-name>/<bead-id>.
[!NOTE] For the full agent coordination protocol including conflict resolution and escalation, see AGENTS.md. For how beads integrate with the AI/ML pipeline, see AI_ML.md.
🧰 GraphQL Integration
Introduction to GraphQL in Our Application
Our application supports a fully-featured GraphQL API that allows clients to interact with the backend using flexible queries and mutations. This API provides powerful features for retrieving and managing data such as users, documents, and related information.
Key Features of the GraphQL API
- Retrieve user details and associated documents (now backed by the per-user
documentssubcollection). - Query specific documents using their IDs; heavy fields (
fileUrl,originalText,originalHtml) are resolved on demand from Supabase only when requested. - Perform mutations to register/login users, summarize and manage documents, run AI helpers, and update profile/account settings.
- Flexible query structure lets you fetch only the data you need.
Available Queries & Mutations
| Type | Operation | Description |
|---|---|---|
| Query | getUser(id) |
User profile plus their documents. |
| Query | getUserEmail(userId) |
Email for a user. |
| Query | getDocument(userId, docId) |
A single document (resolve fileUrl / originalText / originalHtml on demand). |
| Query | listDocuments(userId) |
All of a user’s documents. |
| Query | searchDocuments(userId, searchTerm) |
Search results (docId, title, snippet). |
| Query | documentCount(userId) |
Number of documents. |
| Query | daysSinceJoined(userId) |
Days since the account was created. |
| Query | userJoinedDate(userId) |
The account’s join date. |
| Query | getSocialMedia(userId) |
Social-media links. |
| Query | analyzeSentiment(documentText) |
Sentiment score + description for arbitrary text. |
| Mutation | register(email, password) |
Create a user; returns { userId, customToken }. |
| Mutation | login(email, password) |
Authenticate; returns { userId, customToken }. |
| Mutation | summarizeDocument(userId, title, text, html, filePath, fileType) |
Summarize and (with userId) save to the library. |
| Mutation | deleteDocument(userId, docId) / deleteAllDocuments(userId) |
Delete one / all documents. |
| Mutation | updateDocumentTitle(userId, docId, title) |
Rename a document. |
| Mutation | updateEmail / updateTheme / updateSocialMedia |
Profile & account updates. |
| Mutation | generateKeyIdeas / generateDiscussionPoints / generateBulletSummary |
AI generation helpers (no storage). |
| Mutation | summaryInLanguage / actionableRecommendations / rewriteContent / refineSummary |
More AI helpers. |
| Mutation | chat(sessionId, message, originalText) |
Conversational chat over a document. |
Getting Started
-
GraphQL Endpoint:
The GraphQL endpoint is available at:https://docuthinker-app-backend-api.vercel.app/graphqlOr, if you are running the backend locally, the endpoint will be:
http://localhost:3000/graphql -
Testing the API:
You can use the built-in GraphiQL Interface to test queries and mutations. Simply visit the endpoint in your browser. You should see the following interface: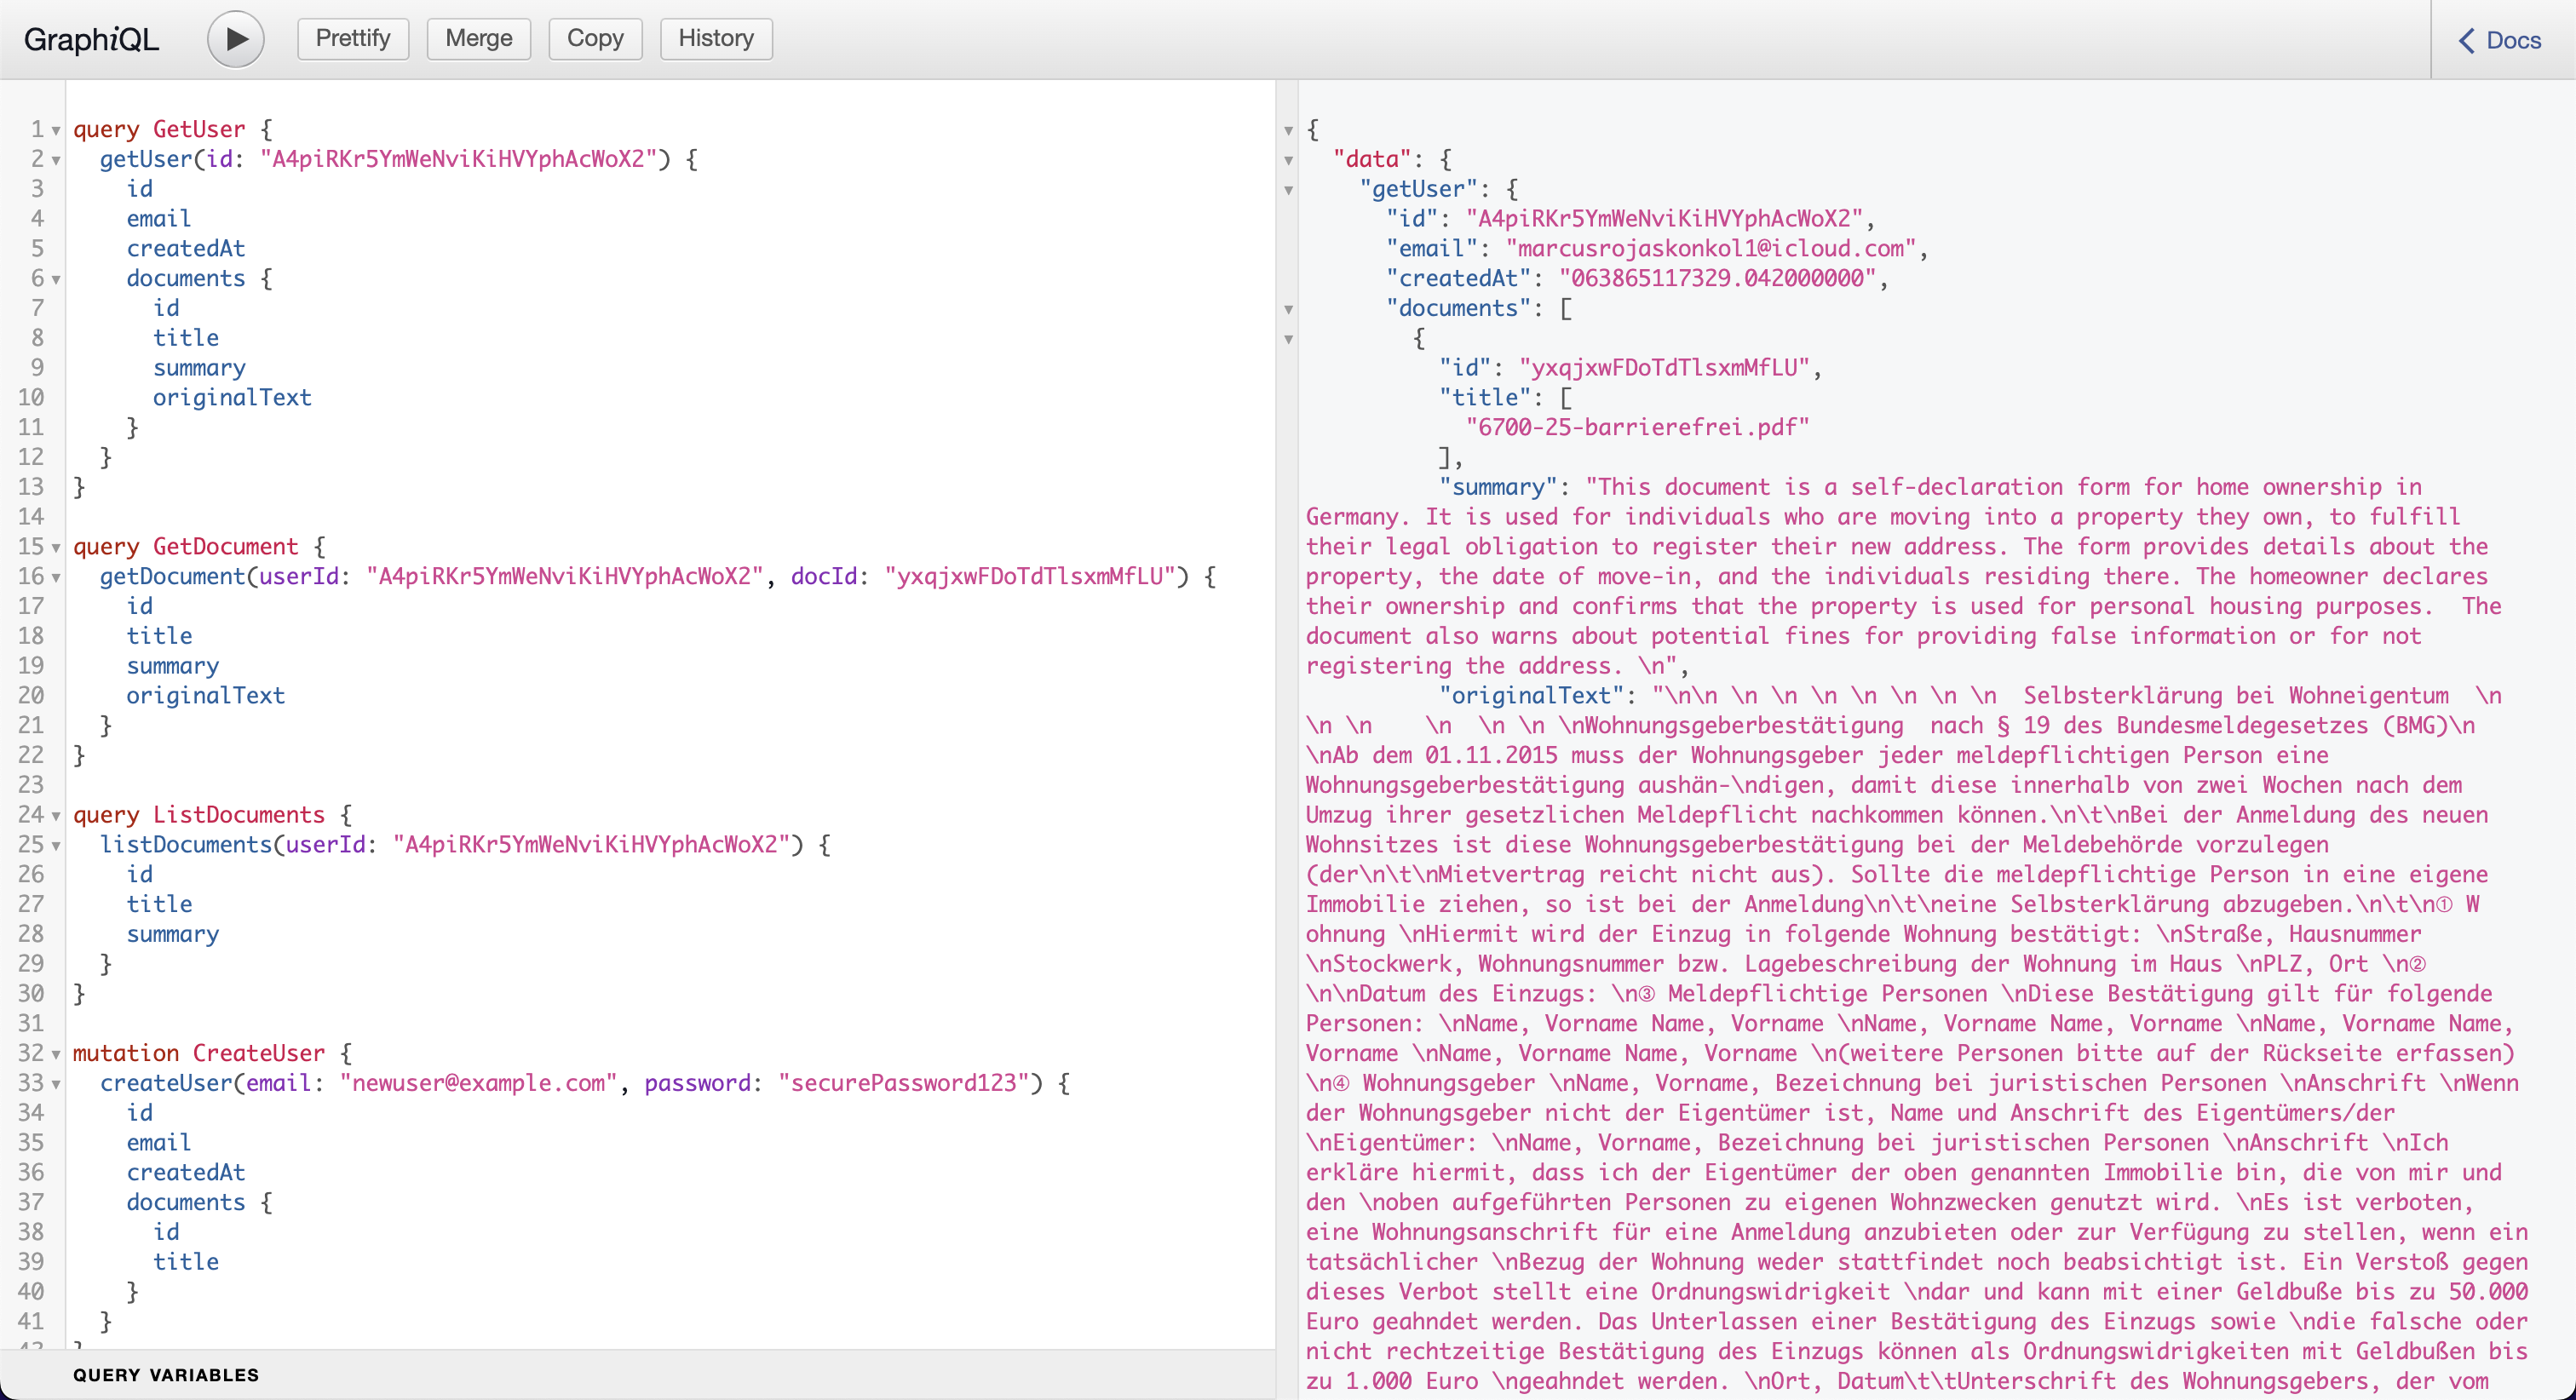
Now you can start querying the API using the available fields and mutations. Examples are below for your reference.
Example Queries and Mutations
1. Fetch a User and Their Documents
This query retrieves a user’s email and their documents, including titles and summaries:
query GetUser {
  getUser(id: "USER_ID") {
    id
    email
    documents {
      id
      title
      summary
    }
  }
}
2. Fetch a Specific Document
Retrieve details of a document by its ID:
query GetDocument {
  getDocument(userId: "USER_ID", docId: "DOCUMENT_ID") {
    id
    title
    summary
    originalText
  }
}
3. Register a New User
Create a user with an email and password (returns a Firebase custom token):
mutation Register {
  register(email: "example@domain.com", password: "password123") {
    userId
    customToken
  }
}
4. Update a Document Title
Change the title of a specific document:
mutation UpdateDocumentTitle {
  updateDocumentTitle(
    userId: "USER_ID"
    docId: "DOCUMENT_ID"
    title: "Updated Title.pdf"
  ) {
    id
    title
  }
}
5. Delete a Document
Delete a document from a user’s account:
mutation DeleteDocument {
  deleteDocument(userId: "USER_ID", docId: "DOCUMENT_ID")
}
Advanced Tips
- Use Fragments: To reduce redundancy in queries, you can use GraphQL fragments to fetch reusable fields across multiple queries.
- Error Handling: Properly handle errors in your GraphQL client by inspecting the
errorsfield in the response. - GraphQL Client Libraries: Consider using libraries like Apollo Client or Relay to simplify API integration in your frontend.
For more information about GraphQL, visit the official documentation. If you encounter any issues or have questions, feel free to open an issue in our repository.
📱 Mobile App
The DocuThinker mobile app is a real React Native client (Expo SDK 51, TypeScript, expo-router) that talks directly to the same Vercel backend the web frontend uses. It is not a shell or mock — every screen reads from real endpoints, and accounts created via the web app sign in on mobile without any extra step.
graph LR
    subgraph Web["💻 docuthinker.vercel.app"]
        WLogin[Login.js]
        WAuth["utils/auth.js<br/>localStorage + event"]
    end

    subgraph Mobile["📱 Expo Go / native build"]
        MLogin[login.tsx]
        MAuth["lib/auth.ts<br/>AsyncStorage + emitter"]
    end

    subgraph Backend["☁️ docuthinker-app-backend-api.vercel.app"]
        Login["/login"]
        FB[(Firebase Auth)]
    end

    WLogin --> Login
    MLogin --> Login
    Login --> FB
    Login -->|customToken + userId| WAuth
    Login -->|customToken + userId| MAuth
What landed in this PR
- Persistent session: Login persists
customToken+userIdinAsyncStorage; root layout hydrates on boot. - Auth gate:
app/_layout.tsxredirects unauthed users to/loginand authed users away from/loginautomatically. - Real backend wiring: Home / Library / Profile / Summary / Chat all hit live endpoints — see the parity table below.
- Document picker:
expo-document-picker+expo-file-systemfor plain-text uploads (see Upload Limitation). - UI fixes:
Pillaccepts analignprop so the “Pro member” badge centers on Profile; settings rows on Profile are now realPressables withonPress(showing “Coming soon”Alerts where the underlying flow isn’t wired yet). - Mock data removed:
Alex Carterand the canned document list are gone. The only static content left is the four feature tiles on the Home screen.
Web ↔ mobile parity
| Capability | Web | Mobile (this PR) | Backend |
|---|---|---|---|
| Email + password sign-in | ✅ | ✅ | POST /login |
| Register | ✅ | ✅ | POST /register |
| Forgot password | ✅ | UI stub | POST /forgot-password |
| Google sign-in | ✅ | UI stub | n/a |
| Document list | ✅ | ✅ pull-to-refresh | GET /documents/:userId |
| Document summary | ✅ | ✅ | GET /document-details/:userId/:docId |
| Profile (email, docs, days) | ✅ | ✅ | /users/:id, /document-count/:id, /days-since-joined/:id, /user-joined-date/:id |
| Document chat | ✅ | ✅ | POST /chat |
| Upload .txt/.md | ✅ | ✅ | POST /upload |
| Upload PDF/DOCX | ✅ (client-side parse) | ❌ (see below) | POST /upload |
| Document analytics dashboard | ✅ | future | — |
| Account / appearance / notifications panes | ✅ | UI stubs | — |
Mobile auth state machine
stateDiagram-v2
    [*] --> Hydrating: app/_layout mount
    Hydrating --> Anonymous: AsyncStorage empty
    Hydrating --> Authed: userId present

    Anonymous --> Authed: setAuth() after POST /login
    Authed --> Anonymous: clearAuth() (Sign out)
    Authed --> Loading: tab focus → fetch
    Loading --> Ready: 4 parallel GETs resolve
    Ready --> Refreshing: pull-to-refresh
    Refreshing --> Ready
Upload limitation (mobile)
The backend /upload endpoint expects {userId, title, text} JSON. The web frontend parses PDF/DOCX in the browser with pdfjs-dist + mammoth before posting plain text. The mobile app does not currently ship a comparable RN parser because:
- RN equivalents (
react-native-pdf, mammoth + xmldom polyfill) require native modules andexpo prebuild, which would drop the Expo Go workflow. - Routing binary uploads through Vercel is not reliable — serverless functions have a small request-body limit (~4.5 MB) and short hobby-tier timeouts, which makes streaming larger PDFs through a new multipart endpoint fragile.
So: mobile uploads .txt/.md; web uploads PDF/DOCX. Both clients see the same documents in /documents/:userId, so the round-trip surface is consistent.
For the full mobile architecture (screen map, API client class diagram, lifecycle, troubleshooting) see mobile-app/README.md.
📦 Containerization
The DocuThinker app can be containerized using Docker for easy deployment and scaling. The docker-compose.yml defines all services including the new agentic orchestrator.
-
Run the following command to build and start all services:
docker compose up --build -
All services will start on their respective ports (see table below).
You can also view the image in the Docker Hub repository here.
Docker Compose Services
| Service | Container | Port | Description |
|---|---|---|---|
frontend |
docuthinker-frontend |
3001 |
React frontend |
backend |
docuthinker-backend |
3000 |
Express API server |
orchestrator |
docuthinker-orchestrator |
4000 |
Agentic orchestration layer (Node.js) |
ai-ml |
docuthinker-ai-ml |
8000 |
Python AI/ML services (FastAPI) |
redis |
docuthinker-redis |
6379 |
In-memory cache (Redis 7 Alpine) |
firebase |
firebase | – | Firebase emulator |
The orchestrator container includes a health check (/health), runs as a non-root user, and depends on Redis being healthy before starting.
graph TB
    A[Docker Compose] --> B[Frontend Container]
    A --> C[Backend Container]
    A --> O[Orchestrator Container]
    A --> ML[AI/ML Container]
    A --> D[Redis Container]
    A --> F[Firebase Container]
    B -->|Port 3001| G[React App]
    C -->|Port 3000| H[Express Server]
    O -->|Port 4000| I[Agentic Orchestrator]
    ML -->|Port 8000| J[FastAPI AI/ML]
    D -->|Port 6379| K[Redis Cache]
    I -->|Python Bridge| J
    I -->|Circuit Breaker| L[Claude / Gemini]
    H -->|REST| I
🚧 Deployment
DocuThinker now ships primarily via Kubernetes with blue/green promotion plus weighted canaries driven by the updated Jenkinsfile. Vercel/Render remain as backup endpoints, and AWS ECS Fargate is still available as an alternative target.
graph TB
    GIT[GitHub Repo] --> JENKINS[Jenkins Pipeline]
    JENKINS --> TEST[Install + Lint + Tests]
    TEST --> BUILD[Containerize Frontend + Backend]
    BUILD --> REG[Push Images to Registry]
    REG --> CANARY[Canary Deploy - 10% weight]
    CANARY --> BG[Promote to Blue/Green]
    BG --> USERS[Live Traffic]
    JENKINS --> VERCEL[Vercel Fallback Deploy]
    VERCEL --> USERS
Production Rollouts (Kubernetes blue/green + canary)
- Stable traffic is routed by
backend-service/frontend-serviceto the activetrack(blueby default). Canary traffic is handled by*-canary-servicethrough the weighted ingress (ingress.yaml) using theX-DocuThinker-Canary: alwaysheader. - Jenkins builds images tagged
${GIT_SHA}-${BUILD_NUMBER}, pushes them to$REGISTRY, deploys the target color (scaled to 3 replicas), and rolls out canaries (1 replica each). Promotion is a gated manual input before the service selector flips to the new color and the previous color scales to0. -
To promote manually outside Jenkins:
TARGET=green  # or blue
kubectl -n <ns> scale deployment/backend-$TARGET --replicas=3
kubectl -n <ns> scale deployment/frontend-$TARGET --replicas=3
kubectl -n <ns> patch service backend-service -p "{\"spec\": {\"selector\": {\"app\": \"backend\", \"track\": \"$TARGET\"}}}"
kubectl -n <ns> patch service frontend-service -p "{\"spec\": {\"selector\": {\"app\": \"frontend\", \"track\": \"$TARGET\"}}}"
kubectl -n <ns> scale deployment/backend-$( [ "$TARGET" = "blue" ] && echo green || echo blue ) --replicas=0
kubectl -n <ns> scale deployment/frontend-$( [ "$TARGET" = "blue" ] && echo green || echo blue ) --replicas=0
See kubernetes/README.md for the full rollout flow, ingress weighting, and rollback commands.
Frontend Deployment (Vercel)
- Production hosting remains on Vercel. The Jenkins pipeline runs tests/builds and then calls
vercel --produsing thevercel-tokencredential when themainbranch updates. -
To deploy manually:
npm install -g vercel vercel --prod - The live site stays at https://docuthinker.vercel.app with Netlify retained as a static backup.
Backend & AI/ML Deployment
- Primary API traffic now runs on the Kubernetes blue/green stack defined in
kubernetes/backend-*.yaml, fronted bybackend-serviceand the NGINX ingress canary (ingress.yaml). Vercel (https://docuthinker-app-backend-api.vercel.app/) and Render (https://docuthinker-ai-app.onrender.com/) remain as backup endpoints. - Jenkins builds backend images, pushes them to the configured
$REGISTRY, deploys the next color alongside canary pods, and flips the service selector after manual approval. - AWS remains available as an alternate target. The stack in
aws/still provisions Fargate services if you prefer ECS over Kubernetes. -
To run the new rollout flow by hand:
kubectl apply -f kubernetes/configmap.yaml
kubectl apply -f kubernetes/backend-service.yaml kubernetes/backend-canary-service.yaml
kubectl apply -f kubernetes/backend-deployment-blue.yaml kubernetes/backend-deployment-green.yaml kubernetes/backend-deployment-canary.yaml
# See kubernetes/README.md for the promotion/rollback commands
⚖️ Load Balancing & Caching
- We are using NGINX for load balancing and caching to improve the performance and scalability of the app.
- The NGINX configuration file is included in the repository for easy deployment. You can find the file in the
nginxdirectory. - Feel free to explore the NGINX configuration file and deploy it on your own server for load balancing and caching.
- NGINX can also be used for SSL termination, reverse proxying, and serving static files. More advanced configurations can be added to enhance the performance of the app.
- You can also use Cloudflare or AWS CloudFront for content delivery and caching to improve the speed and reliability of the app, but we are currently using NGINX for load balancing and caching due to costs and simplicity.
- For more information, refer to the NGINX Directory.
- The NGINX configuration file is included in the repository for easy deployment. You can find the file in the
- We are also using Docker with NGINX to deploy the NGINX configuration file and run the server in a containerized environment. The server is deployed and hosted on Render.
- Additionally, we are using Redis for in-memory caching to store frequently accessed data and improve the performance of the app.
- Redis can be used for caching user sessions, API responses, and other data to reduce the load on the database and improve response times.
- You can set up your own Redis server or use a managed service like Redis Labs or AWS ElastiCache for caching.
🔗 Jenkins Integration
- The refreshed Jenkinsfile now mirrors production rollouts: checkout → install (
npm ci) → lint/test → build → docker build/push ($REGISTRY) → canary deploy → manual promotion to blue/green on Kubernetes, with an optional Vercel deploy as fallback. - Credentials required by the pipeline:
docuthinker-registry– username/password for the container registry set inREGISTRY.kubeconfig-docuthinker– kubeconfig file used for allkubectlinvocations.vercel-token– optional Vercel API token (keeps the legacy deploy available).
-
For local Jenkins bootstrap:
brew install jenkins-lts brew services start jenkins-lts open http://localhost:8080 - Create a Pipeline job pointing to this repository, set
REGISTRY,KUBE_CONTEXT, andKUBE_NAMESPACEas job/env vars, and assign the credentials above. Jenkins will run automatically on every push tomain. - Promotion is gated with an input step during the canary stage; the pipeline patches
backend-service/frontend-serviceto the new track and scales down the previous color after approval. - See
Jenkinsfilefor the full stage definitions and environment configuration.
If successful, you should see the Jenkins pipeline running tests, pushing images, rolling out the canary, and promoting blue/green automatically whenever changes are merged. Example dashboard:
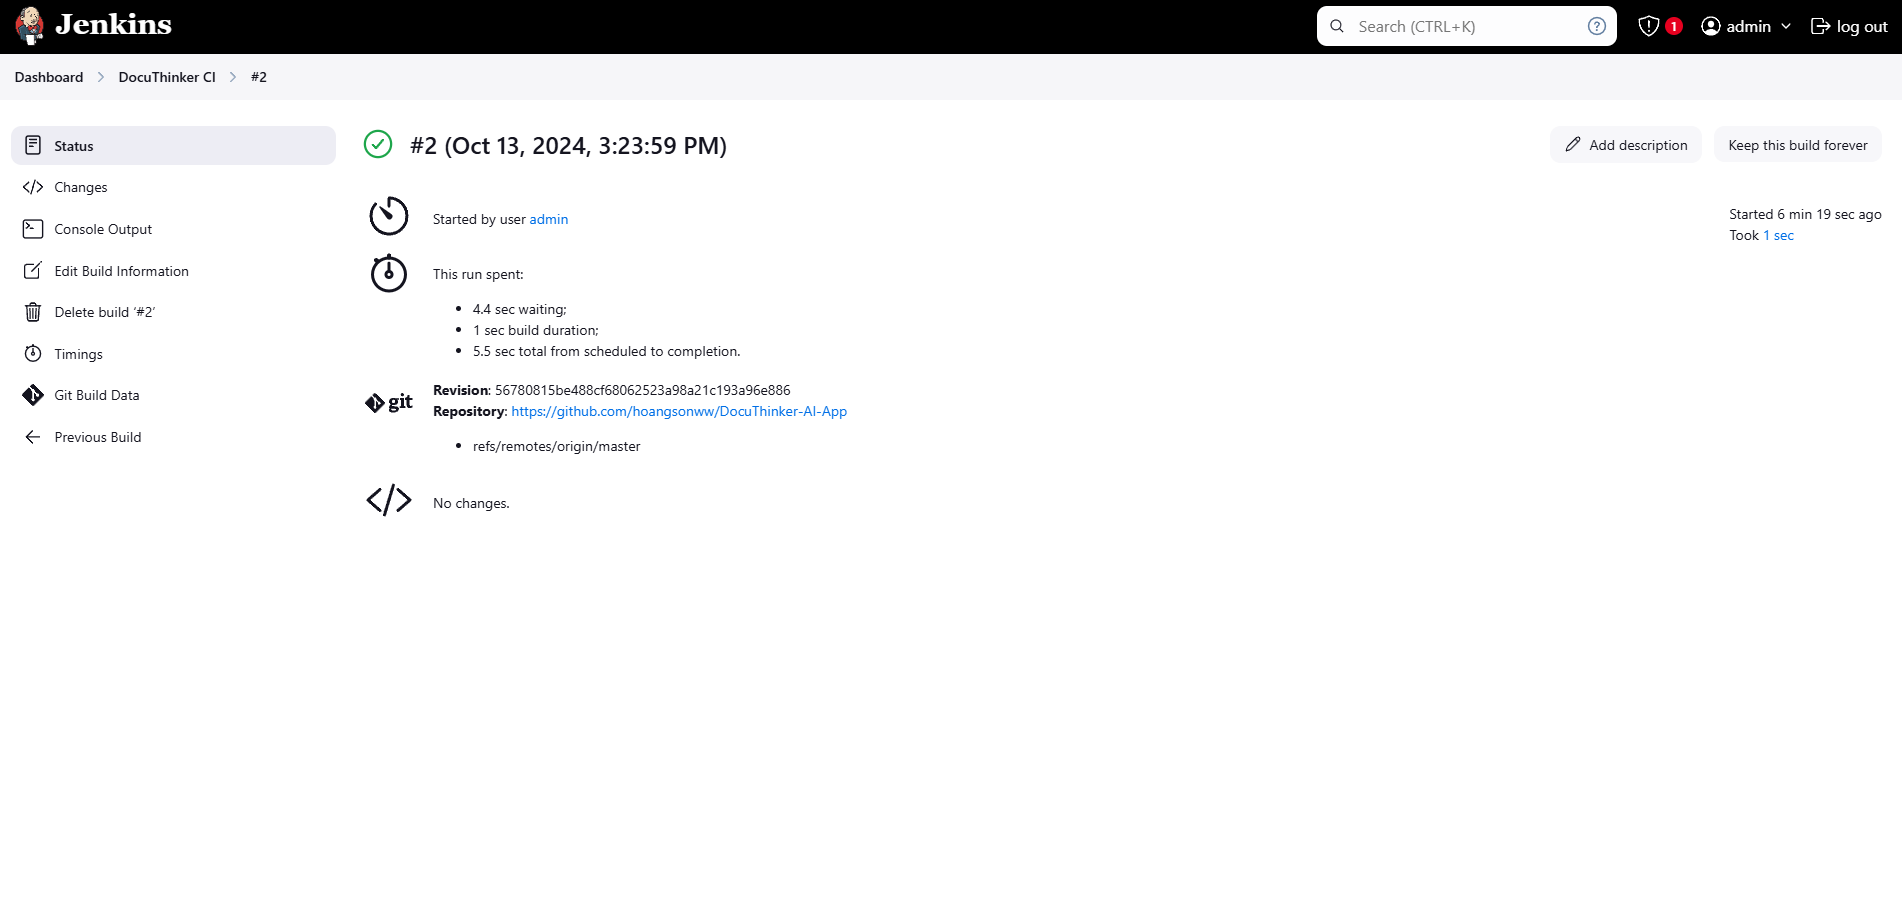
🛠️ GitHub Actions Integration
In addition to Jenkins, we also have a GitHub Actions workflow set up for CI/CD. The workflow is defined in the .github/workflows/ci.yml file.
The GitHub Actions workflow includes the following steps:
- Checkout Code: Checks out the code from the repository.
- Set up Node.js: Sets up the Node.js environment.
- Install Dependencies: Installs the dependencies for the frontend, backend, and ai_ml packages.
- Run Tests: Runs the tests for the frontend, backend, and ai_ml packages.
- Build Artifacts: Builds the artifacts for the frontend, backend, and ai_ml packages.
- Deploy to Vercel: Deploys the frontend to Vercel using the
vercel-tokensecret. - Build and Push Docker Images: Builds and pushes the Docker images for the backend and ai_ml packages to Docker Hub using the
dockerhub-usernameanddockerhub-passwordsecrets, as well as to GHCR using theghcr-tokensecret. - Notify on Failure: Sends a notification to a Slack channel if any of the steps fail.
- Notify on Success: Sends a notification to a Slack channel if all the steps succeed.
- Cleanup: Cleans up the workspace after the workflow is complete.
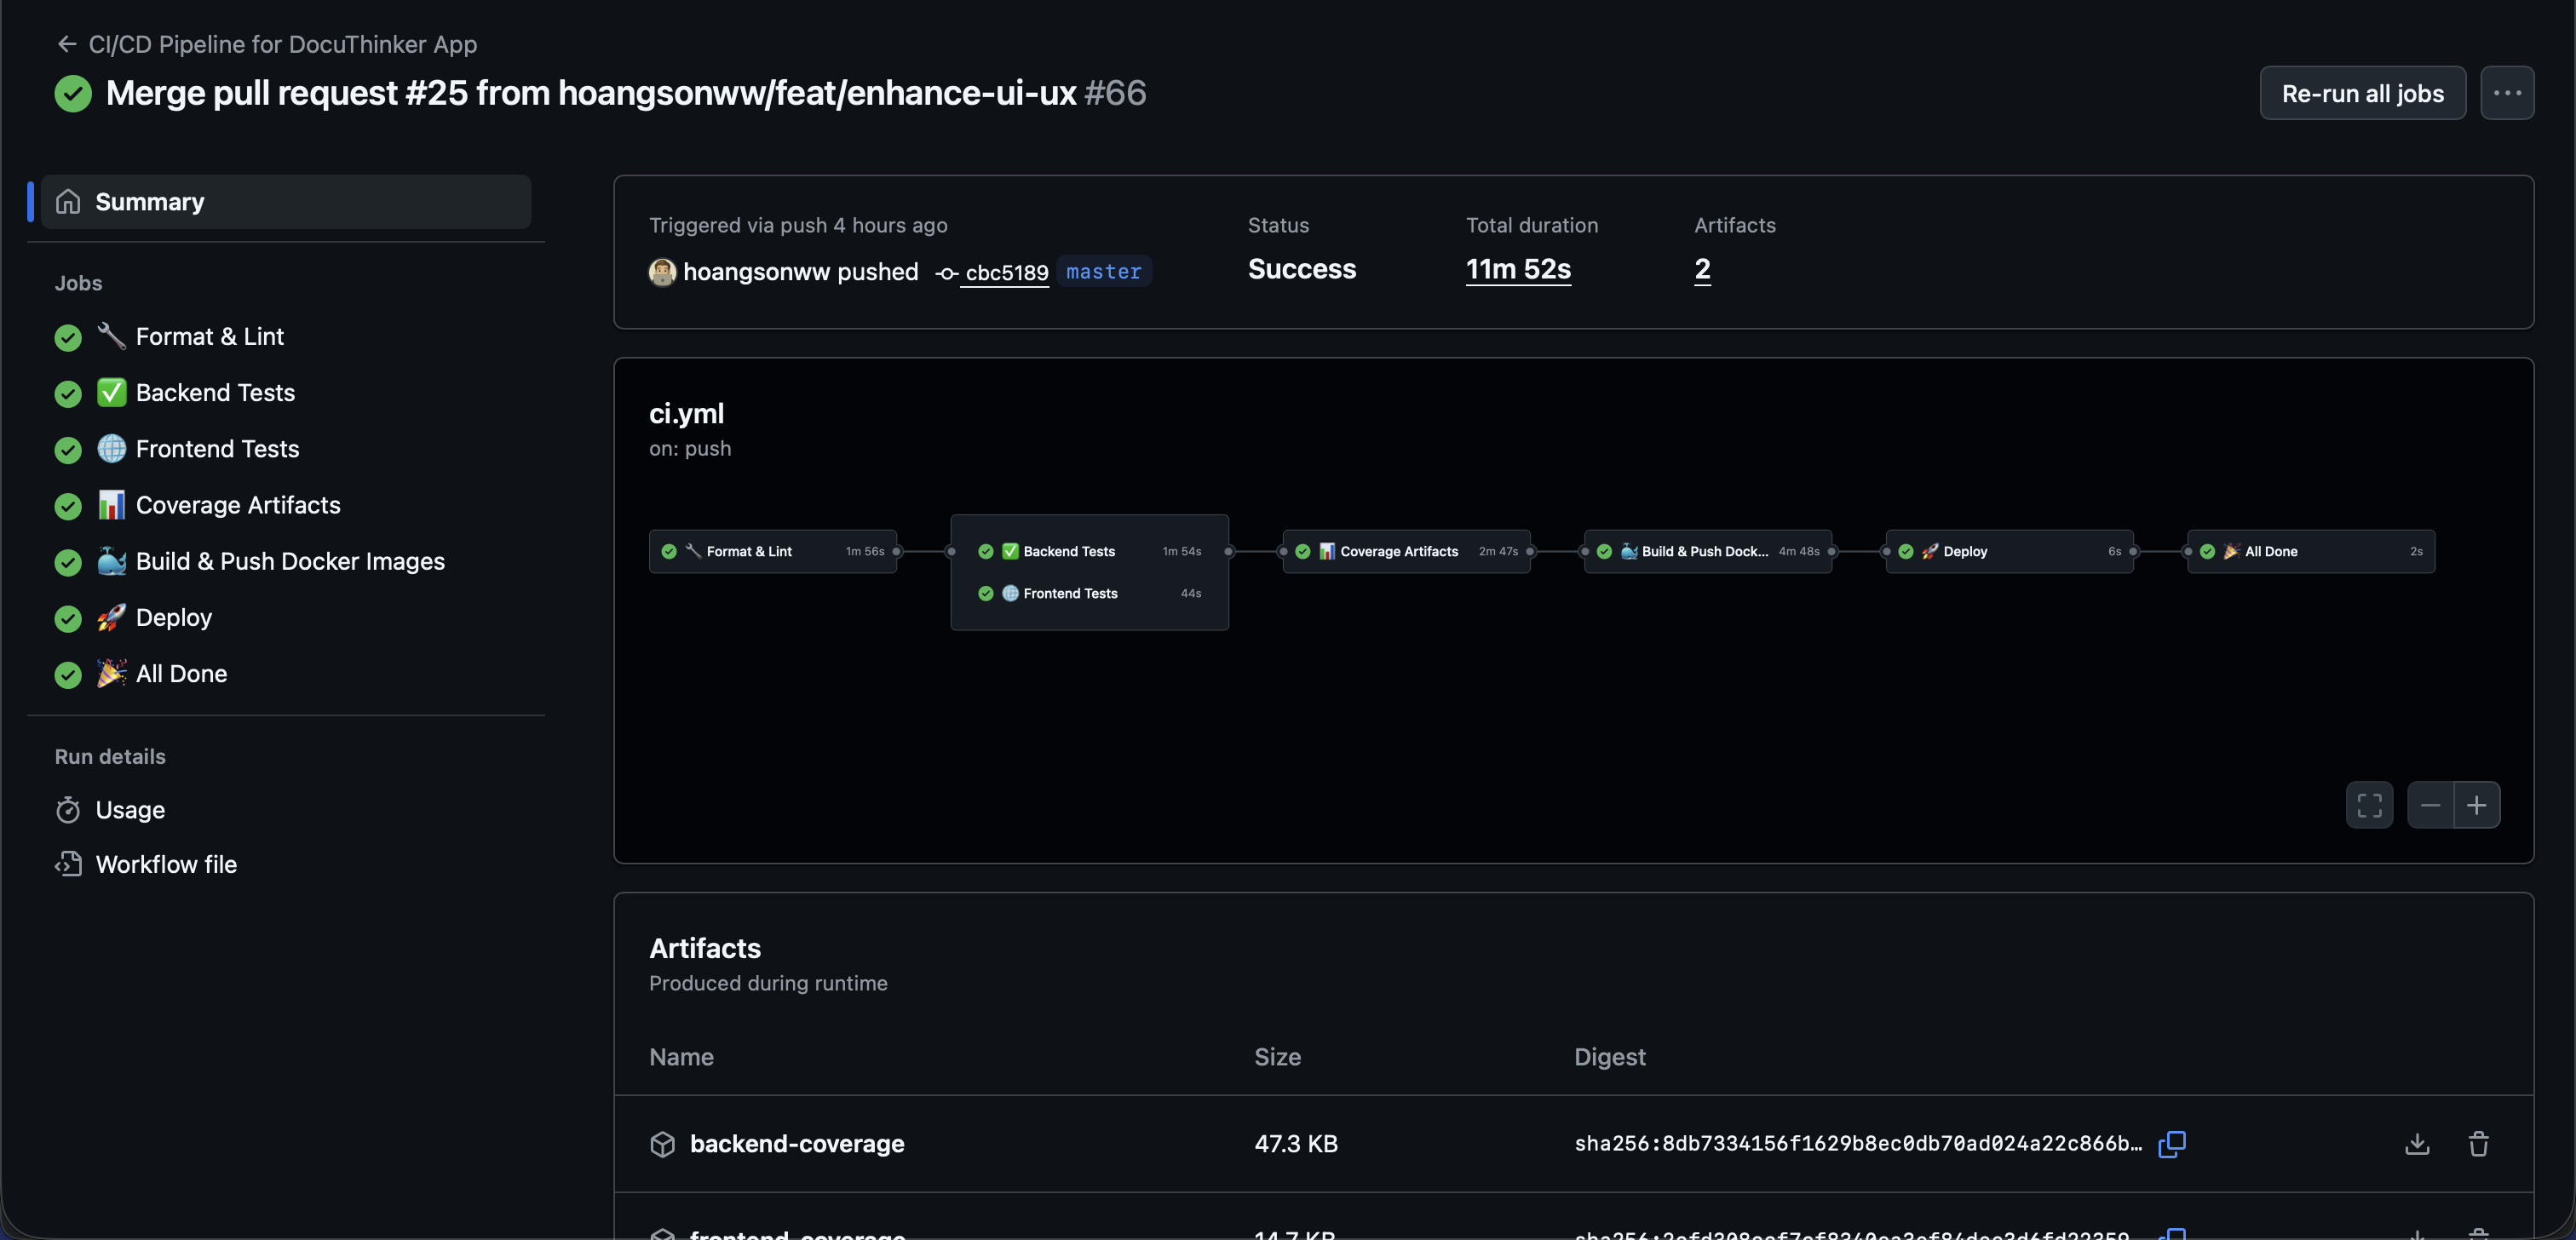
🧪 Testing
DocuThinker includes a comprehensive suite of tests to ensure the reliability and correctness of the application. The tests cover various aspects of the app, including:
- Unit Tests: Individual components and functions are tested in isolation to verify their correctness.
- Integration Tests: Multiple components are tested together to ensure they work as expected when integrated.
- End-to-End Tests: The entire application flow is tested to simulate real user interactions and verify the overall functionality.
- API Tests: The API endpoints are tested to ensure they return the expected responses and handle errors correctly.
Backend Unit & Integration Testing
To run the backend tests, follow these steps:
- Navigate to the backend directory:
cd backend -
Install the necessary dependencies:
# Run the tests in default mode
npm run test

# Run the tests in watch mode
npm run test:watch

# Run the tests with coverage report
npm run test:coverage
This will run the unit tests and integration tests for the backend app using Jest and Supertest.
Frontend Unit & E2E Testing
To run the frontend tests, follow these steps:
- Navigate to the frontend directory:
cd frontend -
Install the necessary dependencies:
# Run the tests in default mode
npm run test

# Run the tests in watch mode
npm run test:watch

# Run the tests with coverage report
npm run test:coverage
This will run the unit tests and end-to-end tests for the frontend app using Jest and React Testing Library.
Snapshot Tests
Every screen in the frontend is covered by snapshot tests that lock in the rendered DOM so unintended UI changes surface as a diff:
frontend/src/__tests__/07_snapshots.test.js— the static pages, auth pages, app chrome (Navbar / Footer / Spinner), and the 3D LandingPage.frontend/src/__tests__/snapshots/— the data-heavy pages (Home, Documents, Profile, Passkeys), captured in their deterministic initial/loading state, with theme-aware pages snapshotted in both light and dark.
Each test renders the page with the props/providers it needs and asserts with toMatchSnapshot(). The snapshots are made deterministic (3D hero stubbed, autoFocus neutralized, Date/Math.random frozen, network mocked) so they pass identically on local machines and CI regardless of timezone or run time.
cd frontend

# Run only the snapshot suites
npm test -- src/__tests__/snapshots

# Update the baselines after an intentional UI change, then commit the .snap files
npm test -- -u
🚢 Kubernetes Integration
- We are using Kubernetes for container orchestration and scaling. The app can be deployed on a Kubernetes cluster for high availability and scalability.
- Blue/green deployments plus canary ingress are defined in
kubernetes/*.yaml; seekubernetes/README.mdfor promotion/rollback commands. - The Kubernetes configuration files are included in the repository for easy deployment. You can find the files in the
kubernetesdirectory. - Feel free to explore the Kubernetes configuration files and deploy the app on your own Kubernetes cluster.
- You can also use Google Kubernetes Engine (GKE), Amazon EKS, or Azure AKS to deploy the app on a managed Kubernetes cluster.
graph TB
    A[Kubernetes Cluster] --> B[Ingress Controller]
    B --> C[Frontend Service]
    B --> D[Backend Service]
    C --> E[Frontend Pods]
    D --> F[Backend Pods]
    E --> G[Pod 1]
    E --> H[Pod 2]
    E --> I[Pod 3]
    F --> J[Pod 1]
    F --> K[Pod 2]
    F --> L[Pod 3]
    D --> M[ConfigMap]
    D --> N[Secrets]
    D --> O[Persistent Volume]
    O --> P[MongoDB]
    O --> Q[Redis]
⚛️ VS Code Extension
The DocuThinker Viewer extension brings your document upload, summarization and insight‑extraction workflow right into VS Code.
Key Features
- Inline Upload & Summaries: Drop PDFs or Word files into the panel and get instant AI‑generated summaries.
- Insight Extraction: Surface key discussion points and recommendations without leaving your editor.
- Persistent Sessions: Your upload history and AI session are preserved when you switch files or restart.
- Panel Customization: Configure title, column, iframe size, script permissions, and auto‑open behavior.
- Secure Embedding: Runs in a sandboxed iframe with a strict CSP - no extra backend needed.
- No Extra Backend: All processing happens in our existing DocuThinker web app.
To install the extension, follow these steps:
- Open VSCode.
- Go to Extensions (Ctrl+Shift+X).
- Search for “DocuThinker Viewer”.
- Click Install.
- Open the Command Palette (Ctrl+Shift+P on Windows or Cmd+Shift+P on macOS) and type “DocuThinker”. Then select “DocuThinker: Open Document Panel” to open the extension panel.
- Start using the app normally!
- If you want to further configure the extension, you can do so by going to the settings (Ctrl+,) and searching for “DocuThinker”. Or, go to the extension settings by clicking on the gear icon next to the extension in the Extensions panel.
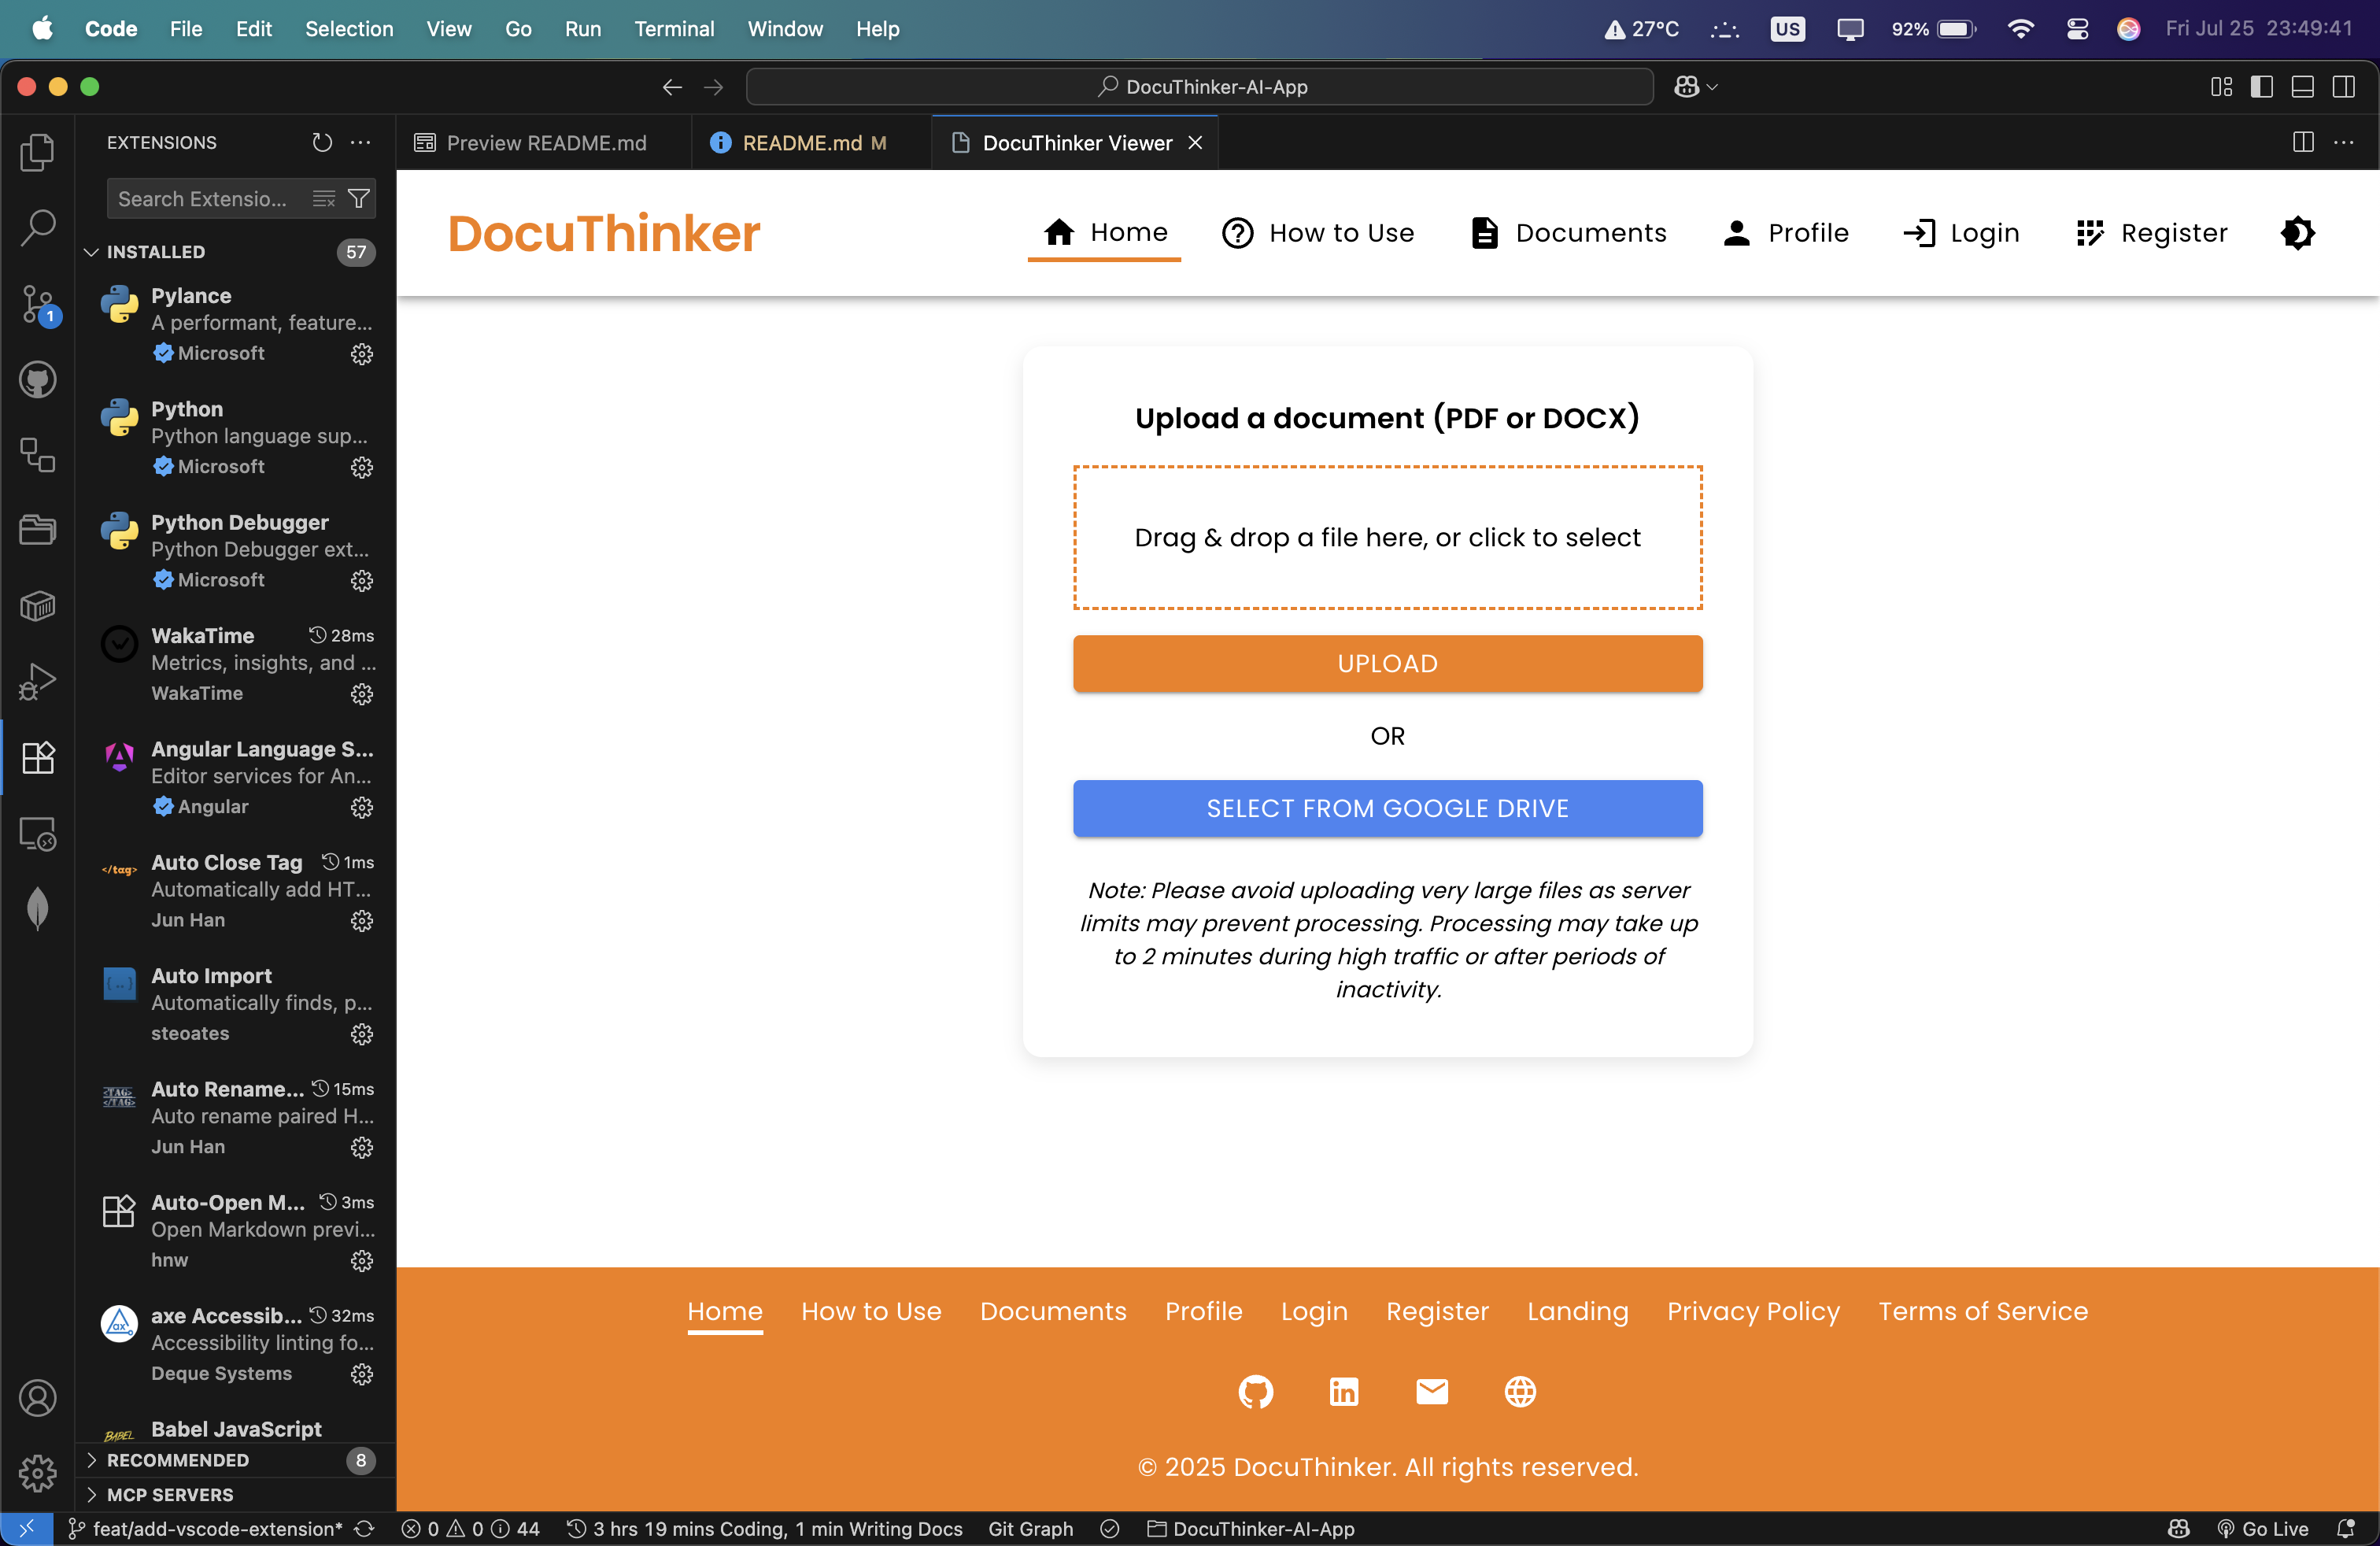
For full install and development steps, configuration options, and troubleshooting, see extension/README.md.
🔧 Contributing
We welcome contributions from the community! Follow these steps to contribute:
-
Fork the repository.
- Create a new branch:
git checkout -b feature/your-feature - Commit your changes:
git commit -m "Add your feature" - Push the changes:
git push origin feature/your-feature - Submit a pull request: Please submit a pull request from your forked repository to the main repository. I will review your changes and merge them into the main branch shortly.
Thank you for contributing to DocuThinker! 🎉
📝 License
This project is licensed under the Creative Commons Attribution-NonCommercial License. See the LICENSE file for details.
[!IMPORTANT] The DocuThinker open-source project is for educational purposes only and should not be used for commercial applications. But free to use it for learning and personal projects!
📚 Additional Documentation
For more information on the DocuThinker app, please refer to the following resources:
- Architecture Documentation
- AI/ML Documentation
- Backend README
- API Documentation
- Deployment Documentation
- Frontend README
- Mobile App README
- AWS Deployment Documentation
- NGINX Documentation
However, this README file should already provide a comprehensive overview of the project ~
👨💻 Author
Here are some information about me - the project’s humble creator:
- Son Nguyen - An aspiring Software Developer & Data Scientist
- Feel free to connect with me on LinkedIn.
- If you have any questions or feedback, please feel free to reach out to me at hoangson091104@gmail.com.
- Also, check out my portfolio for more projects and articles.
- If you find this project helpful, or if you have learned something from the source code, consider giving it a star ⭐️. I would greatly appreciate it! 🚀
Happy Coding and Analyzing! 🚀
Created with ❤️ by Son Nguyen in 2024-2025. Licensed under the Creative Commons Attribution-NonCommercial License.